Making a cloche at East Village Hats!
Hi! Something new today! I took a 2 day hat workshop at East Village Hats called “Couture cloche draping and finishing”. I have wanted to take one of their classes for a while now and this one seemed like a really good introduction to blocking and draping a simple hat. It was taught by Tierre Taylor and there were 5 students in the class, which ran from 9-12 on Saturday and 10-5 on Sunday.
I have been wanting to make a hat or hats for a while. I have made some cut-and-sew vintage style hats but they did not really seem really… hatlike… they were too soft somehow. Not enough internal structure.
For this hat I wanted to have a very structured hat. I have also been reading about the Shakers so I wanted a bonnet. My inspiration was: Audrey Hepburn’s Givenchy hats (specifically the white one from How to Steal a Million, a movie I love); shaker bonnets; bonnets from the Met museum that I like to look at; horseback riding helmets.


It wasn’t that hard. I just like learning directly from people. I was very excited for this class.

We started with these hoods / hat blanks made of rabbit fur, I chose a rabbit fur velour but a matte felt option was available. I have a 22.25” head (I learned) so I used a 22.5” hat block since cloches are not meant to conform that tightly to ones head and the inner sweatband can ease the fit in a little. Then you steam the blank until it gets really soft and damp, and then you yank it down hard onto the hat block and you are ready to start shaping it. The first cut is to take out the center back of the hat, try it on, and start molding the felt how you like. This is different apparently from hat blocking, which I don’t know that much about but I guess takes more hat blocks, and is really just using your hands to drape the hat. You wear the hat as you work, take off, cut, put back on, shape. The first photo is of the back cut out and the rest are the front as I shaped it and cut it.


I liked the cutting part, Tierre told me to be more judicious but it was fun to just keep cutting and seeing what happened. The process is very satisfying. By the end of day 1 I had a shape I liked, pinned (just a little) onto the block and set to dry for Sunday morning.


Sunday was tons of hand sewing. First I whipstitched a 19 gauge millinery wire around all the raw edges (I picked a more firm wire to hold the shape of my helmetty hat better especially as I wear all my clothes shoes bags and accessories to shreds), then a grosgrain ribbon stab-stitched over that, then sewed in another wider grosgrain ribbon as the sweatband inside.


Then finally time to embellish. We talked a bit about how embellishments would work on a hat and what materials you could use (any). Mostly we used grosgrain, I thought the felt offcuts from the hat would look nice too. Since I wanted my hat to look like a bonnet (I considered also a helmet but went with bonnet), I pinned lots of different ribbon in different orientations to my hat before settling on the rust color I picked.


The embellishments are just tacked in at stress points, like under the pleats and on the bottom edges and a few times along the top. I finished my hat after class.


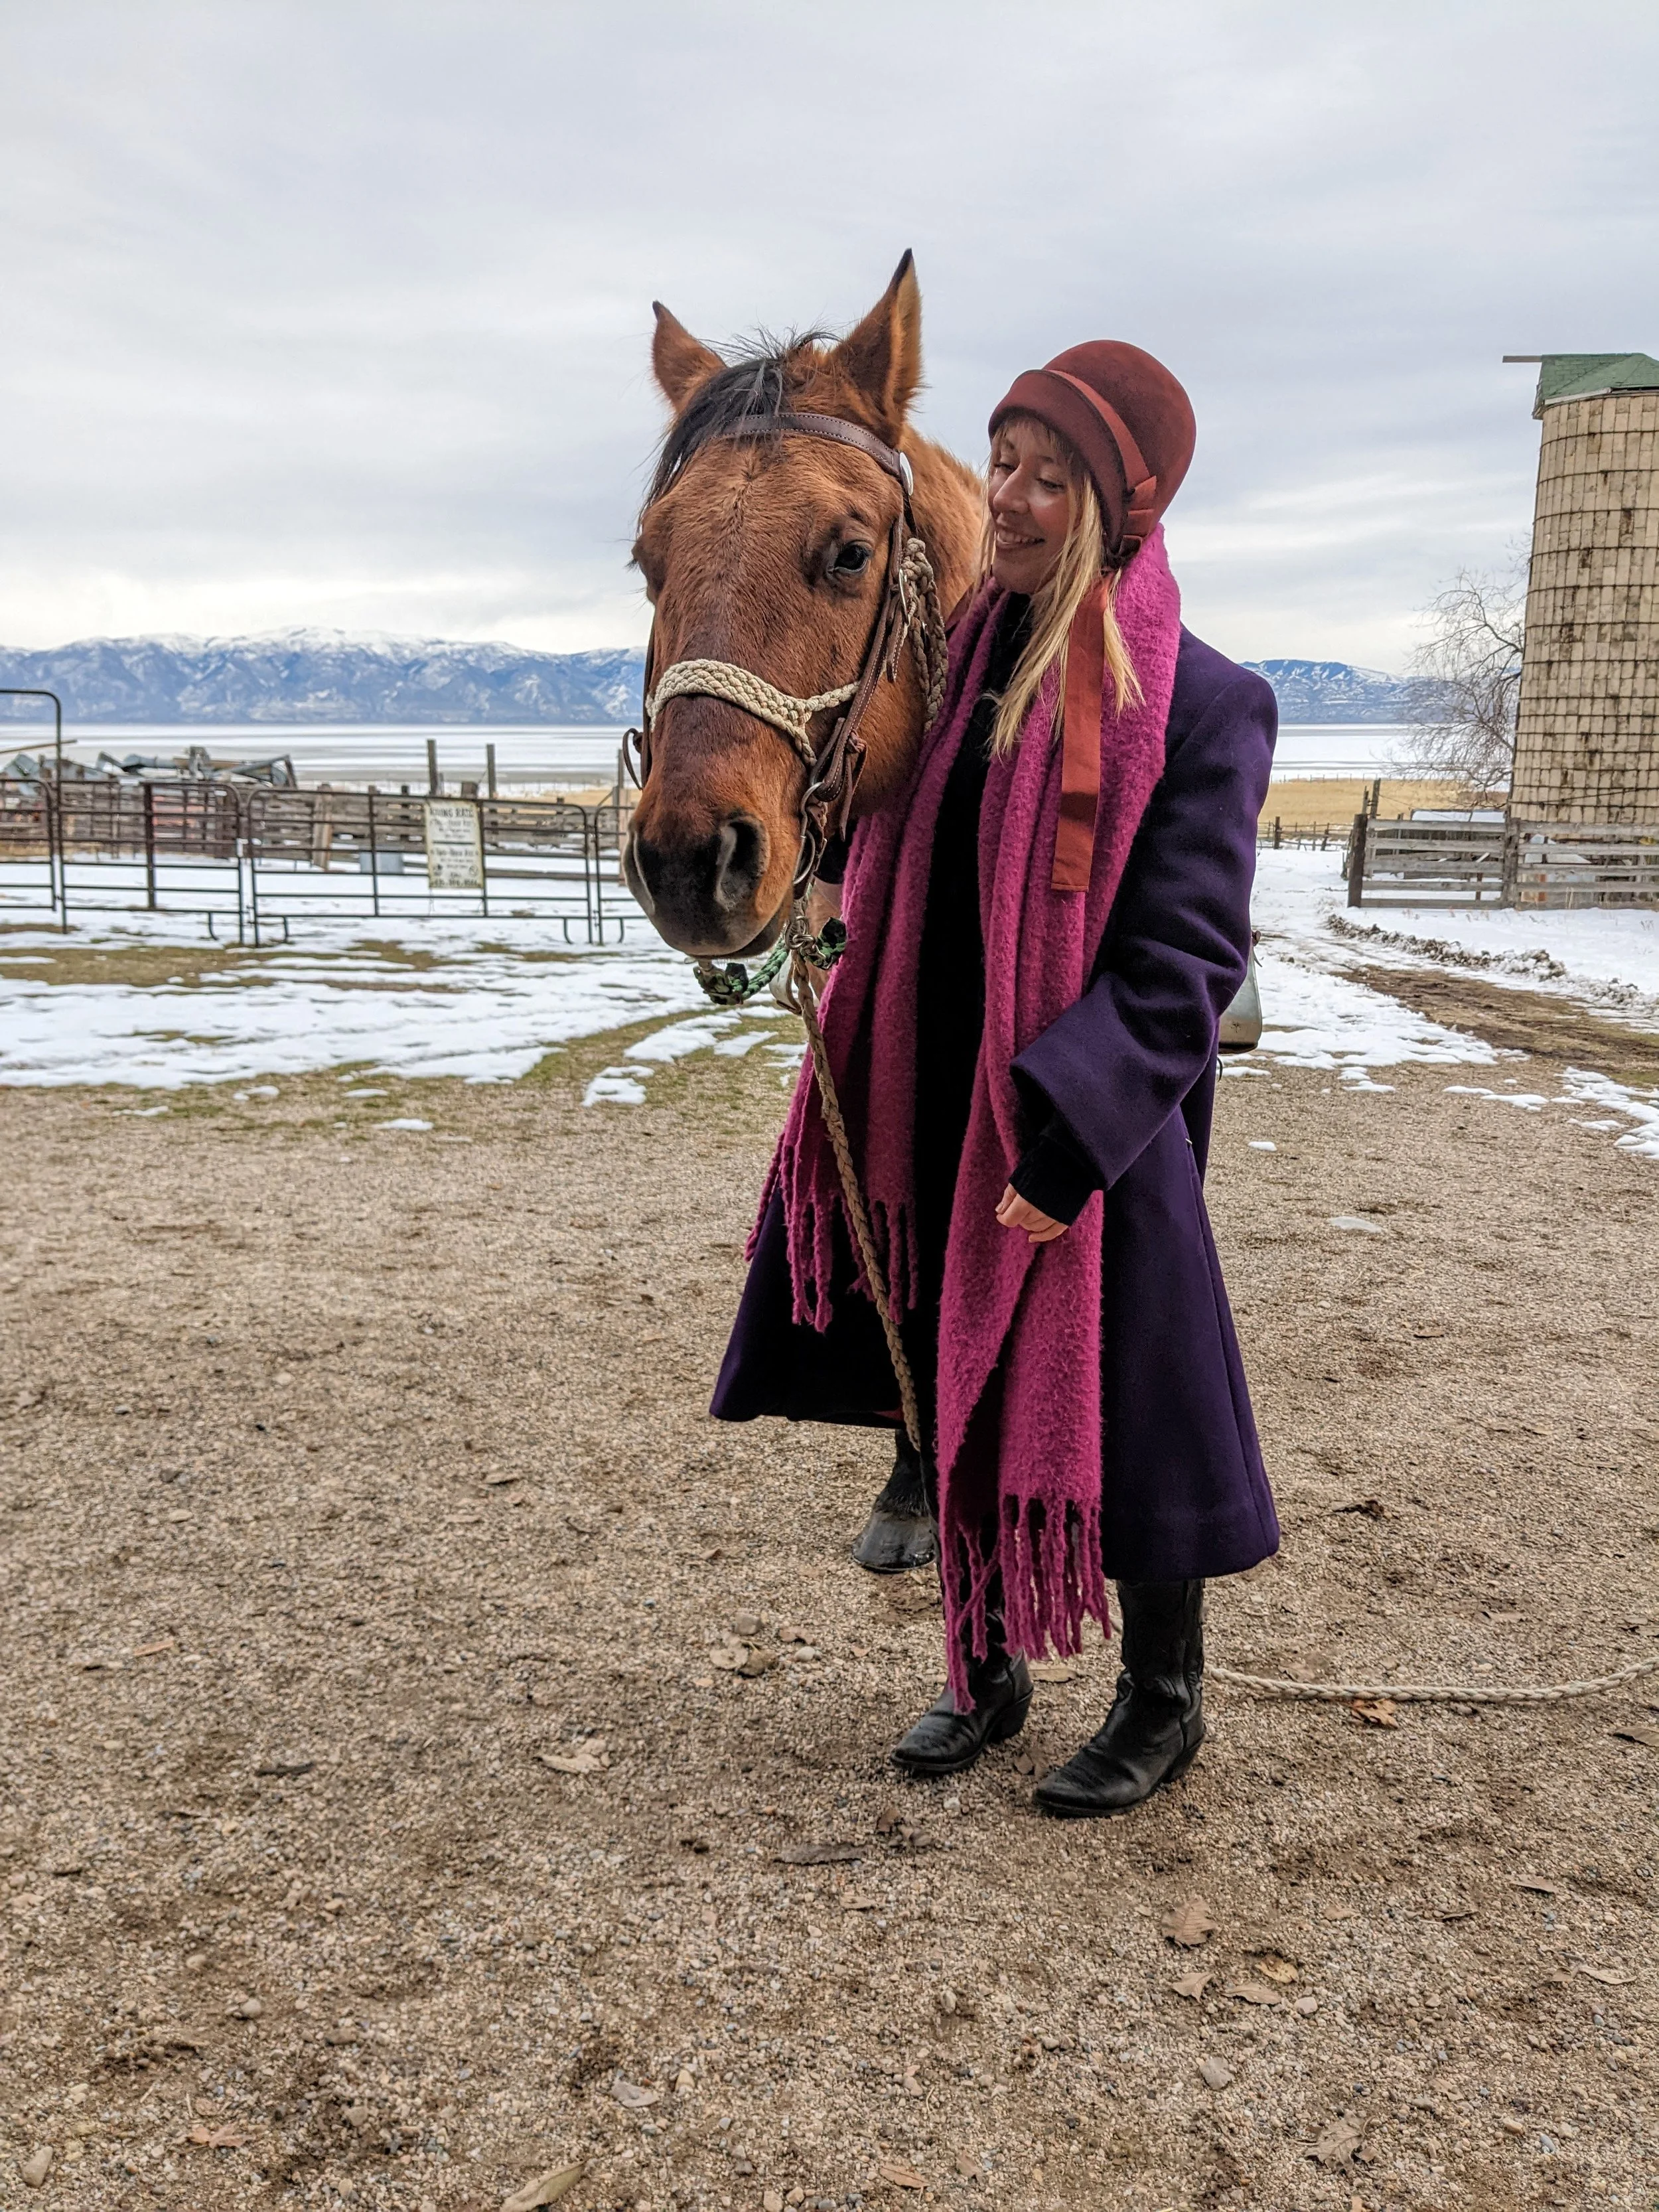

YAY! please enjoy these self indulgent photos of me doing my favorite things in my hat (be with my friend, take selfie, be with a horse, look at spiral jetty) it really has been serving me well here in freezing Utah. It kind of muffles noise which is I guess an added benefit. I want a hat block, just not sure if I’m ready to commit to a new hobby. I can’t stand when people buy materials for a hobby with no follow through. Sorry, it’s not nice of me to say that, but it’s true. Anyway, I’ll definitely take more classes with East Village Hats, I loved it. Thanks, love ya, bye!