Sewing a couture jacket - Claire Shaeffer’s Couture Tailoring book
This blog has been quiet for a long time since I’ve been working a lot on swim stuff, but I also have not finished anything for myself since I’ve been exclusively working on a 1940s jacket following Claire Shaeffer’s book Couture Tailoring: A Construction Guide for Women’s Jackets. I bought this book in the end of January of this year, I have wanted it since it came out in January 2021. Claire Shaeffer is widely regarded as the best resource on home sewing at a couture level and we used her work several times in my FIT couture sewing classes (oh, I took another one of those I have to blog about :)), and I’ve come across her articles for Threads Magazine many times in my research. So I was super excited to learn from her.
This book is a bit over 300 pages of content on creating and sewing women’s jackets at a couture level. It’s roughly structured in the order you should sew your jacket (although the section on toiles/mockups is at the end) and is full of both clear instructions on particular sewing techniques as well as a discussion of technical tradeoffs and different approaches. It’s illustrated and it has photo examples from Shaeffer’s collection.
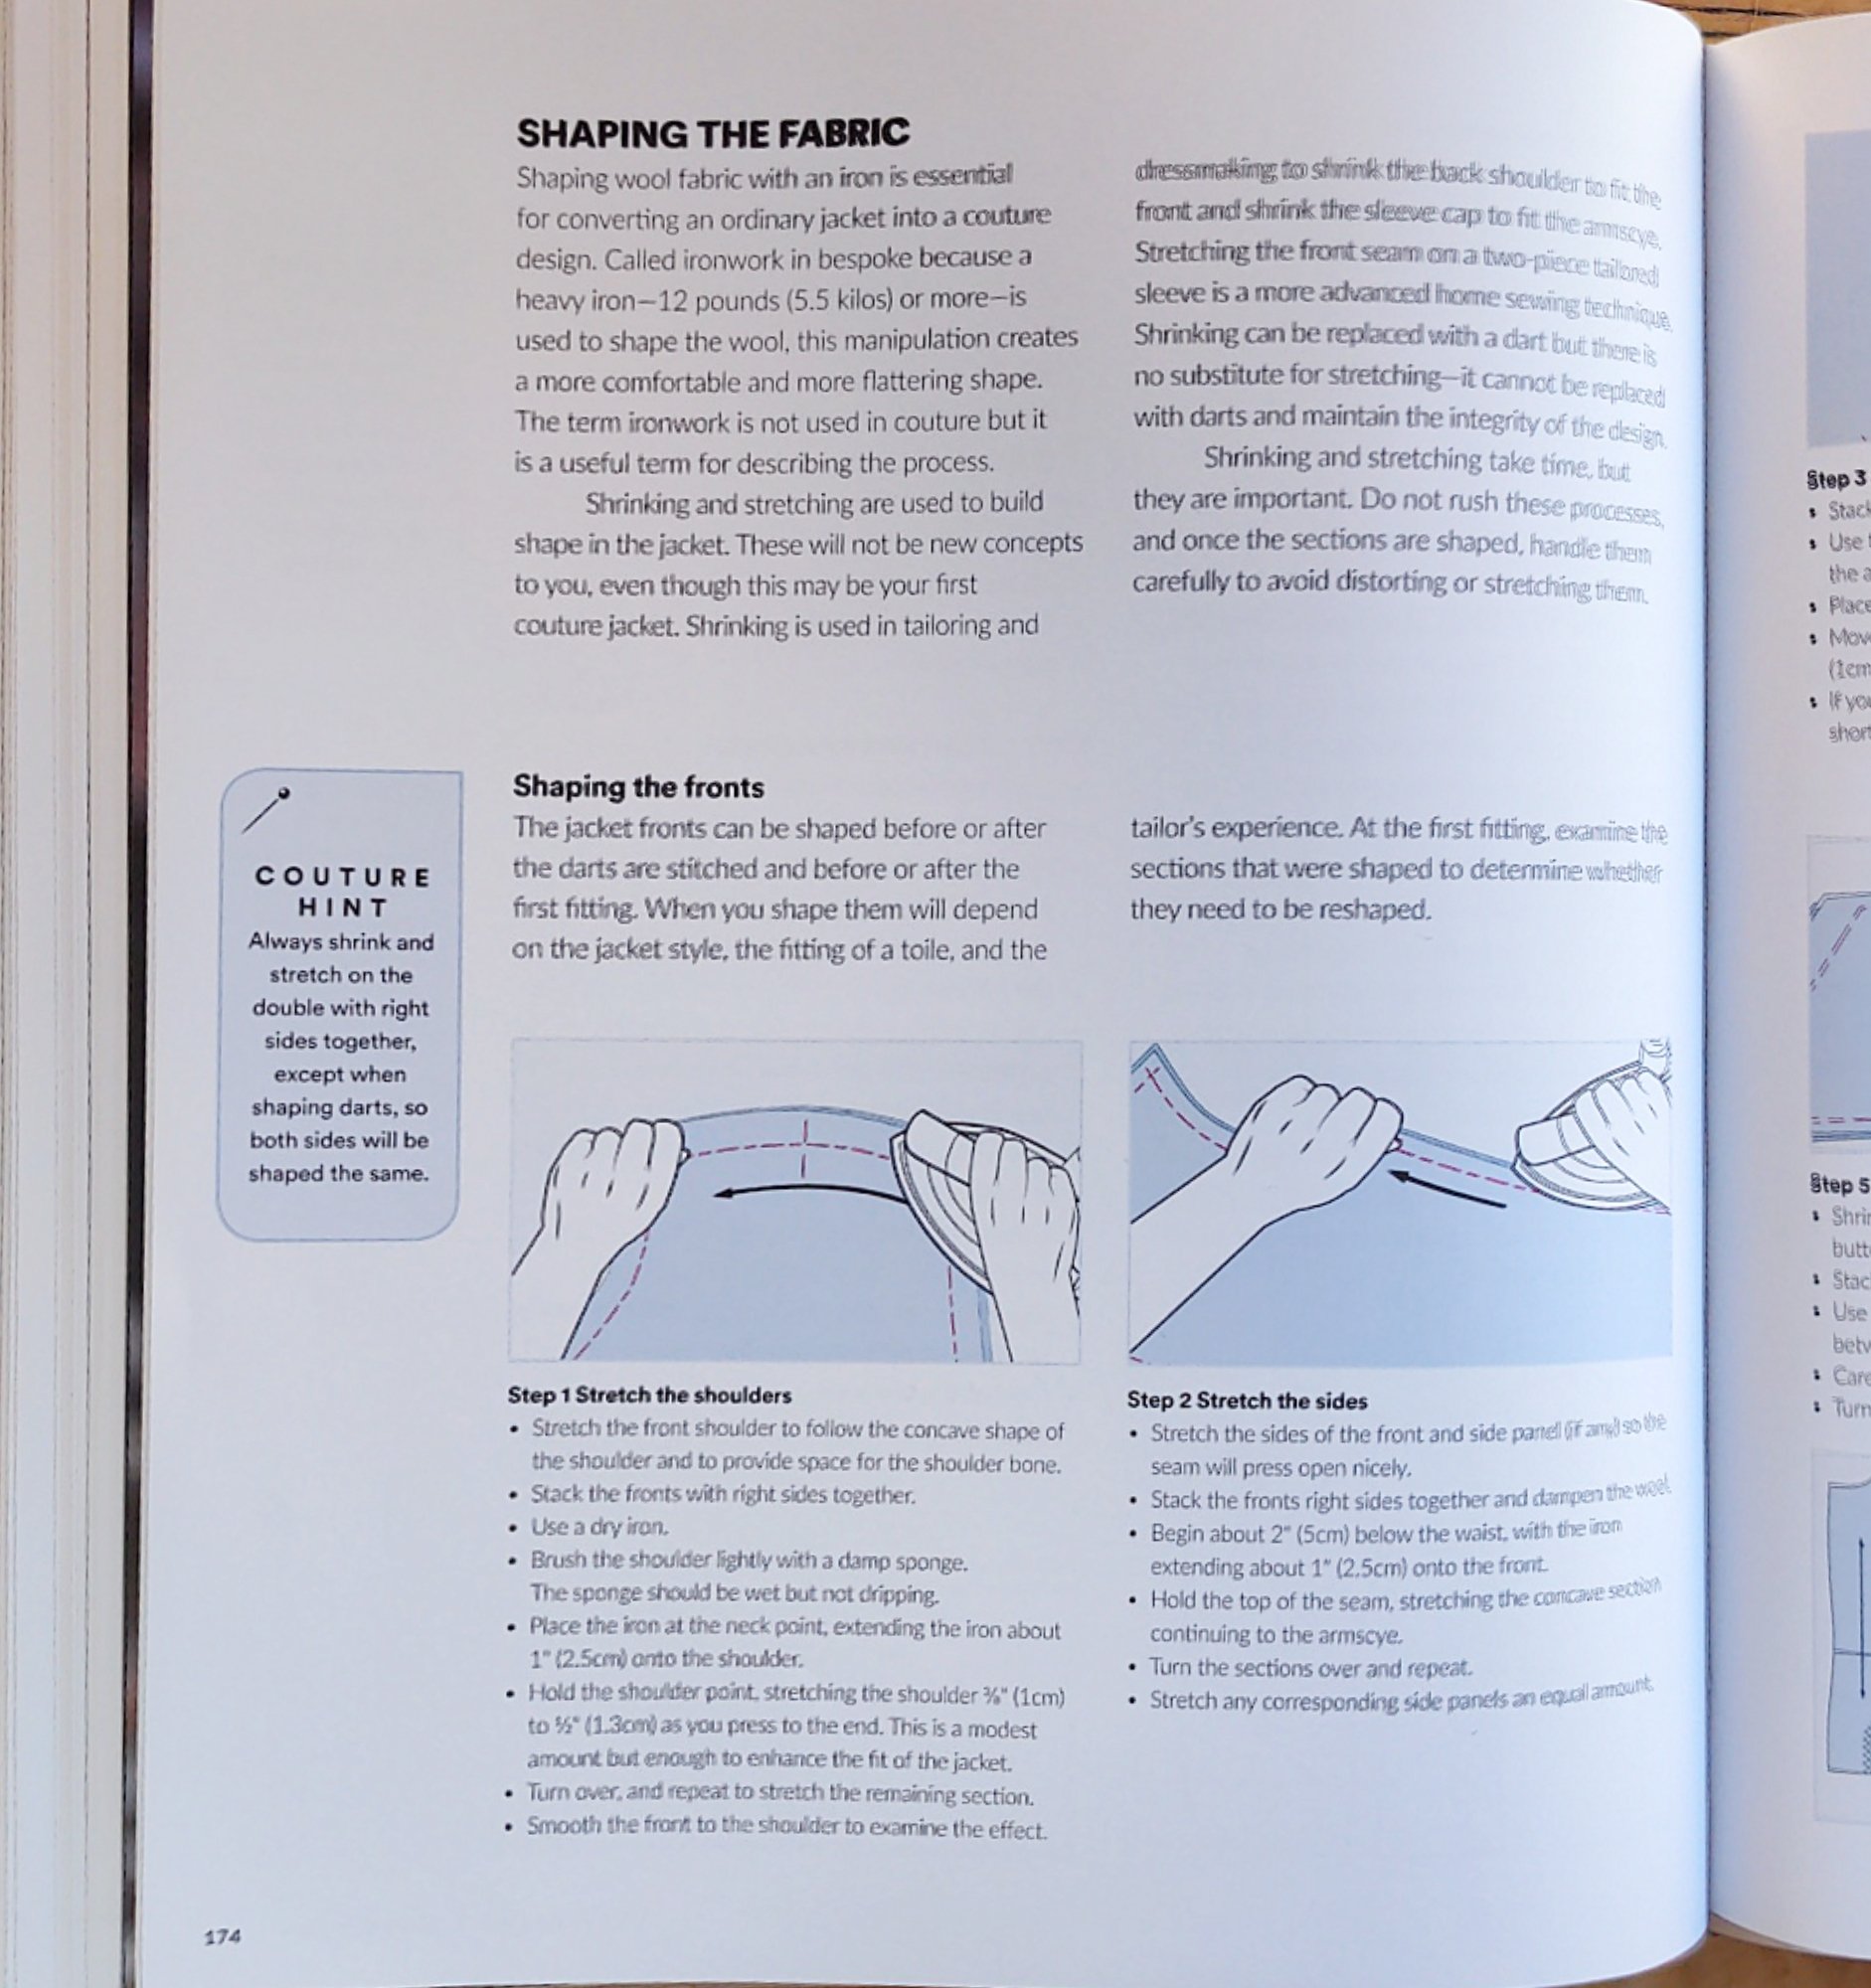
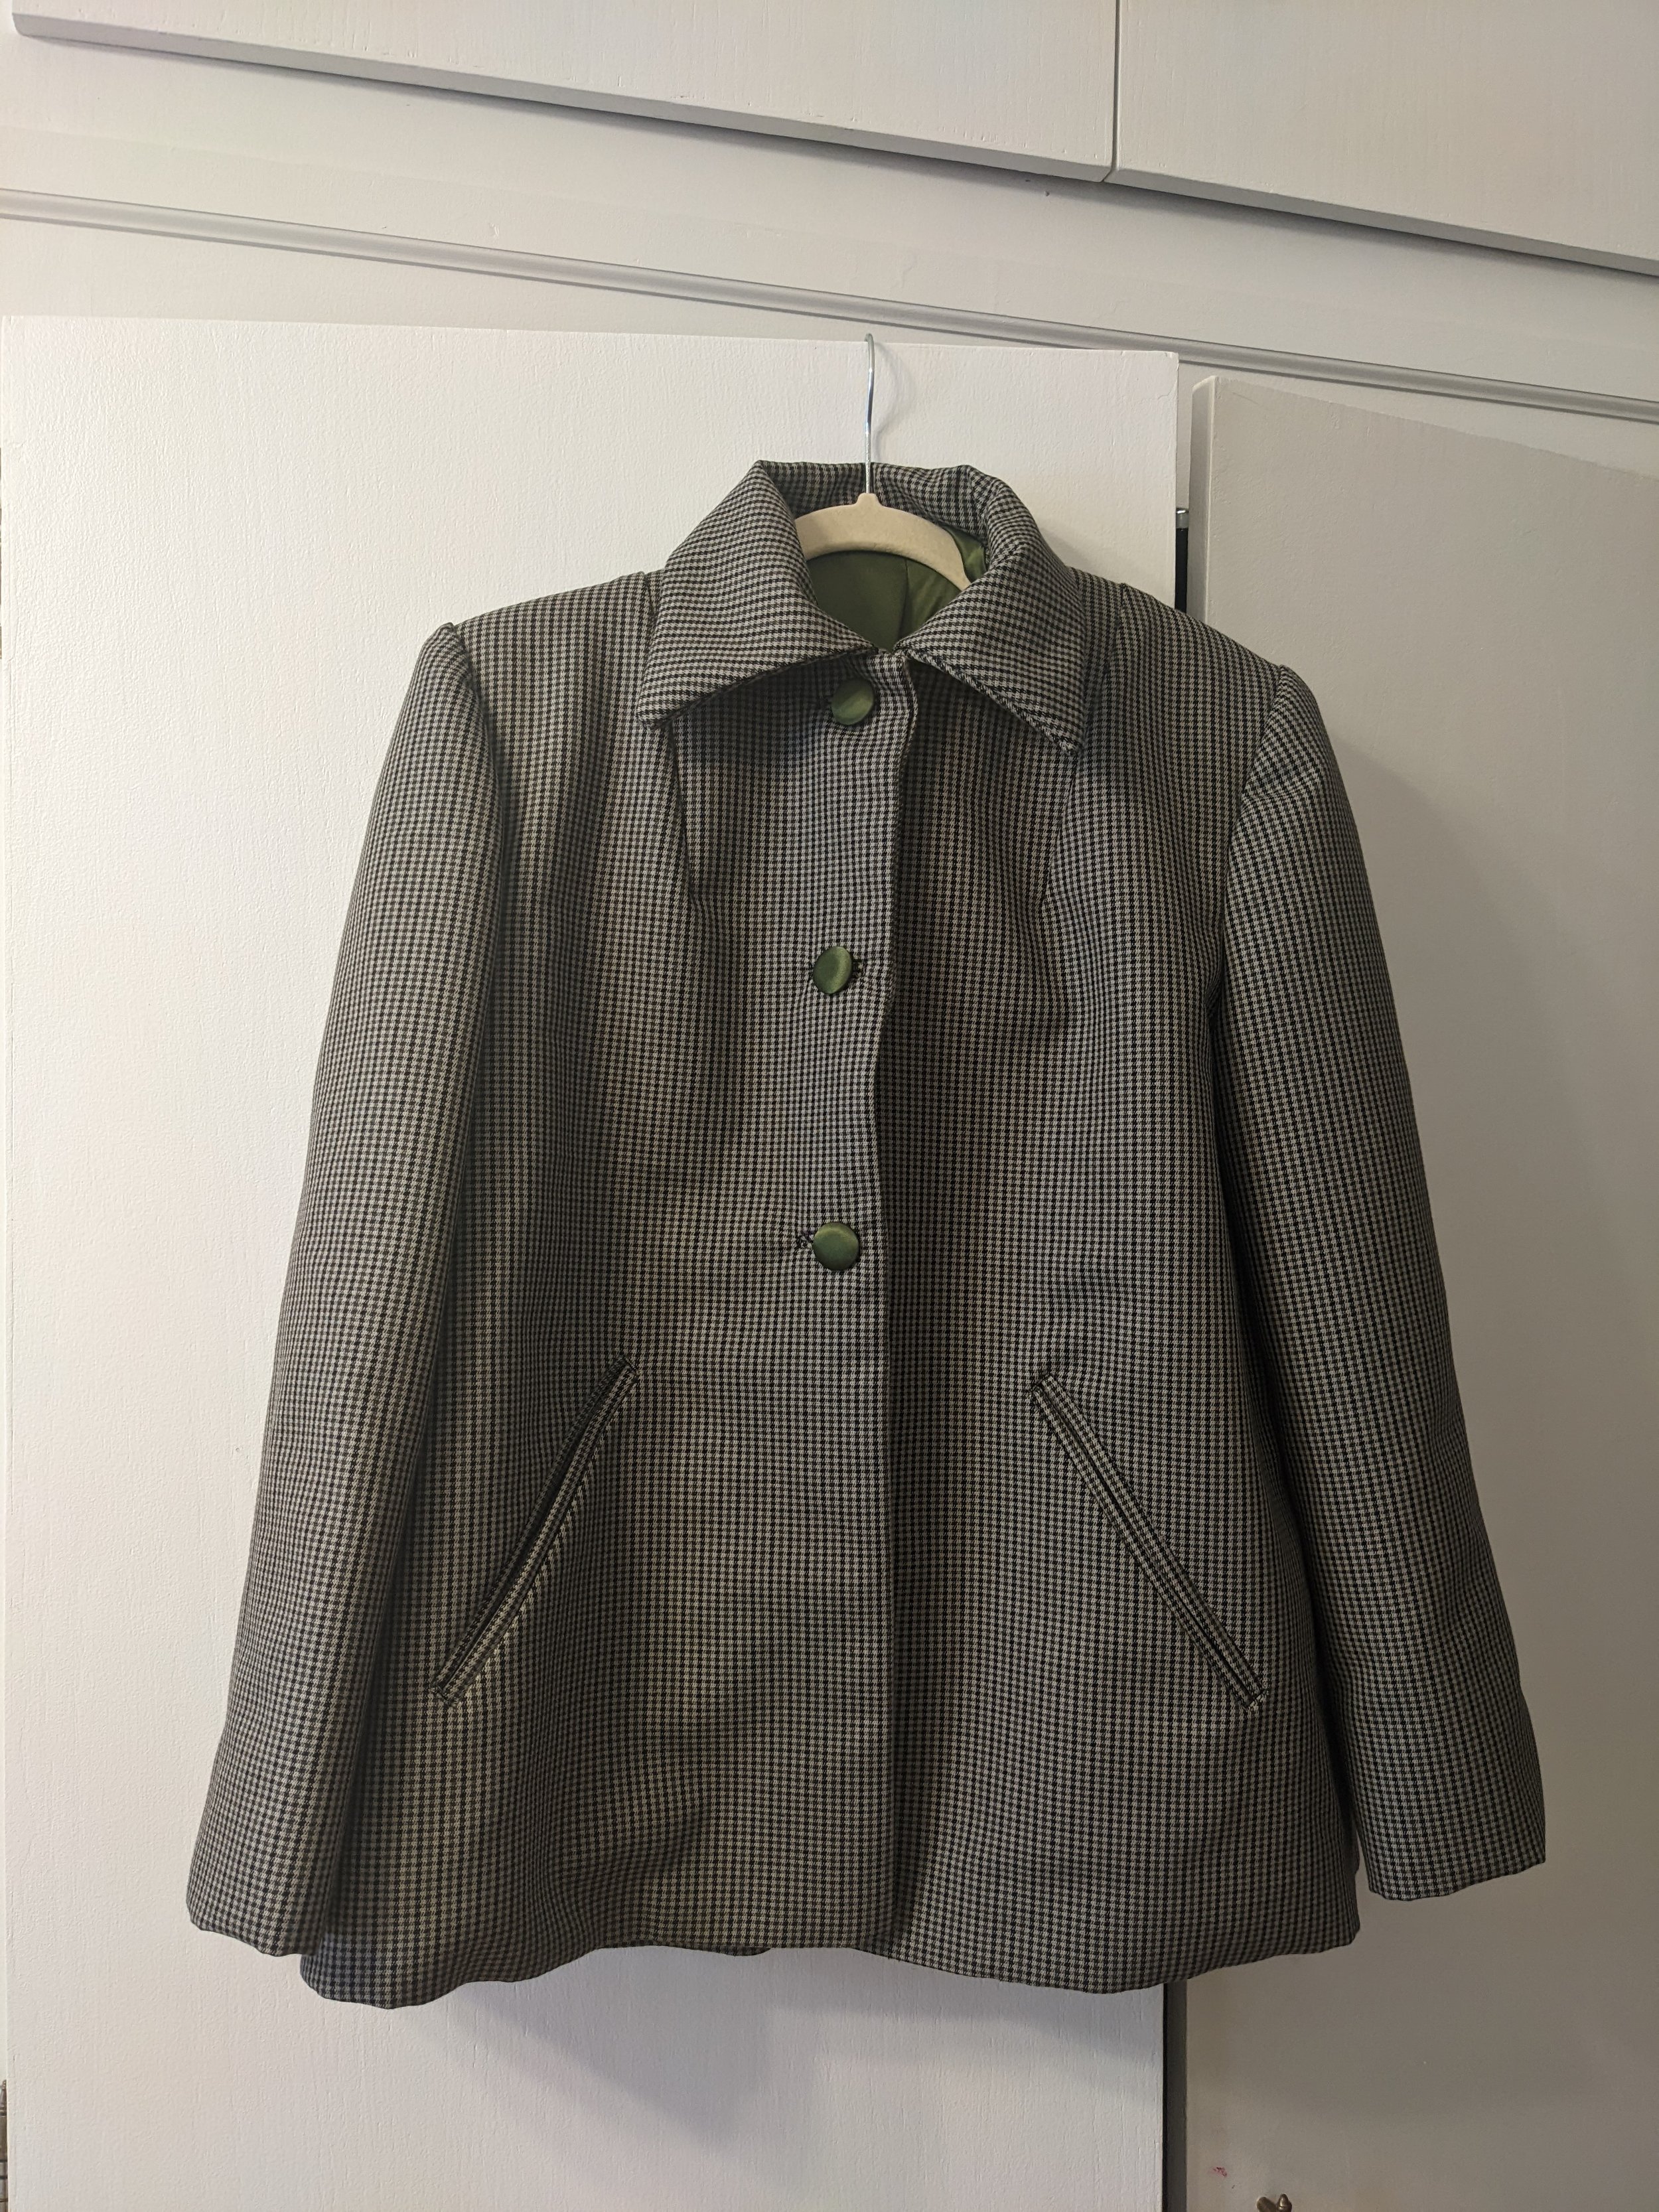
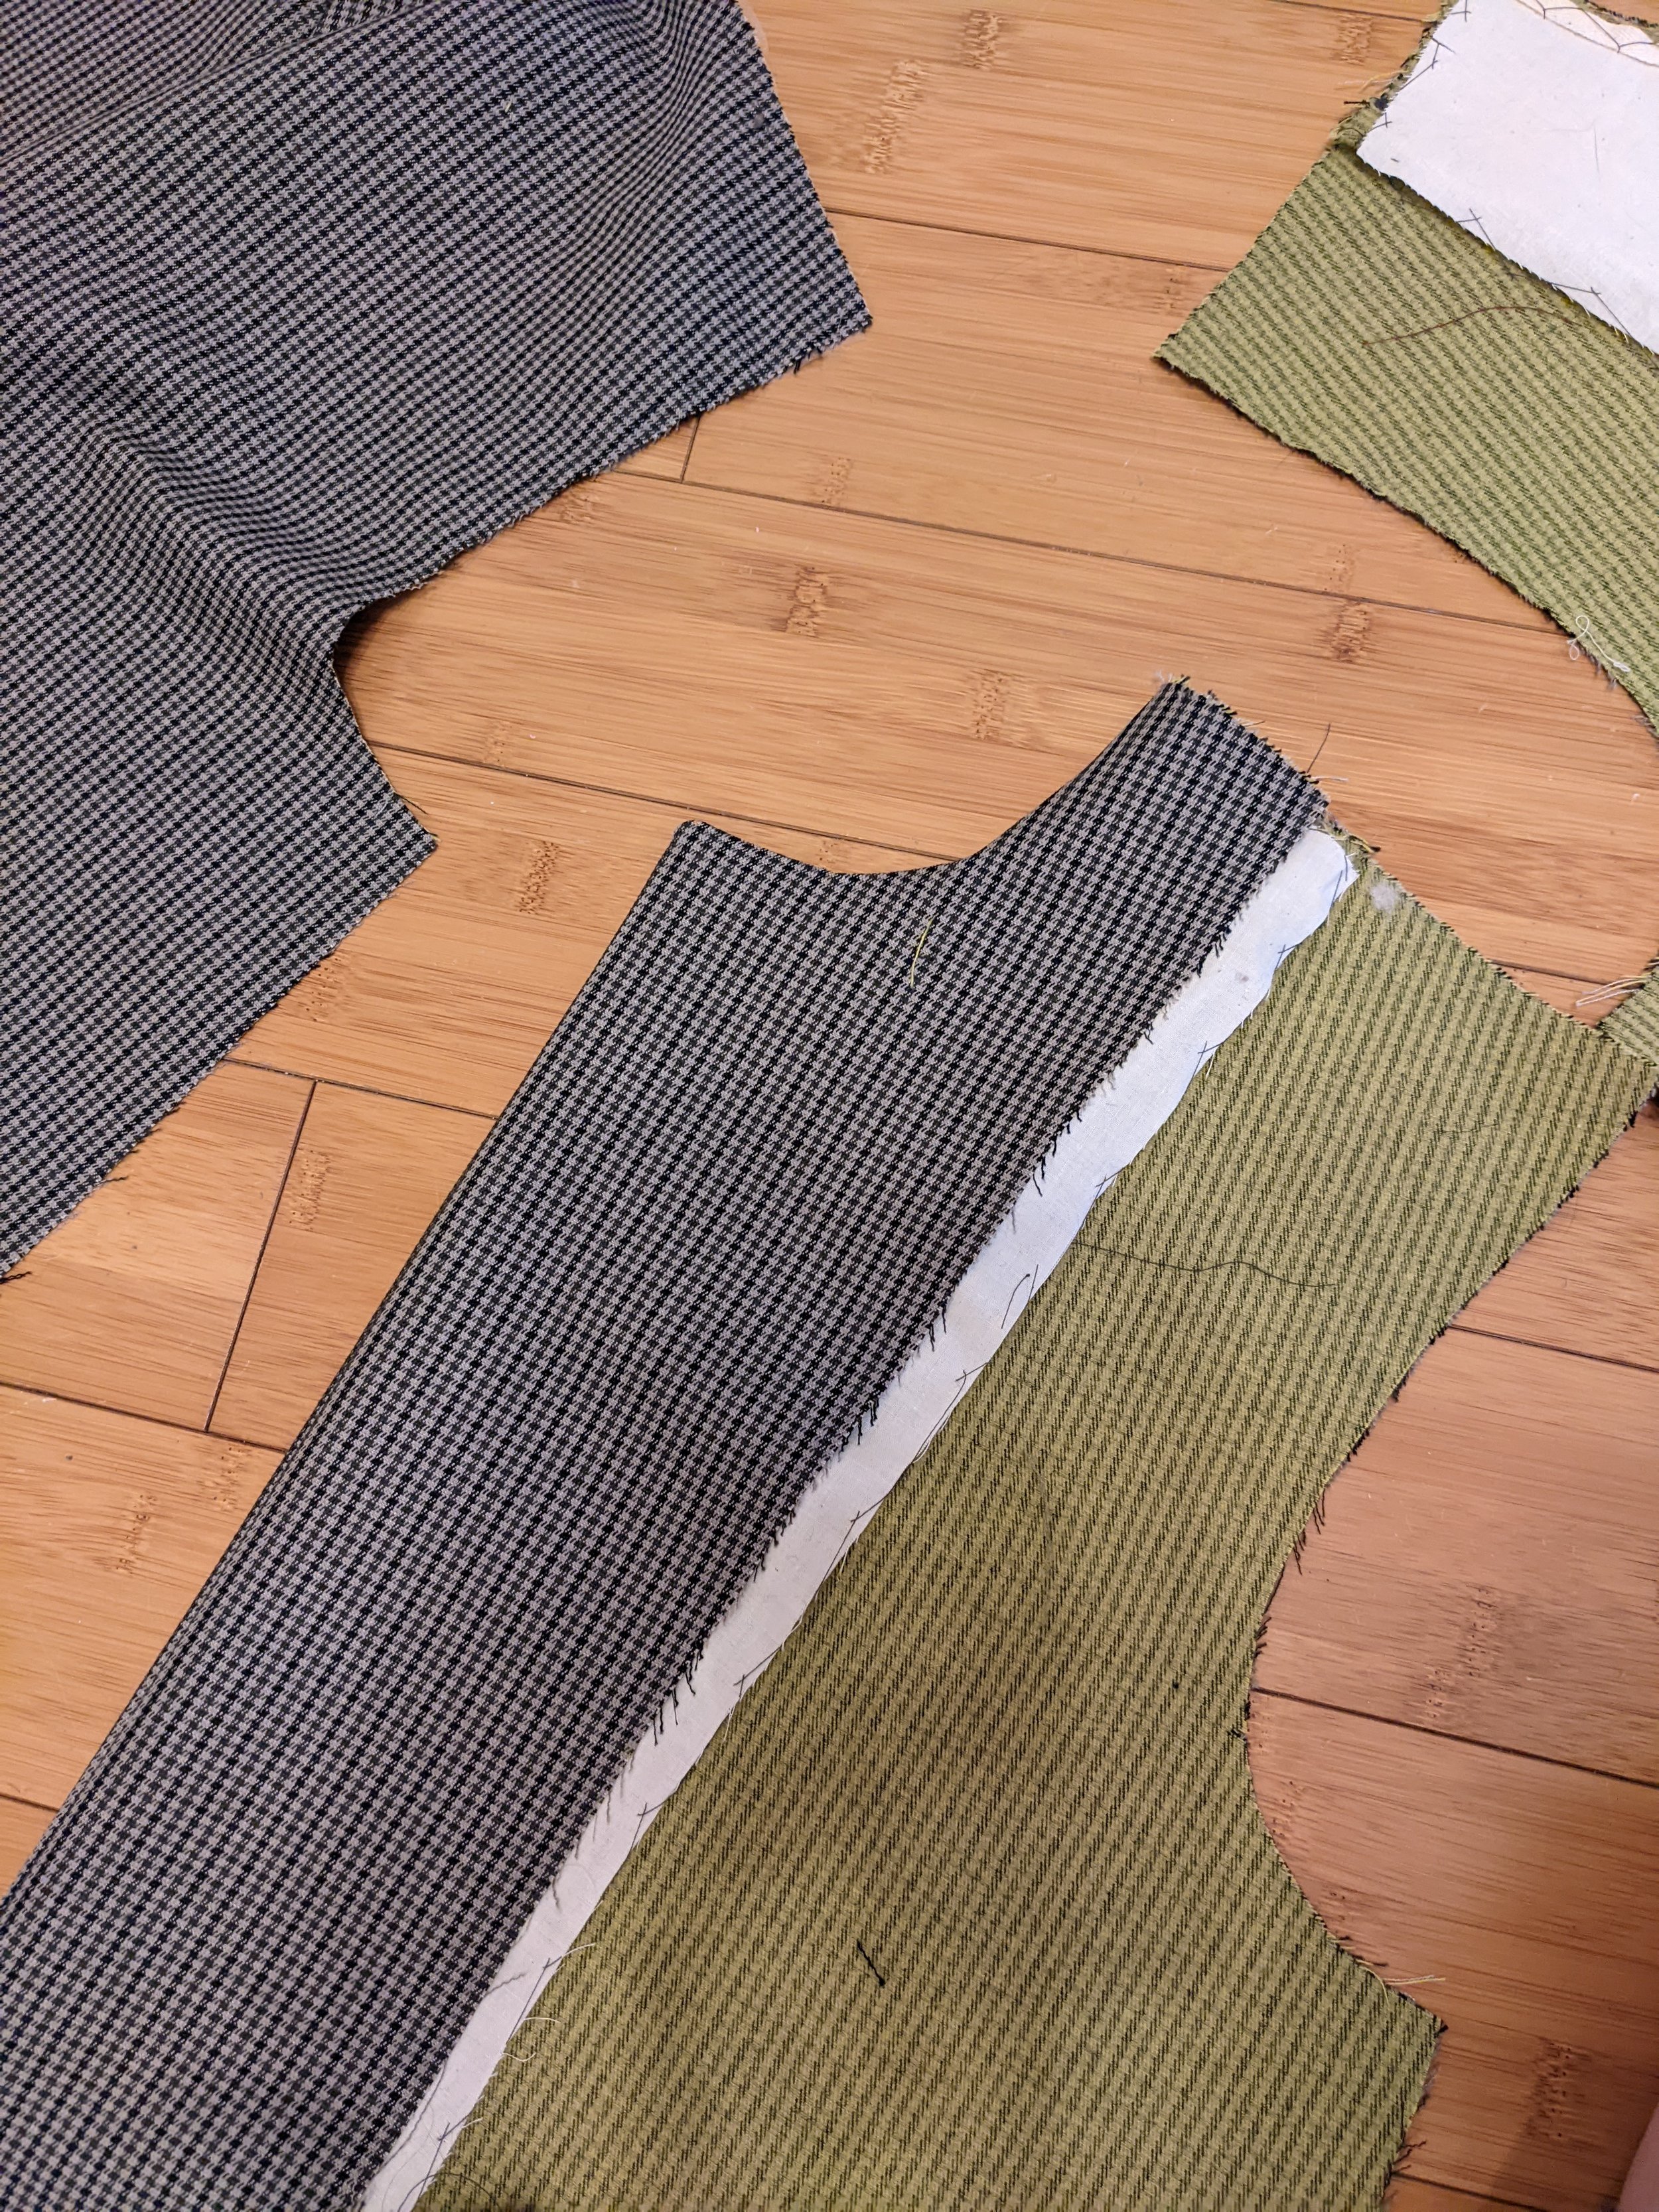
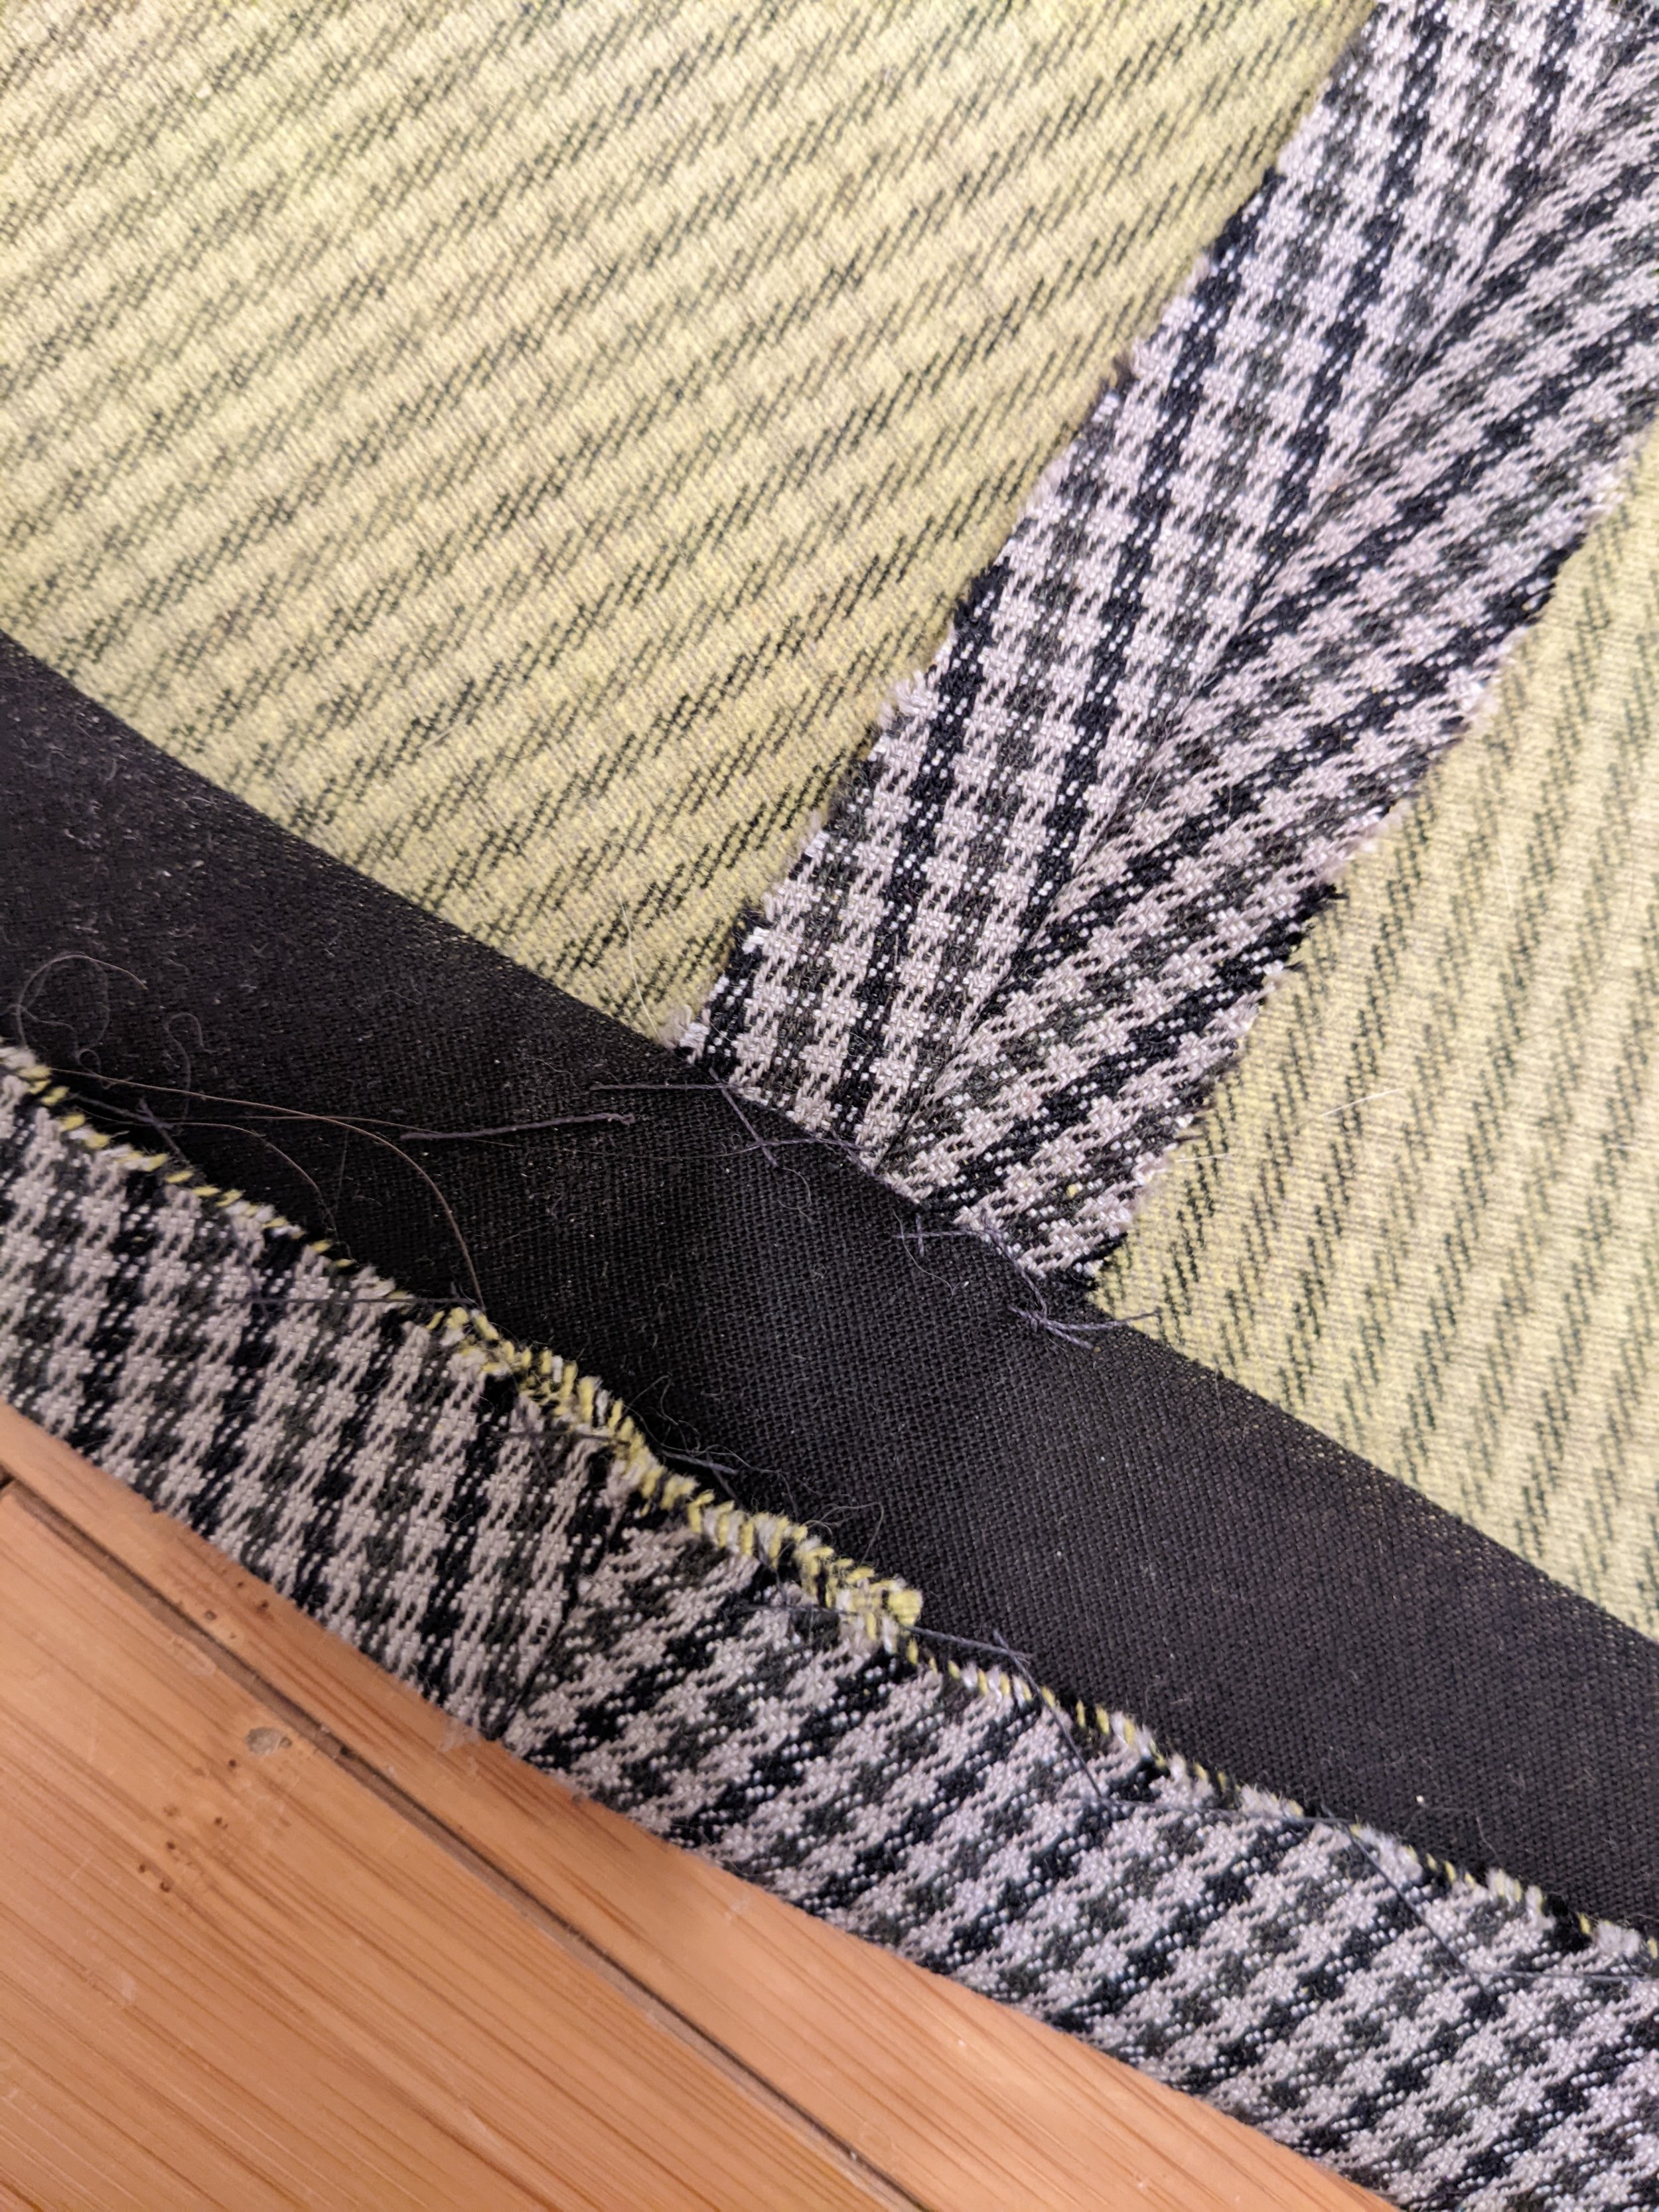
I chose to follow Shaeffer’s book using Simplicity 1716, a pattern I made last winter in a pink mohair, since I knew it fit me. This pattern has double-welt pockets, shoulder pads, a back stay, and two-piece sleeves, so it follows a lot of existing couture jacket conventions that I felt like would work well with Shaeffer’s instructions. I sewed View 2 this time (I sewed View 1 and added the collar last winter). Also, this pattern description begins, “Brief but smart…” which is really the best. I used a checkered wool from my collection - Shaeffer is insistent that couture jackets be made out of wool, especially your first one, since it takes heat shaping really well.

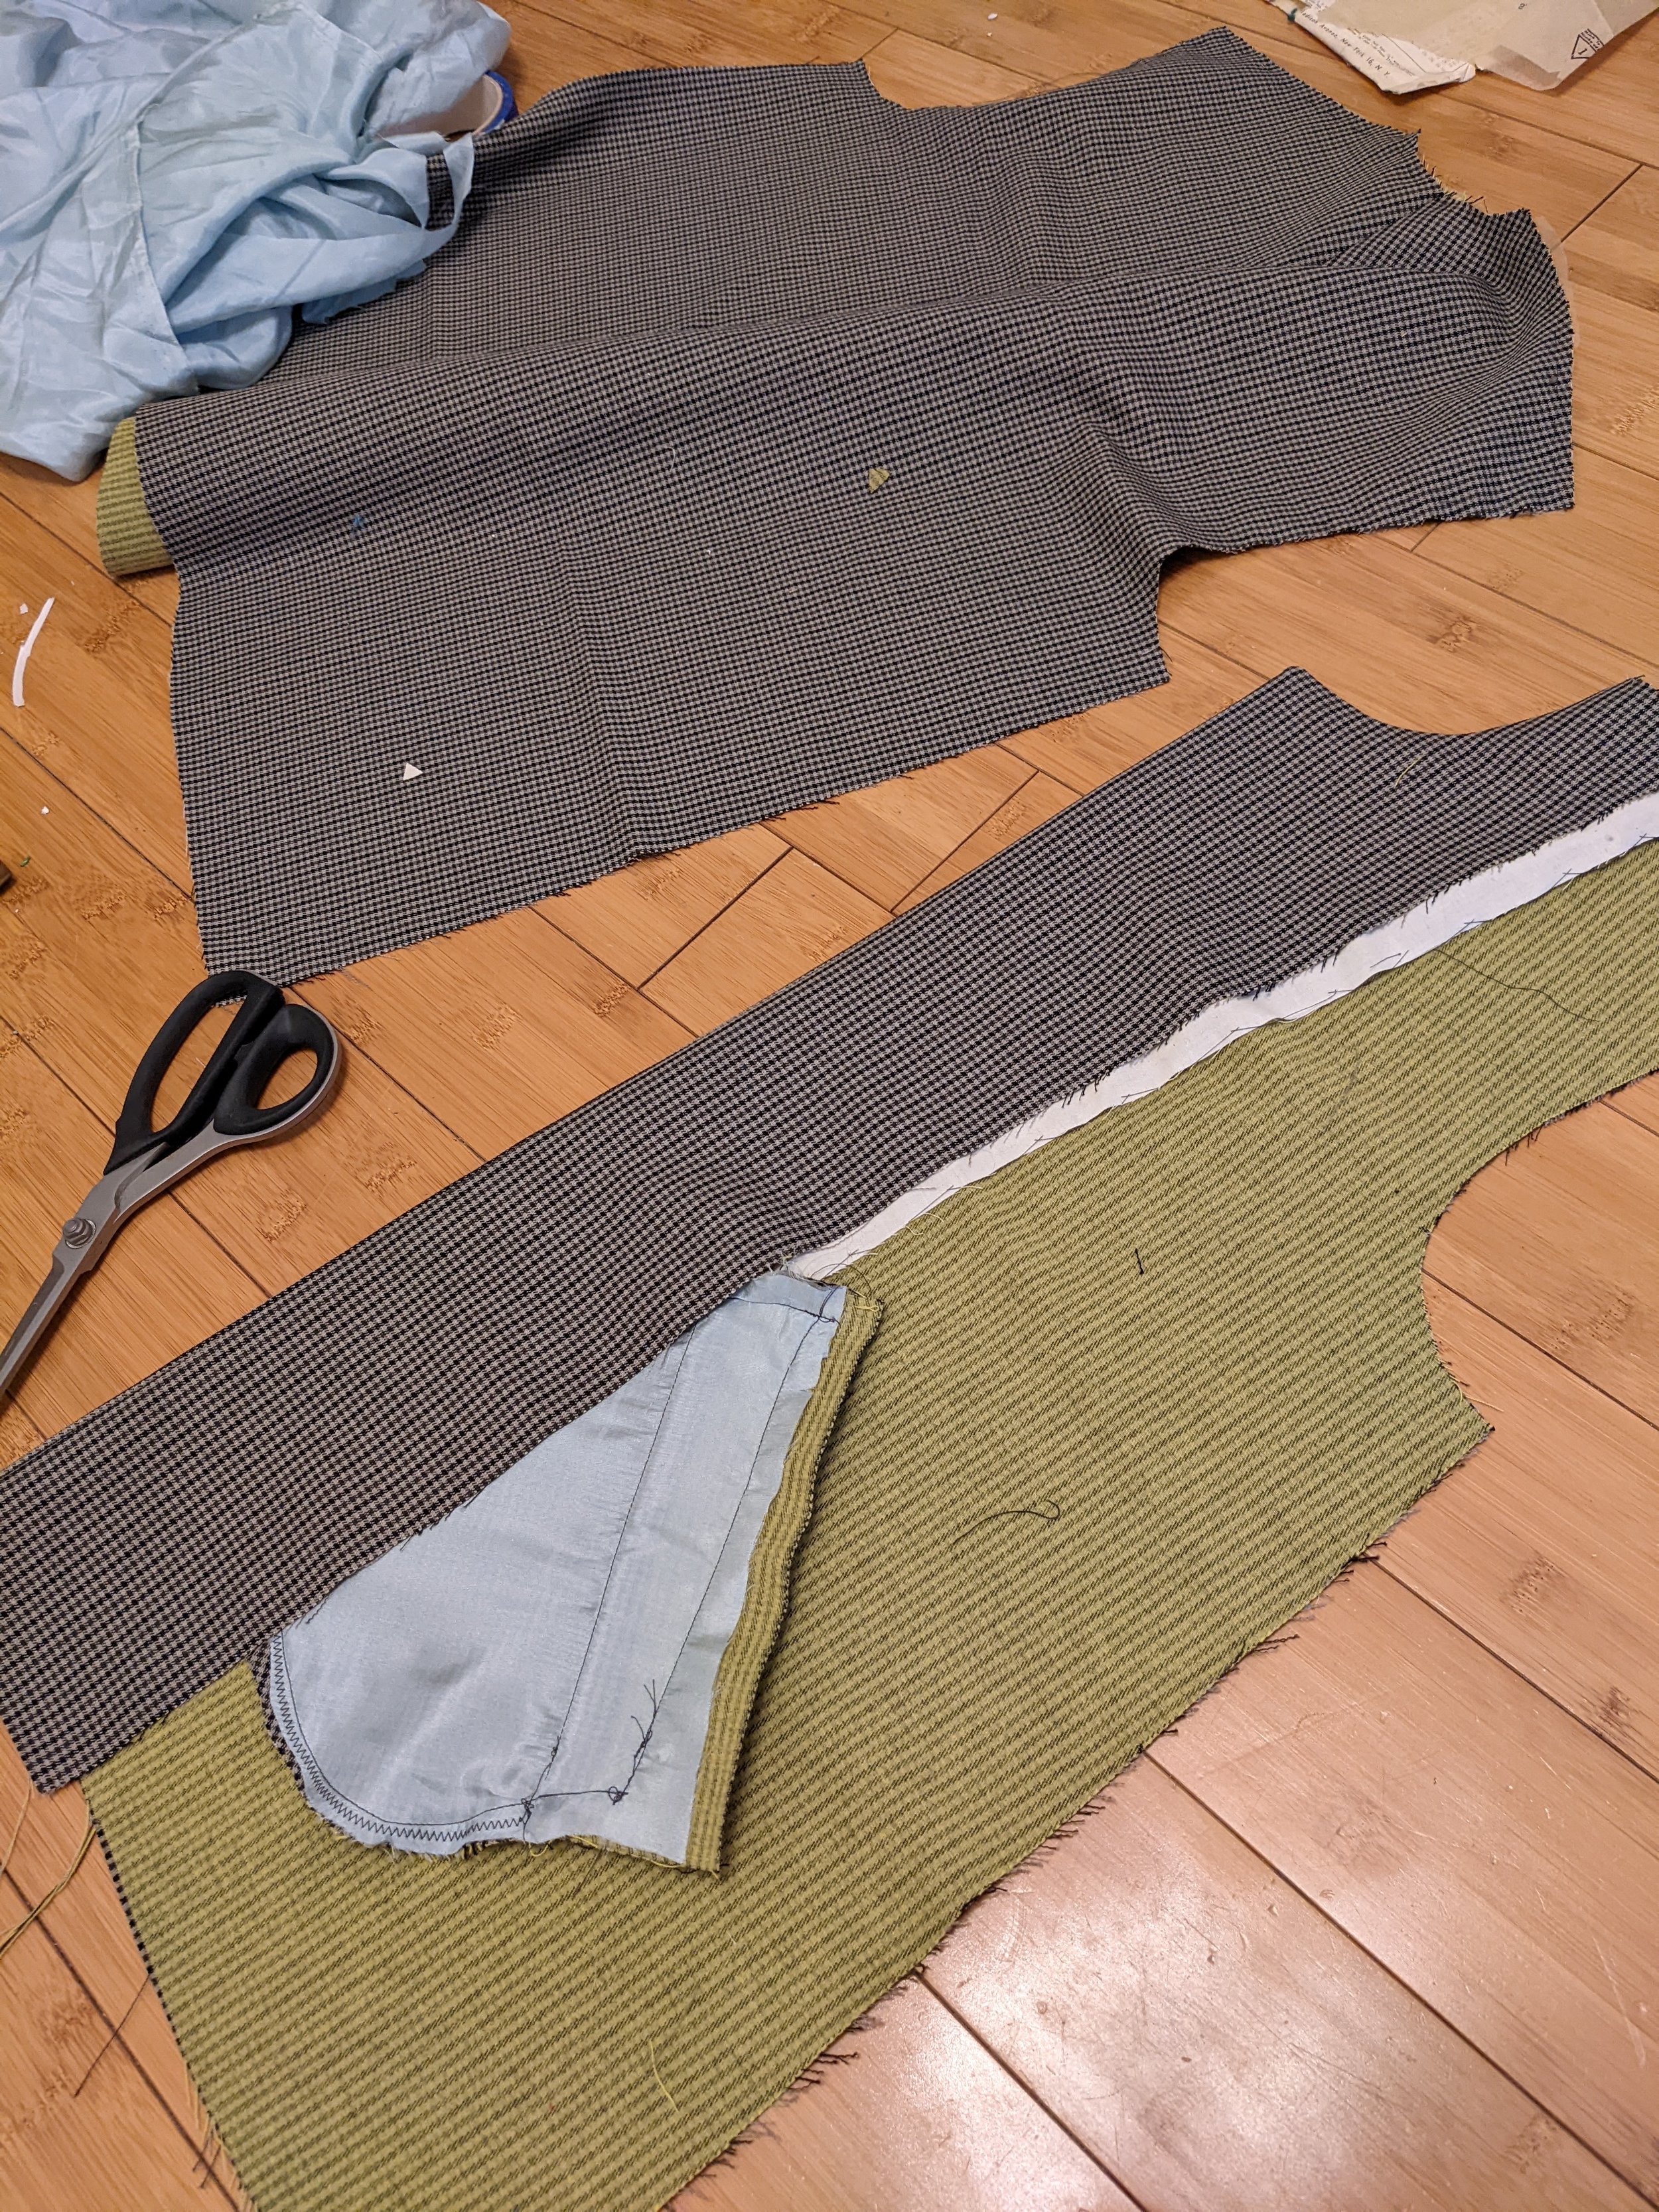
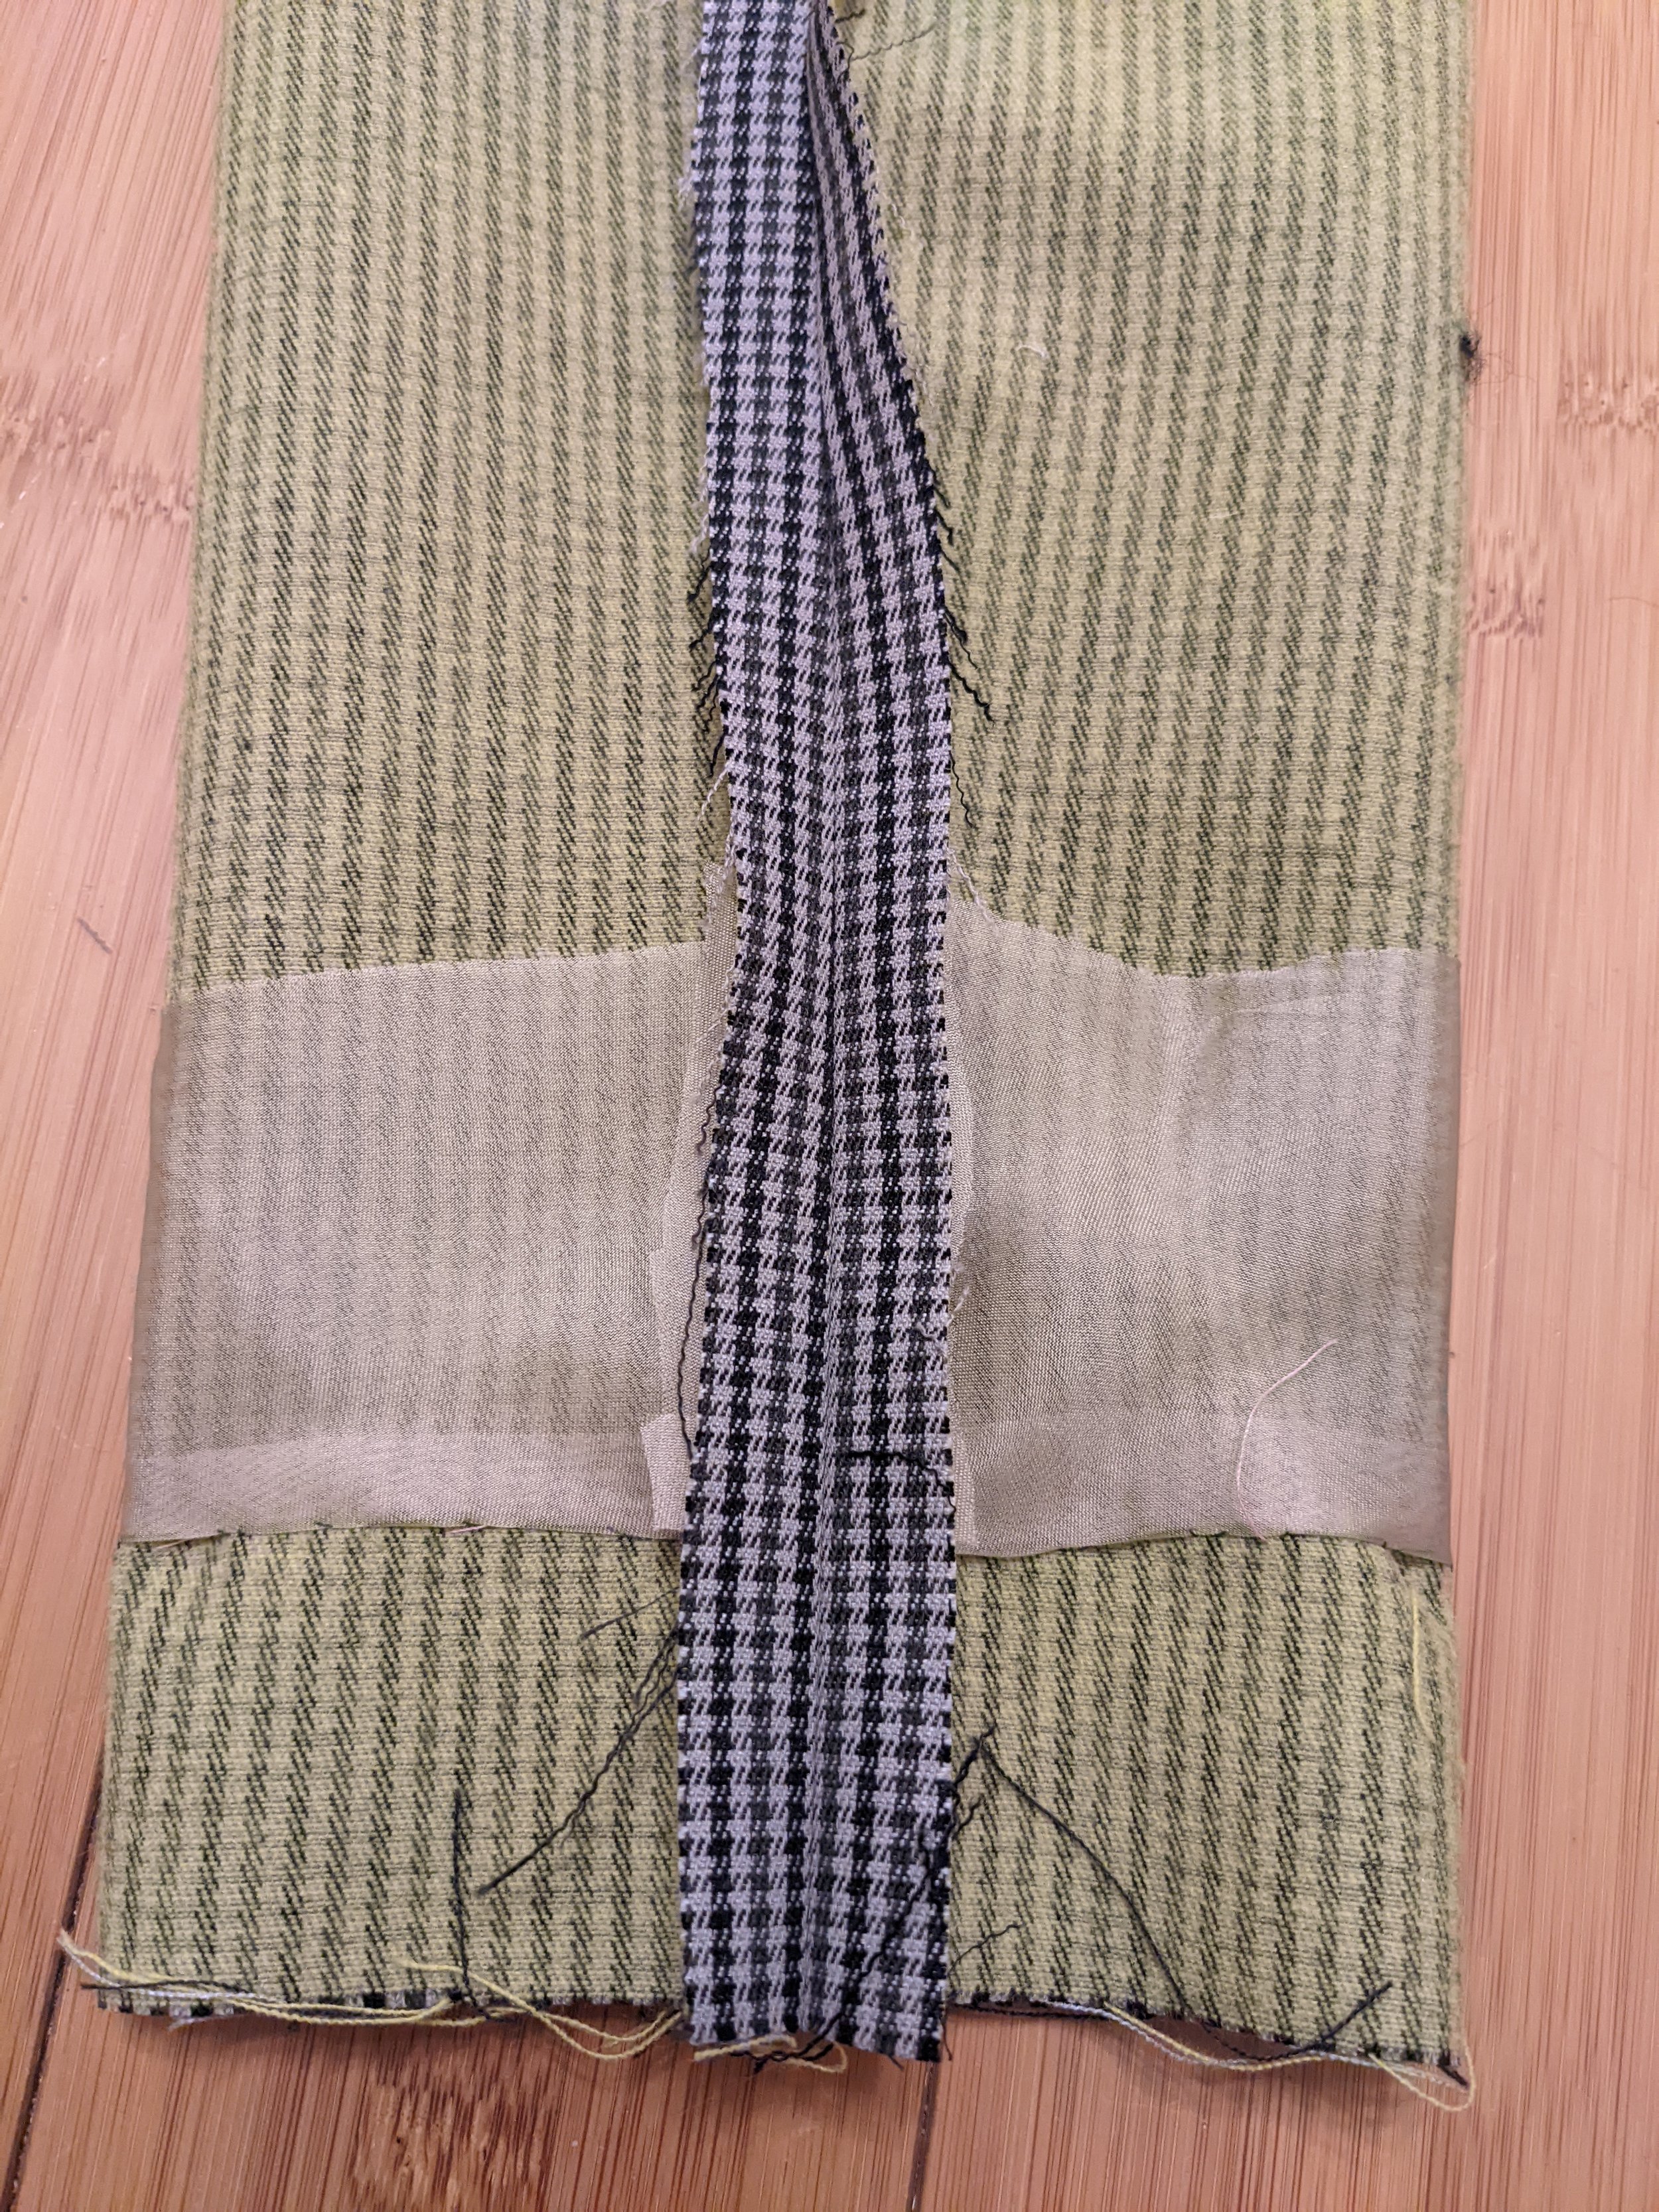
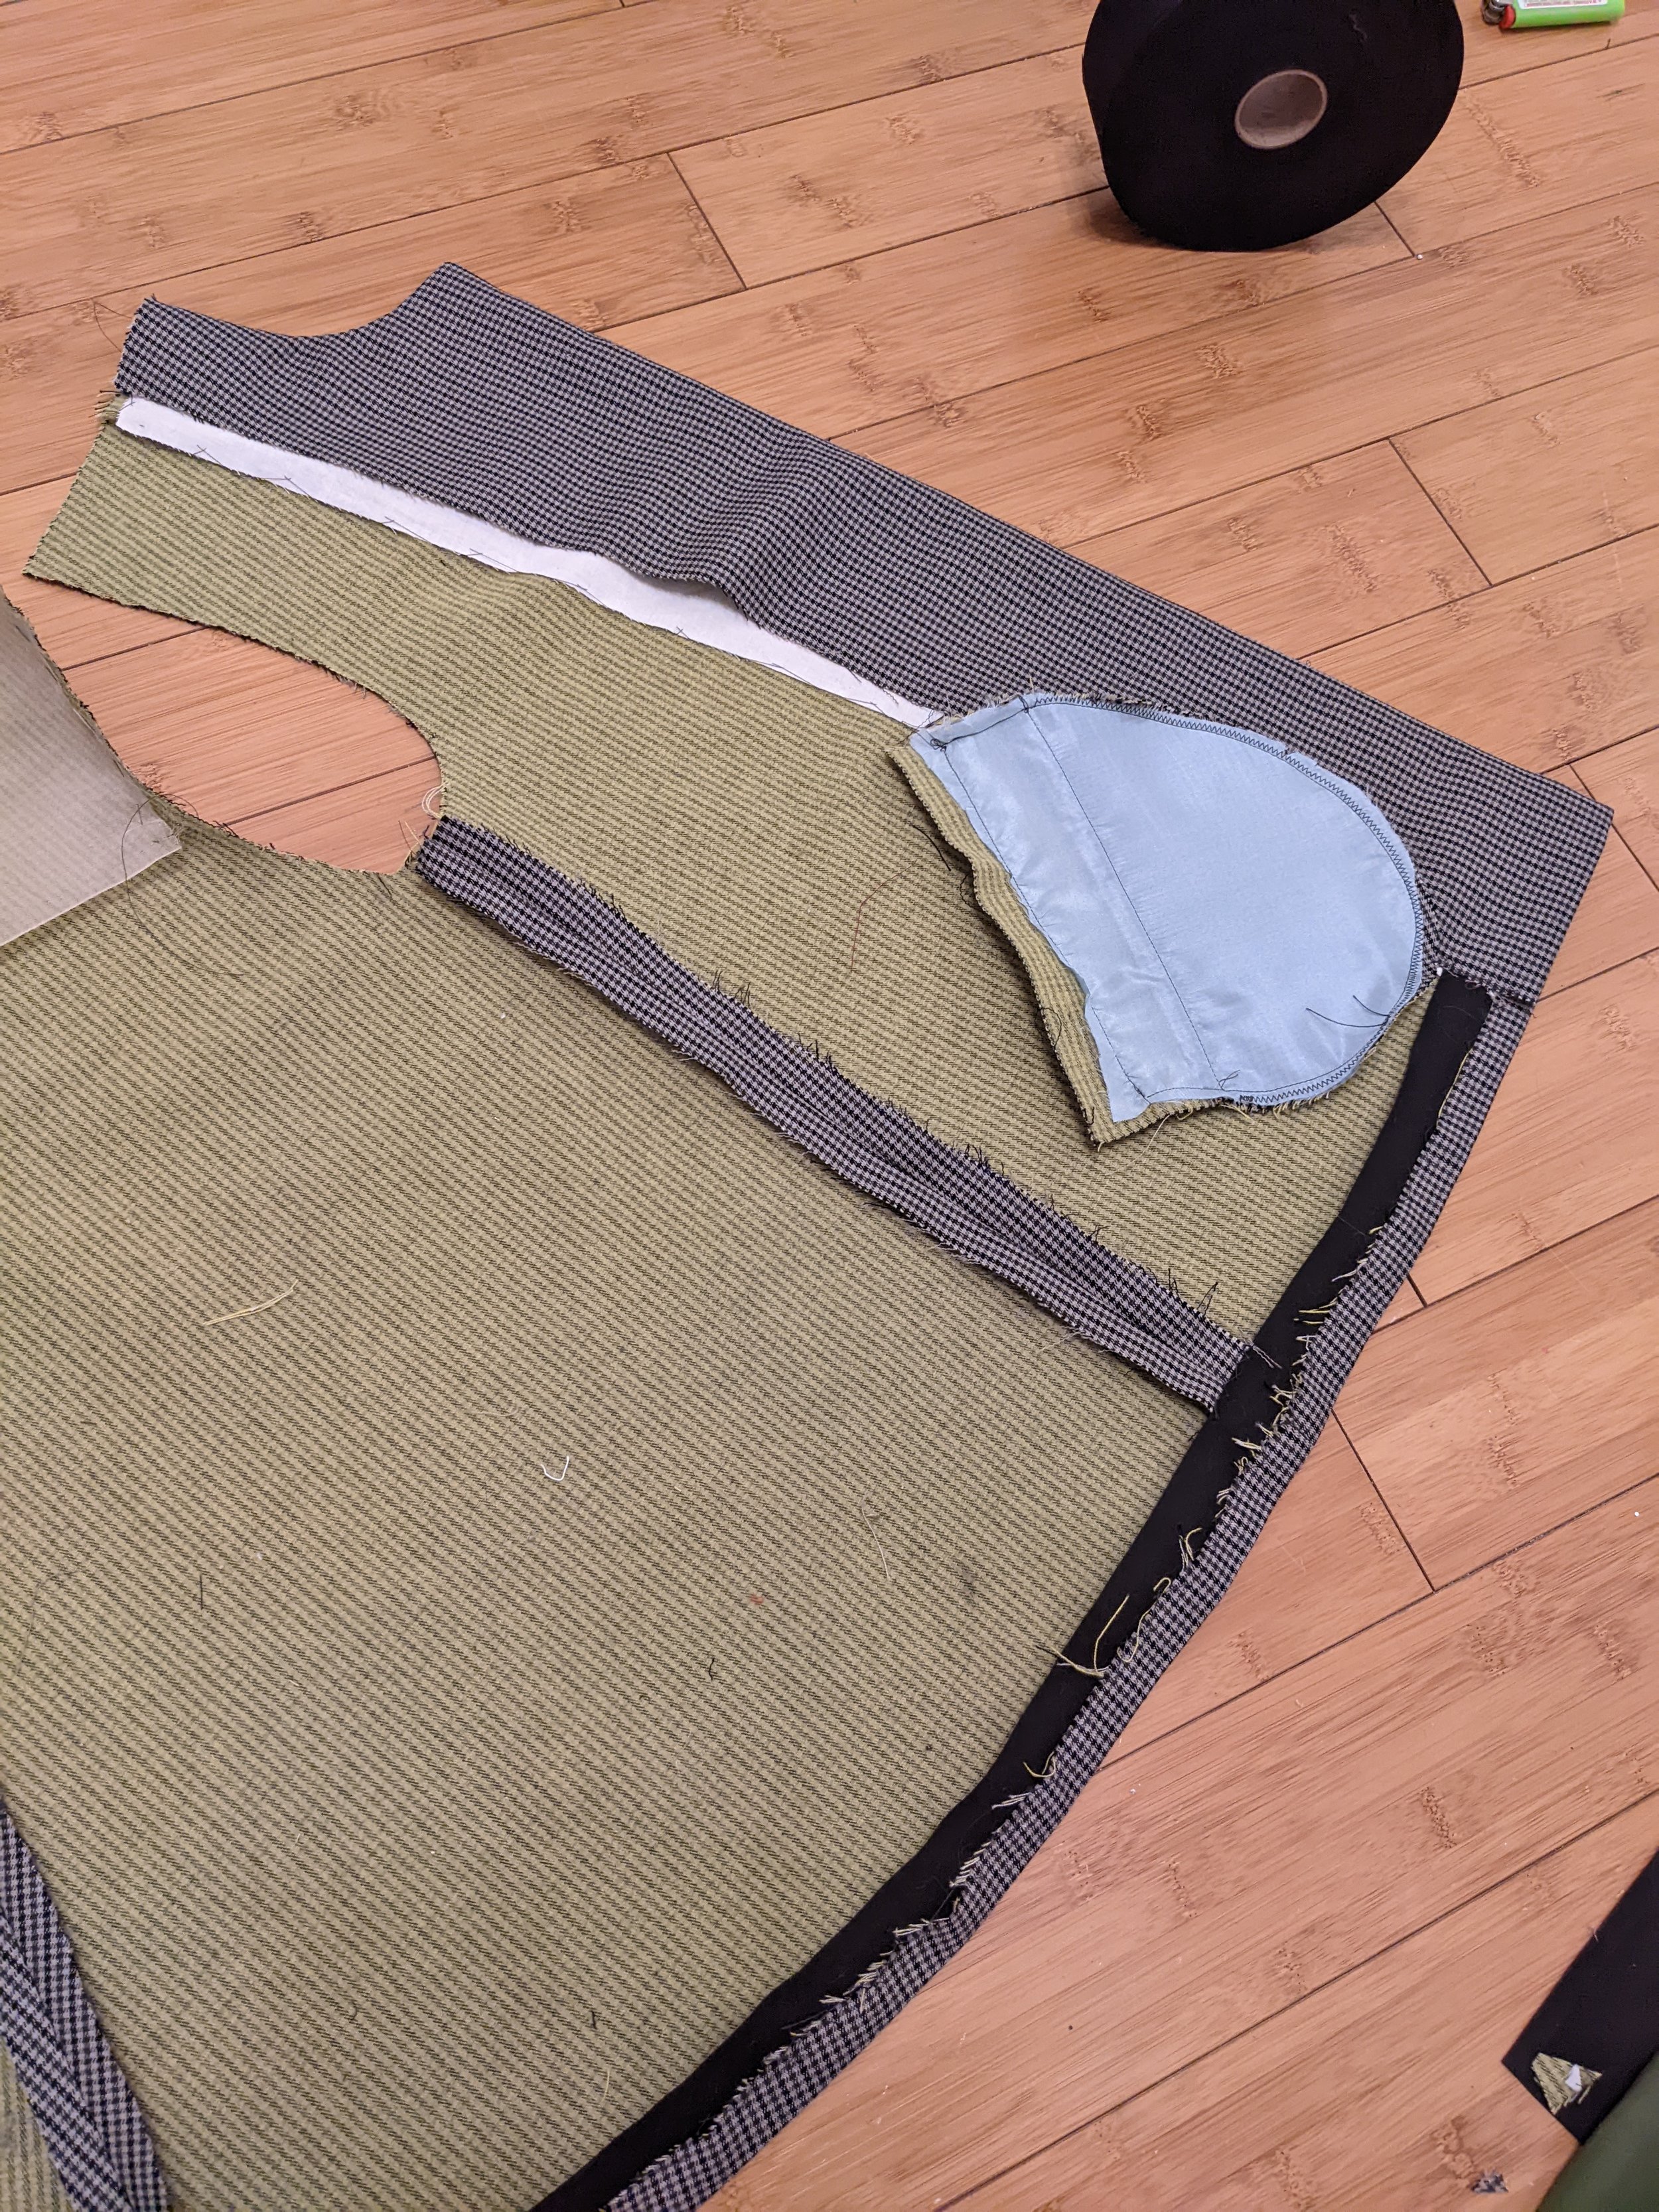
The thing about making couture anything is that it requires a lot of hand sewing. Even on things you won’t see later, and even on interior interfacing pieces. It provides a level of control you can’t get from a machine. (Long sections like the side seams are done by machine.) So: time to hand sew in all of the cotton interfacing on the jacket front:
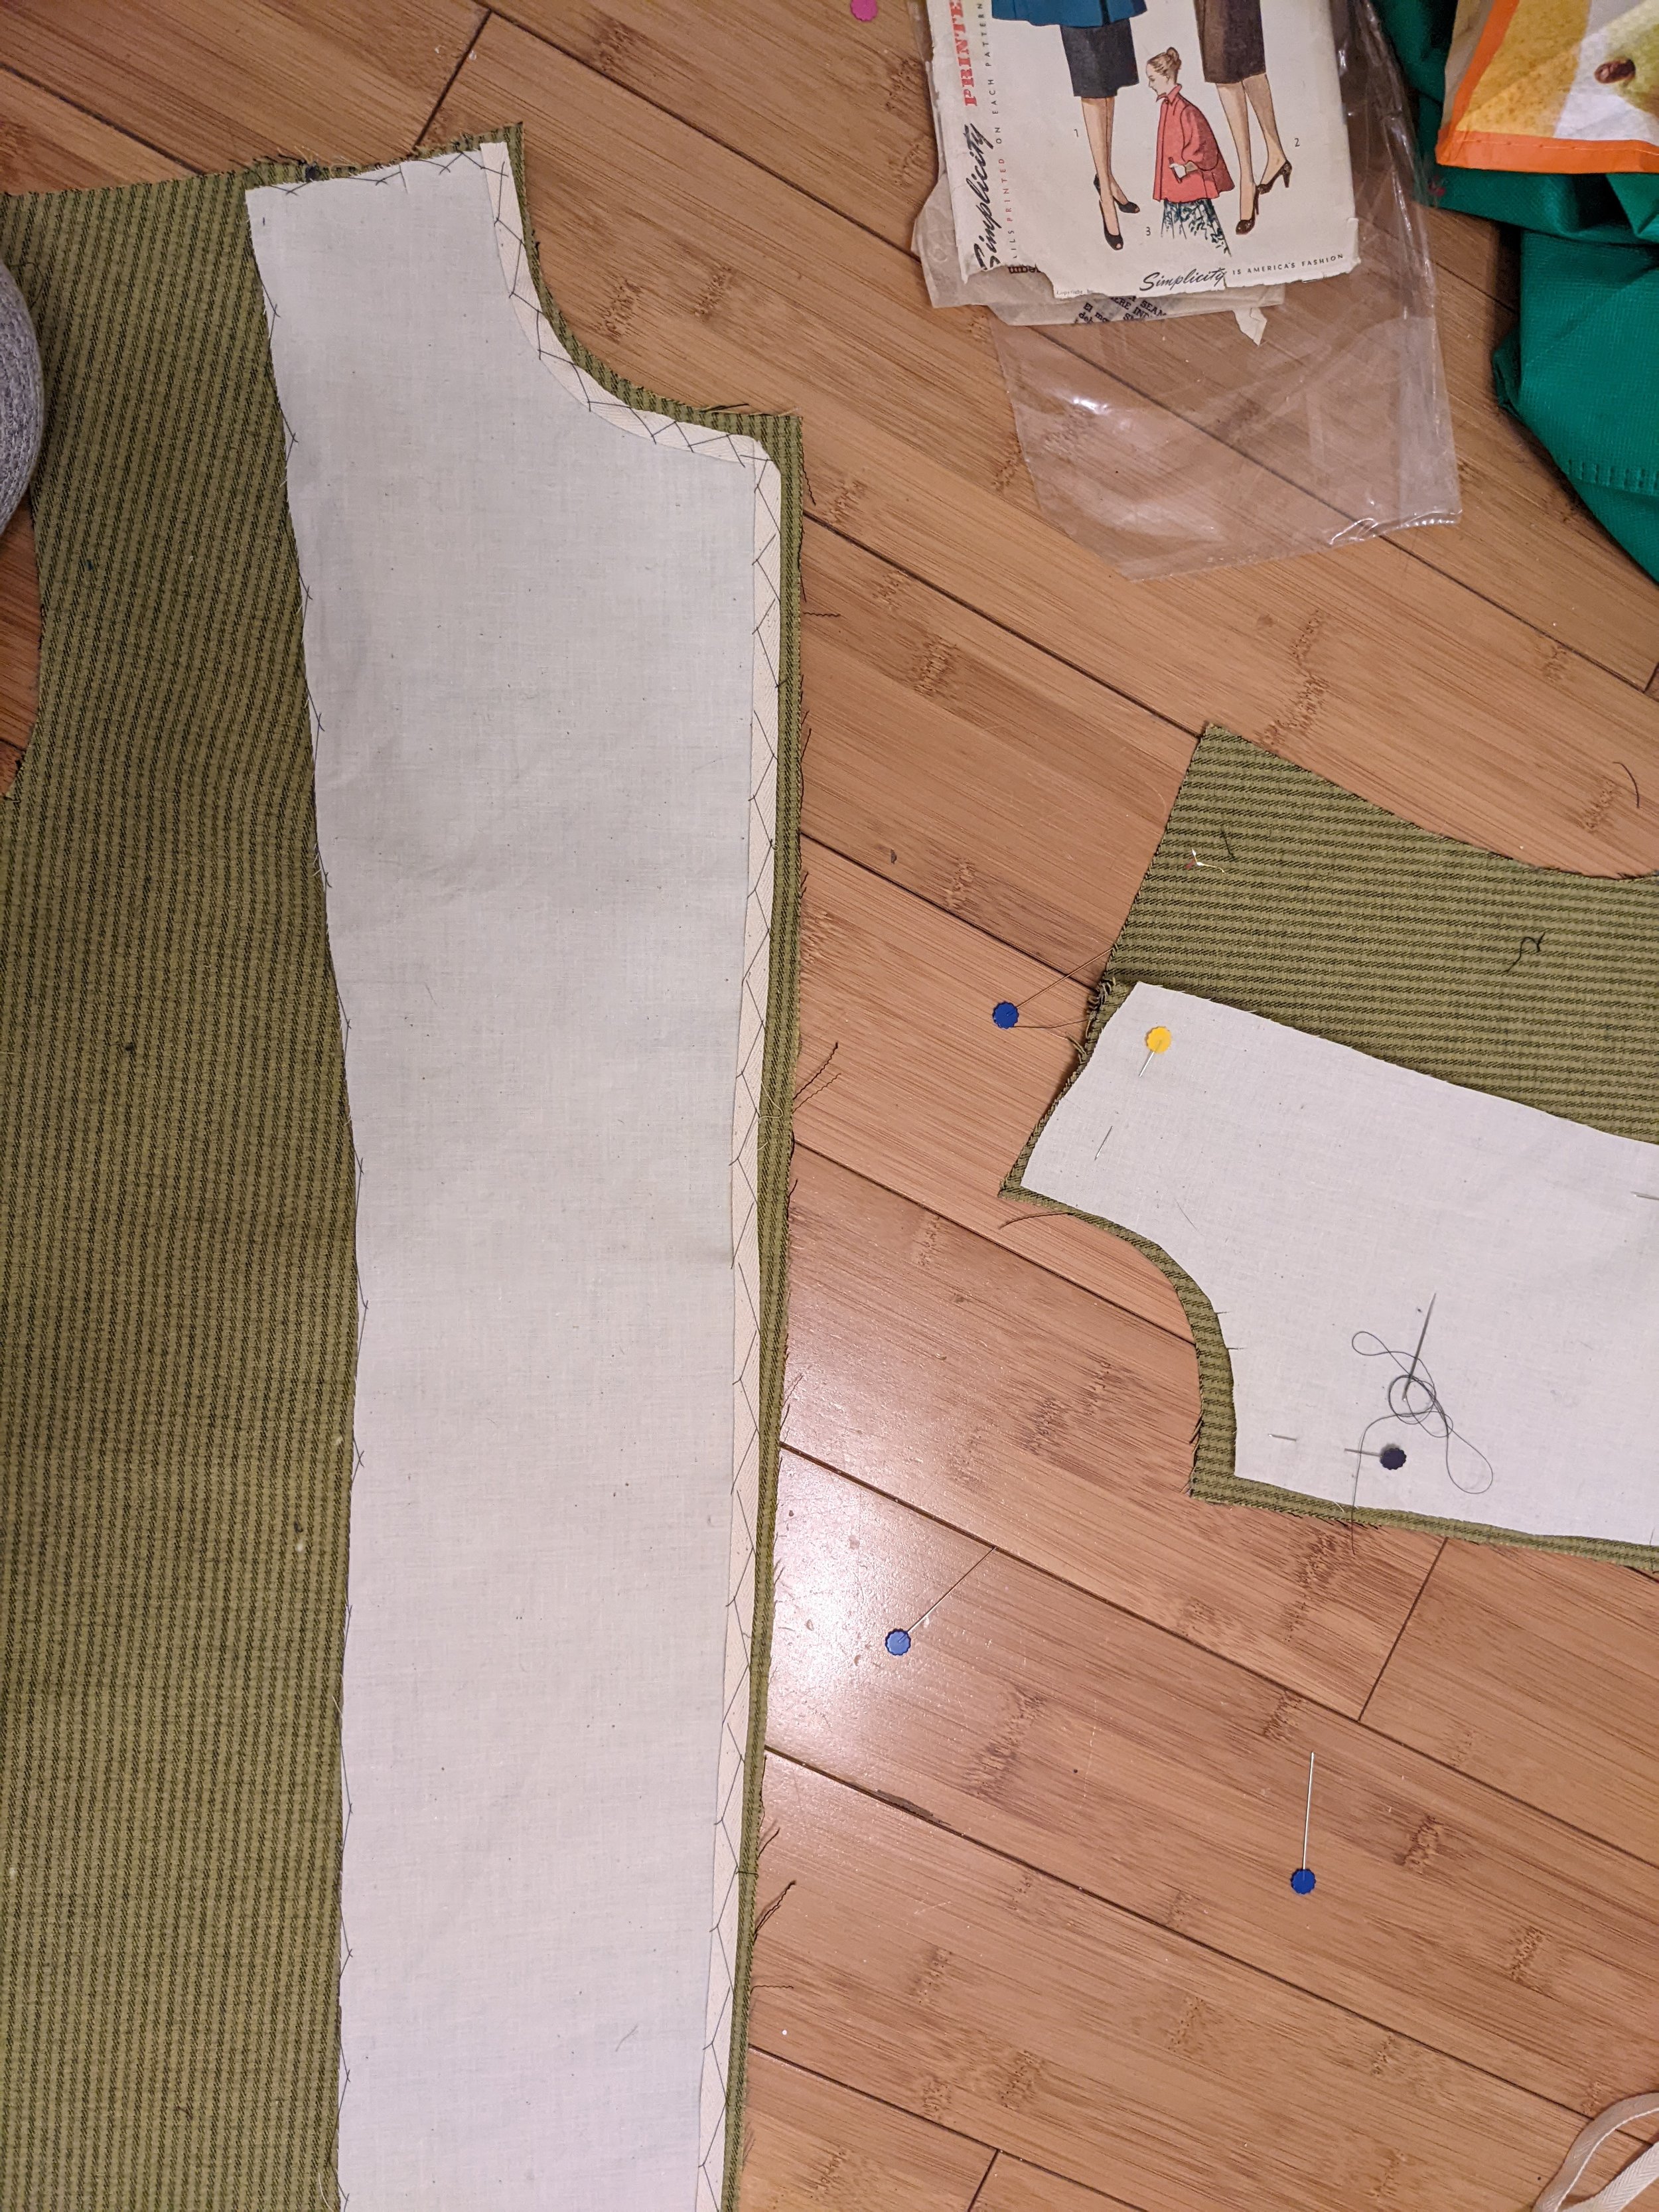
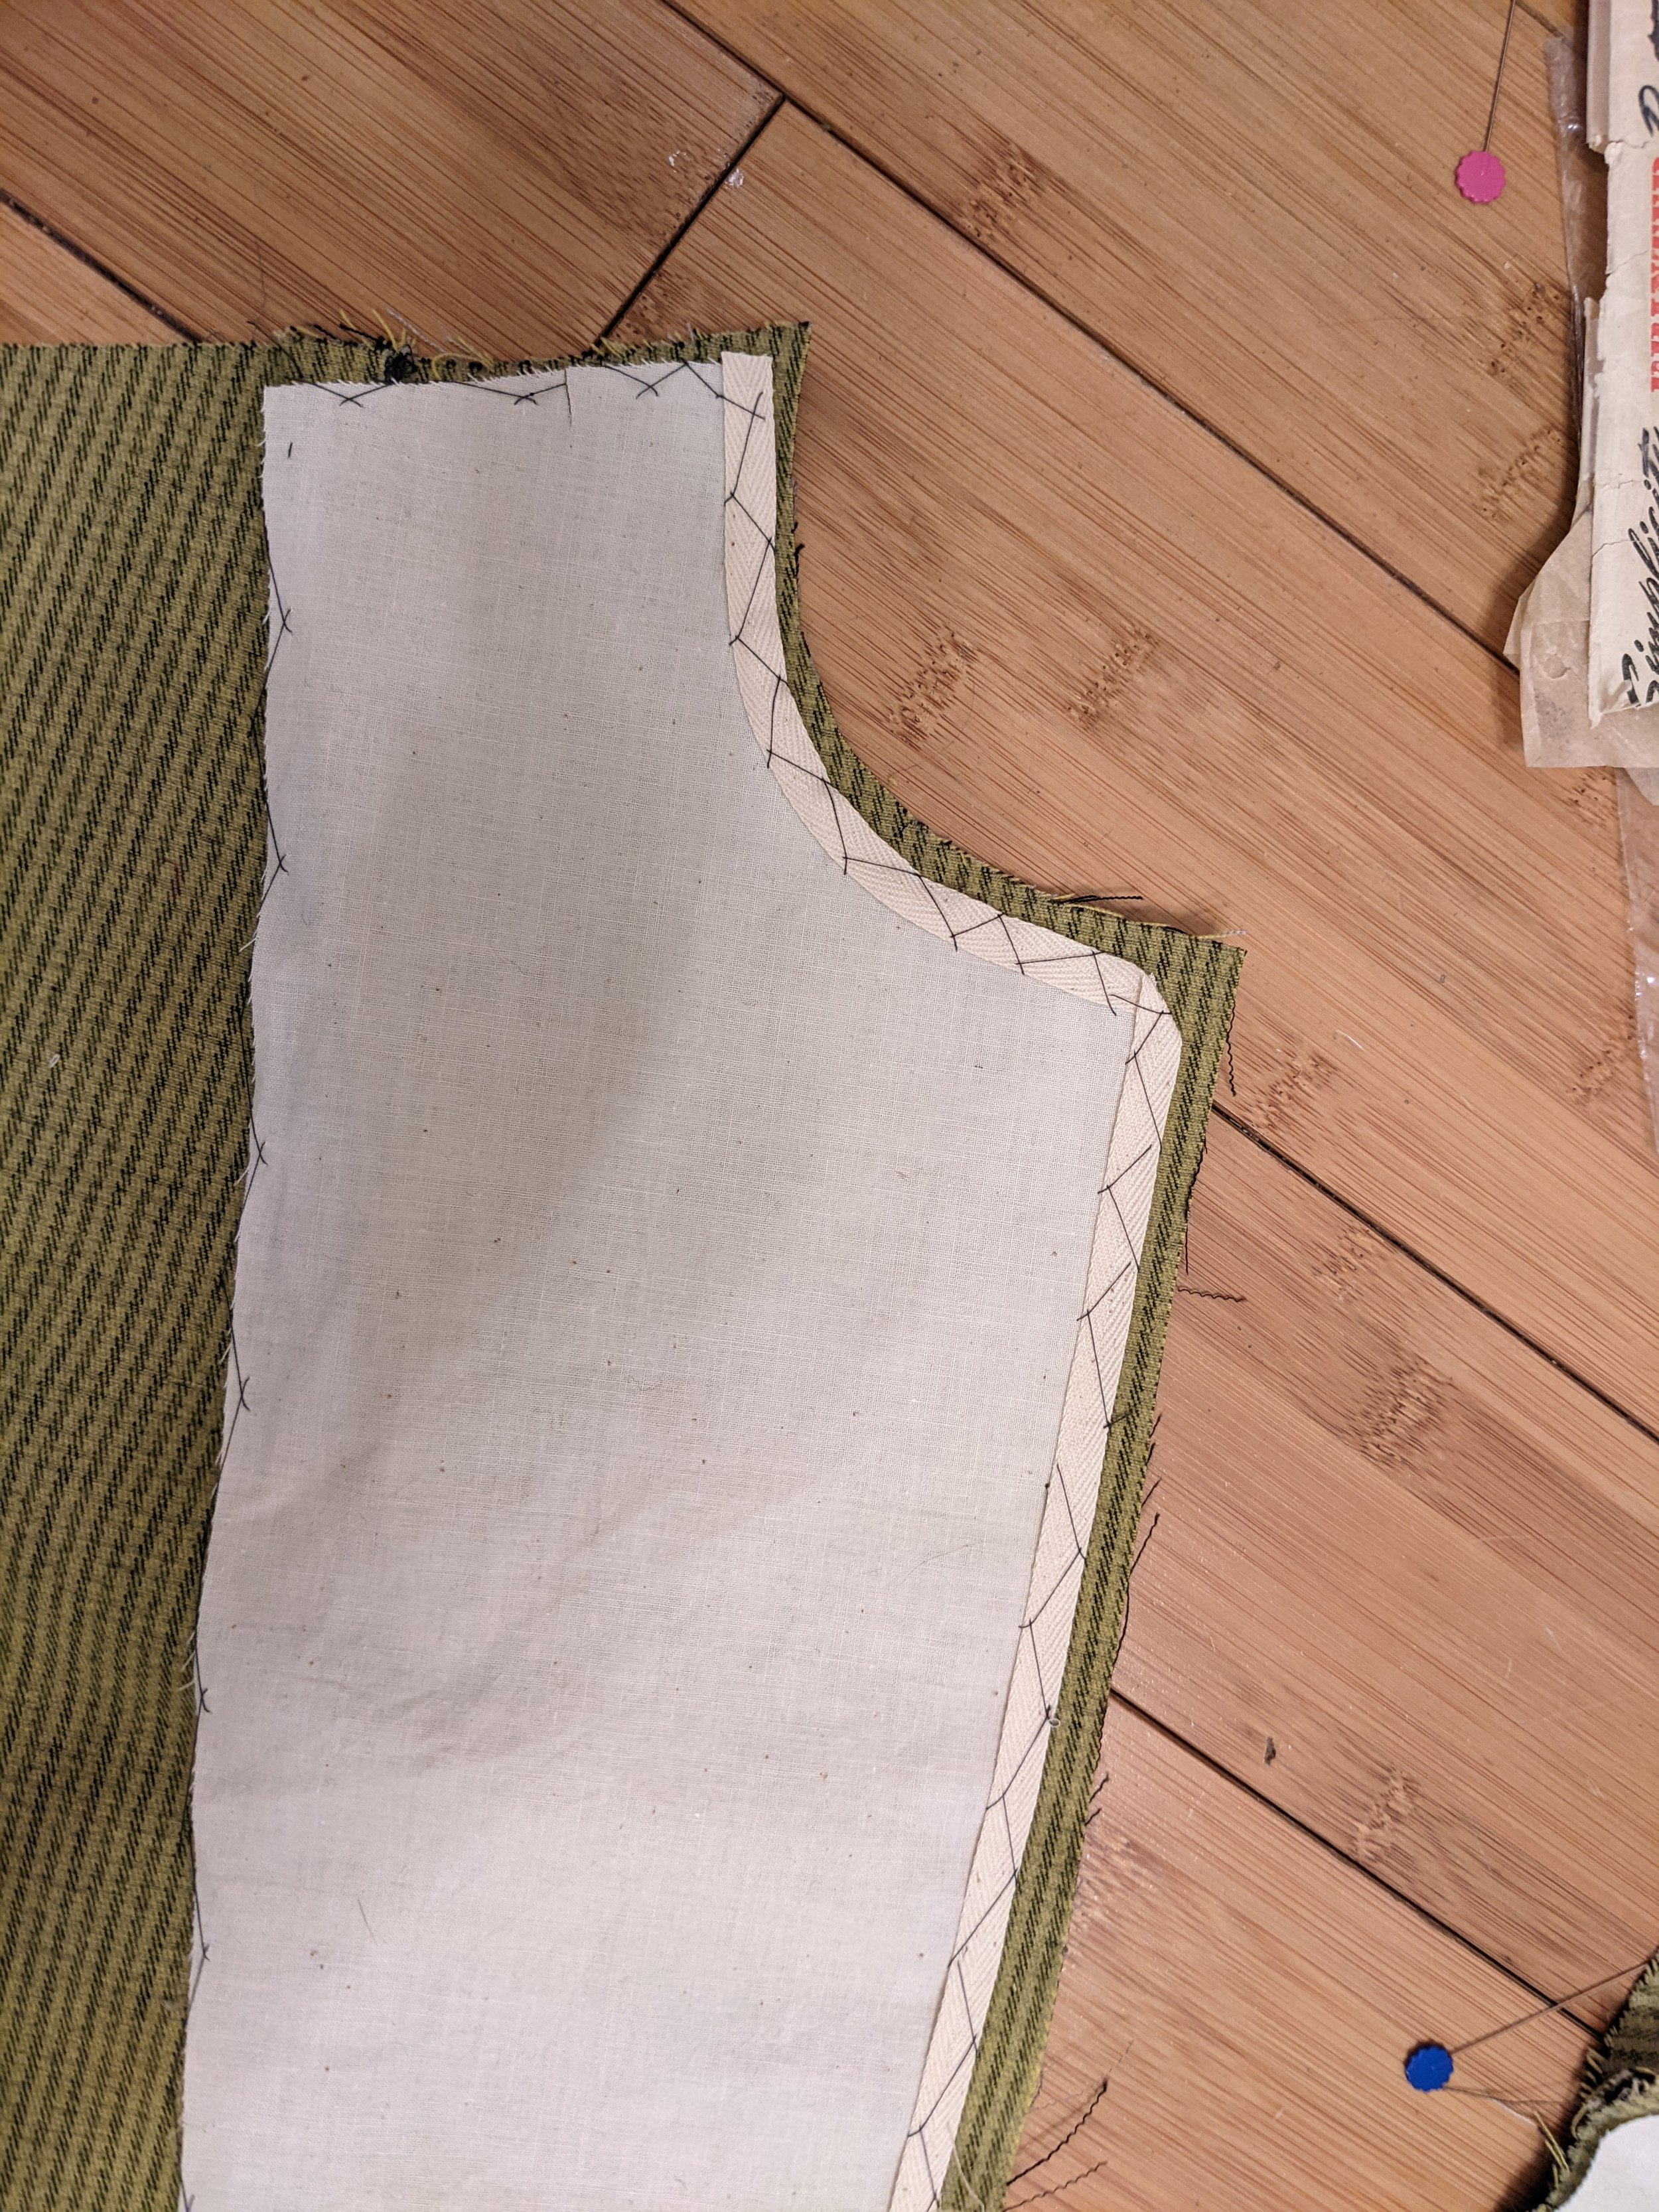
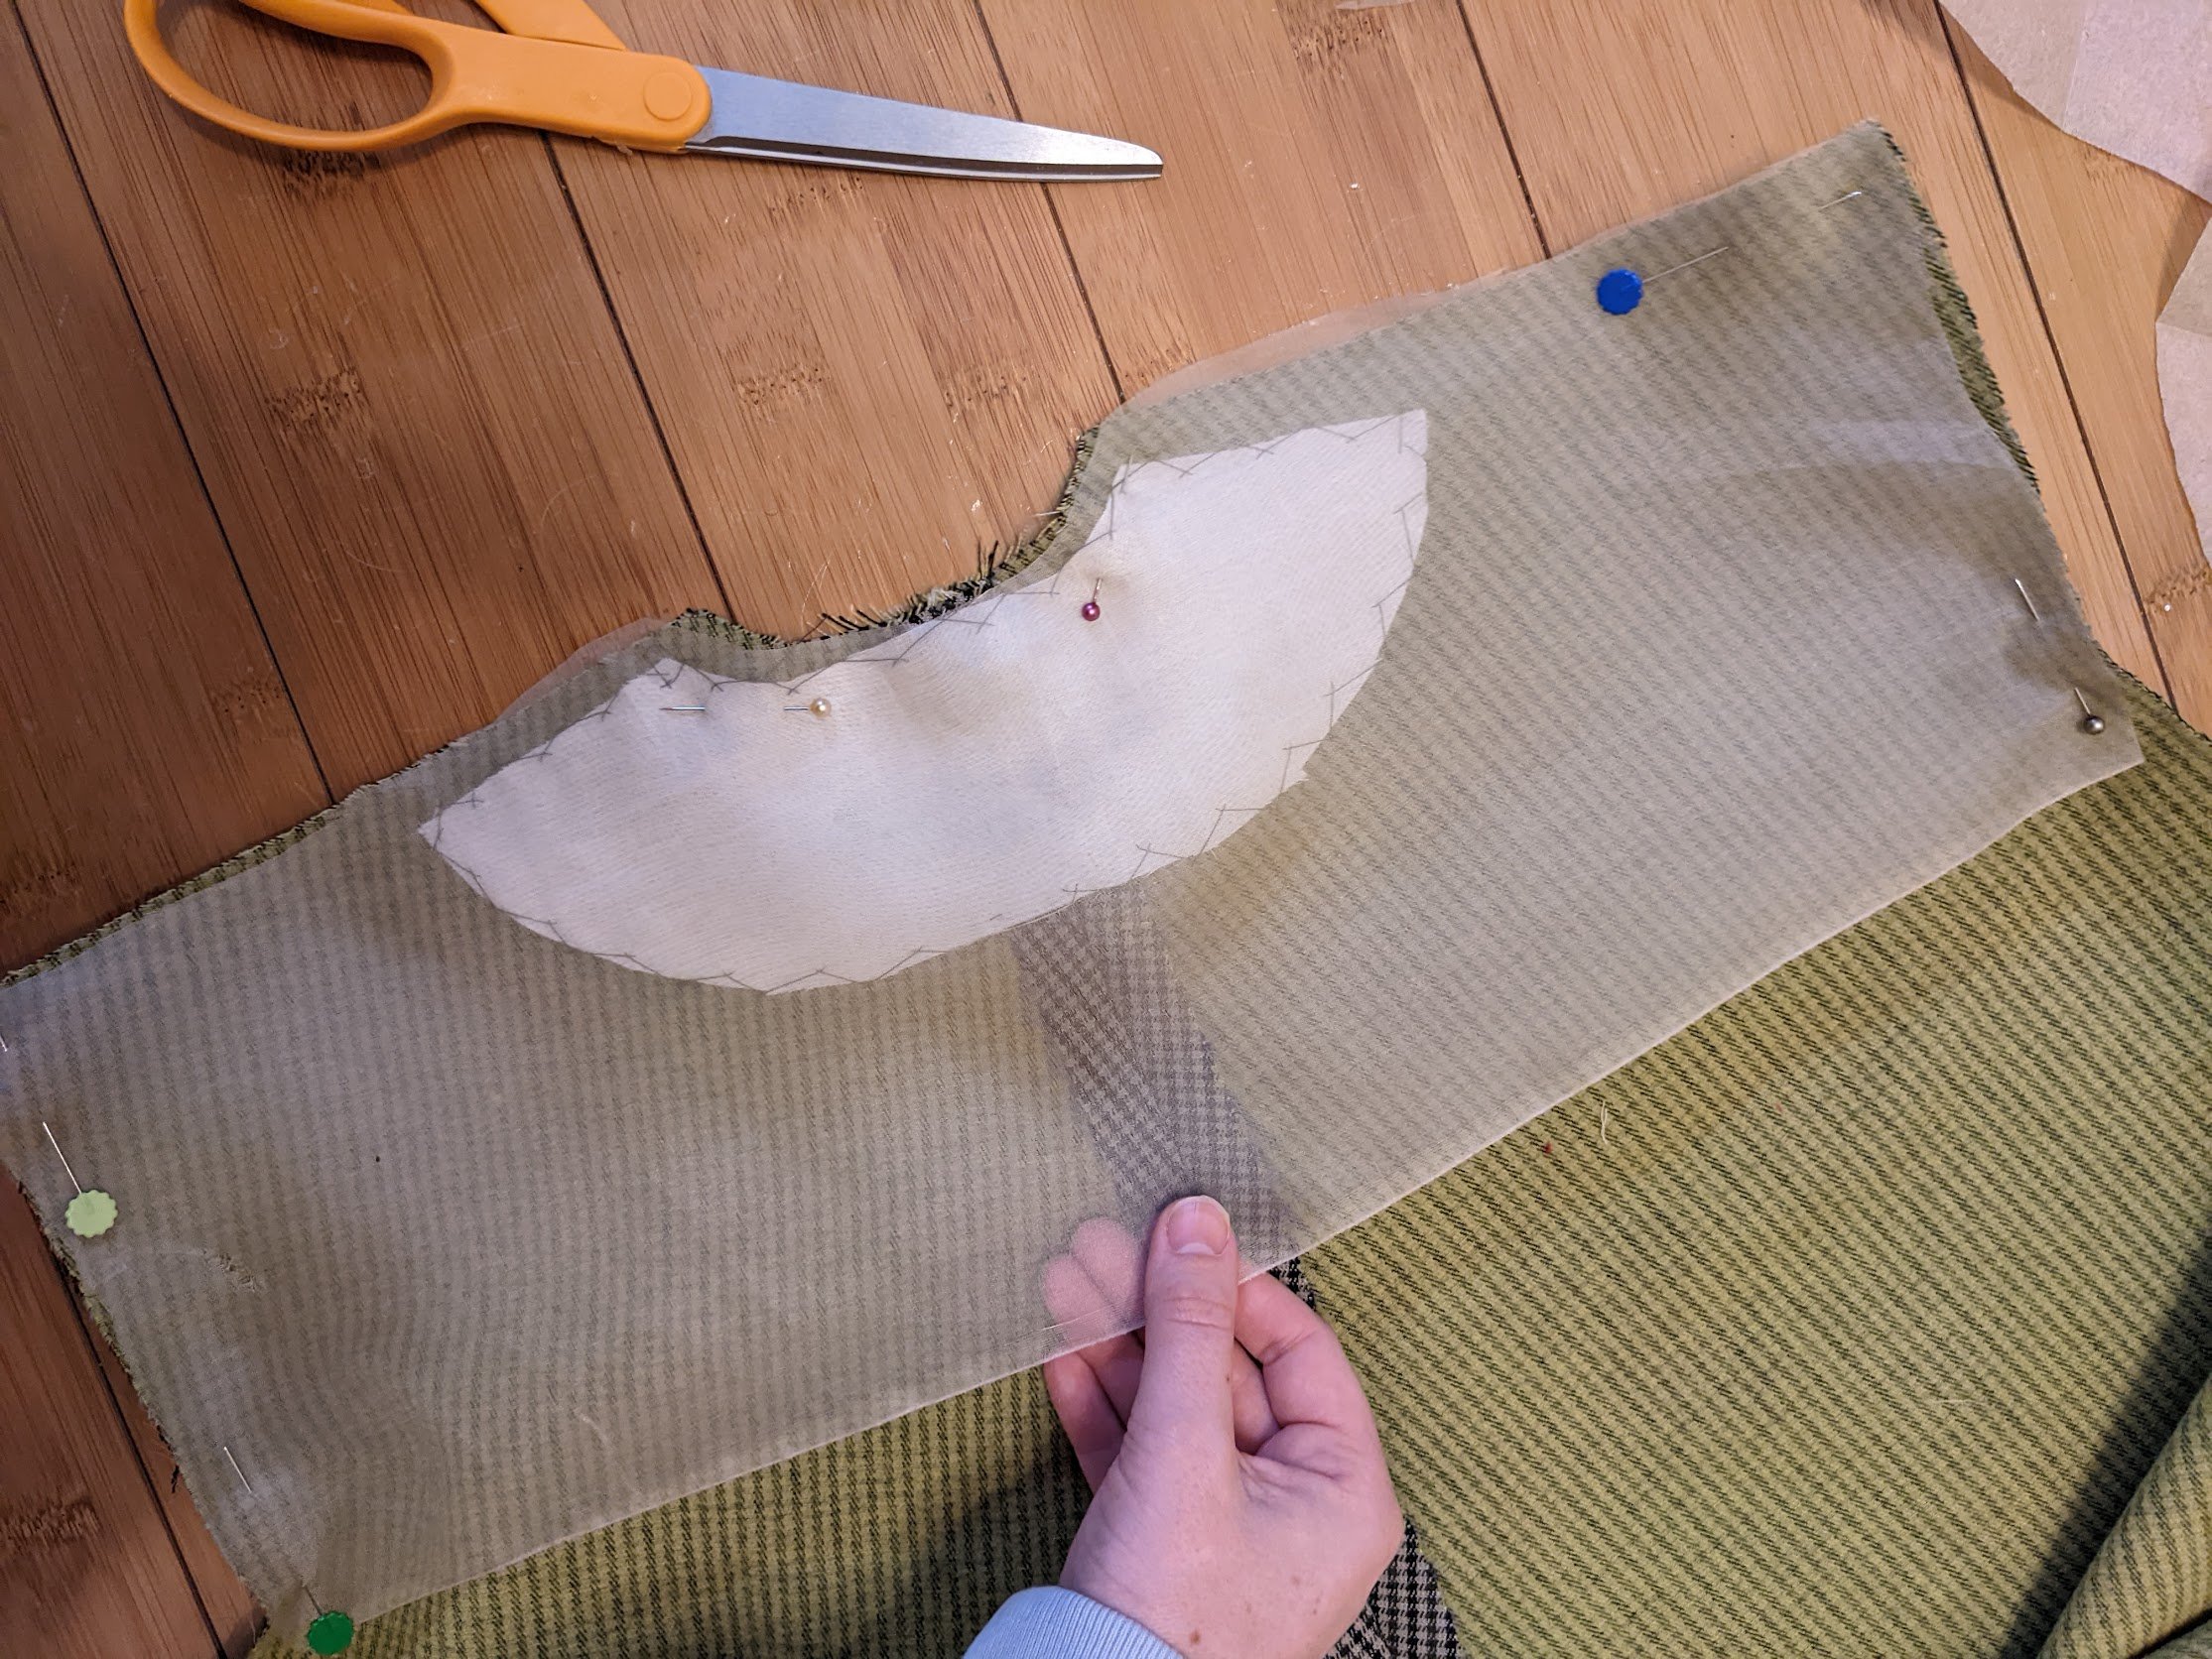
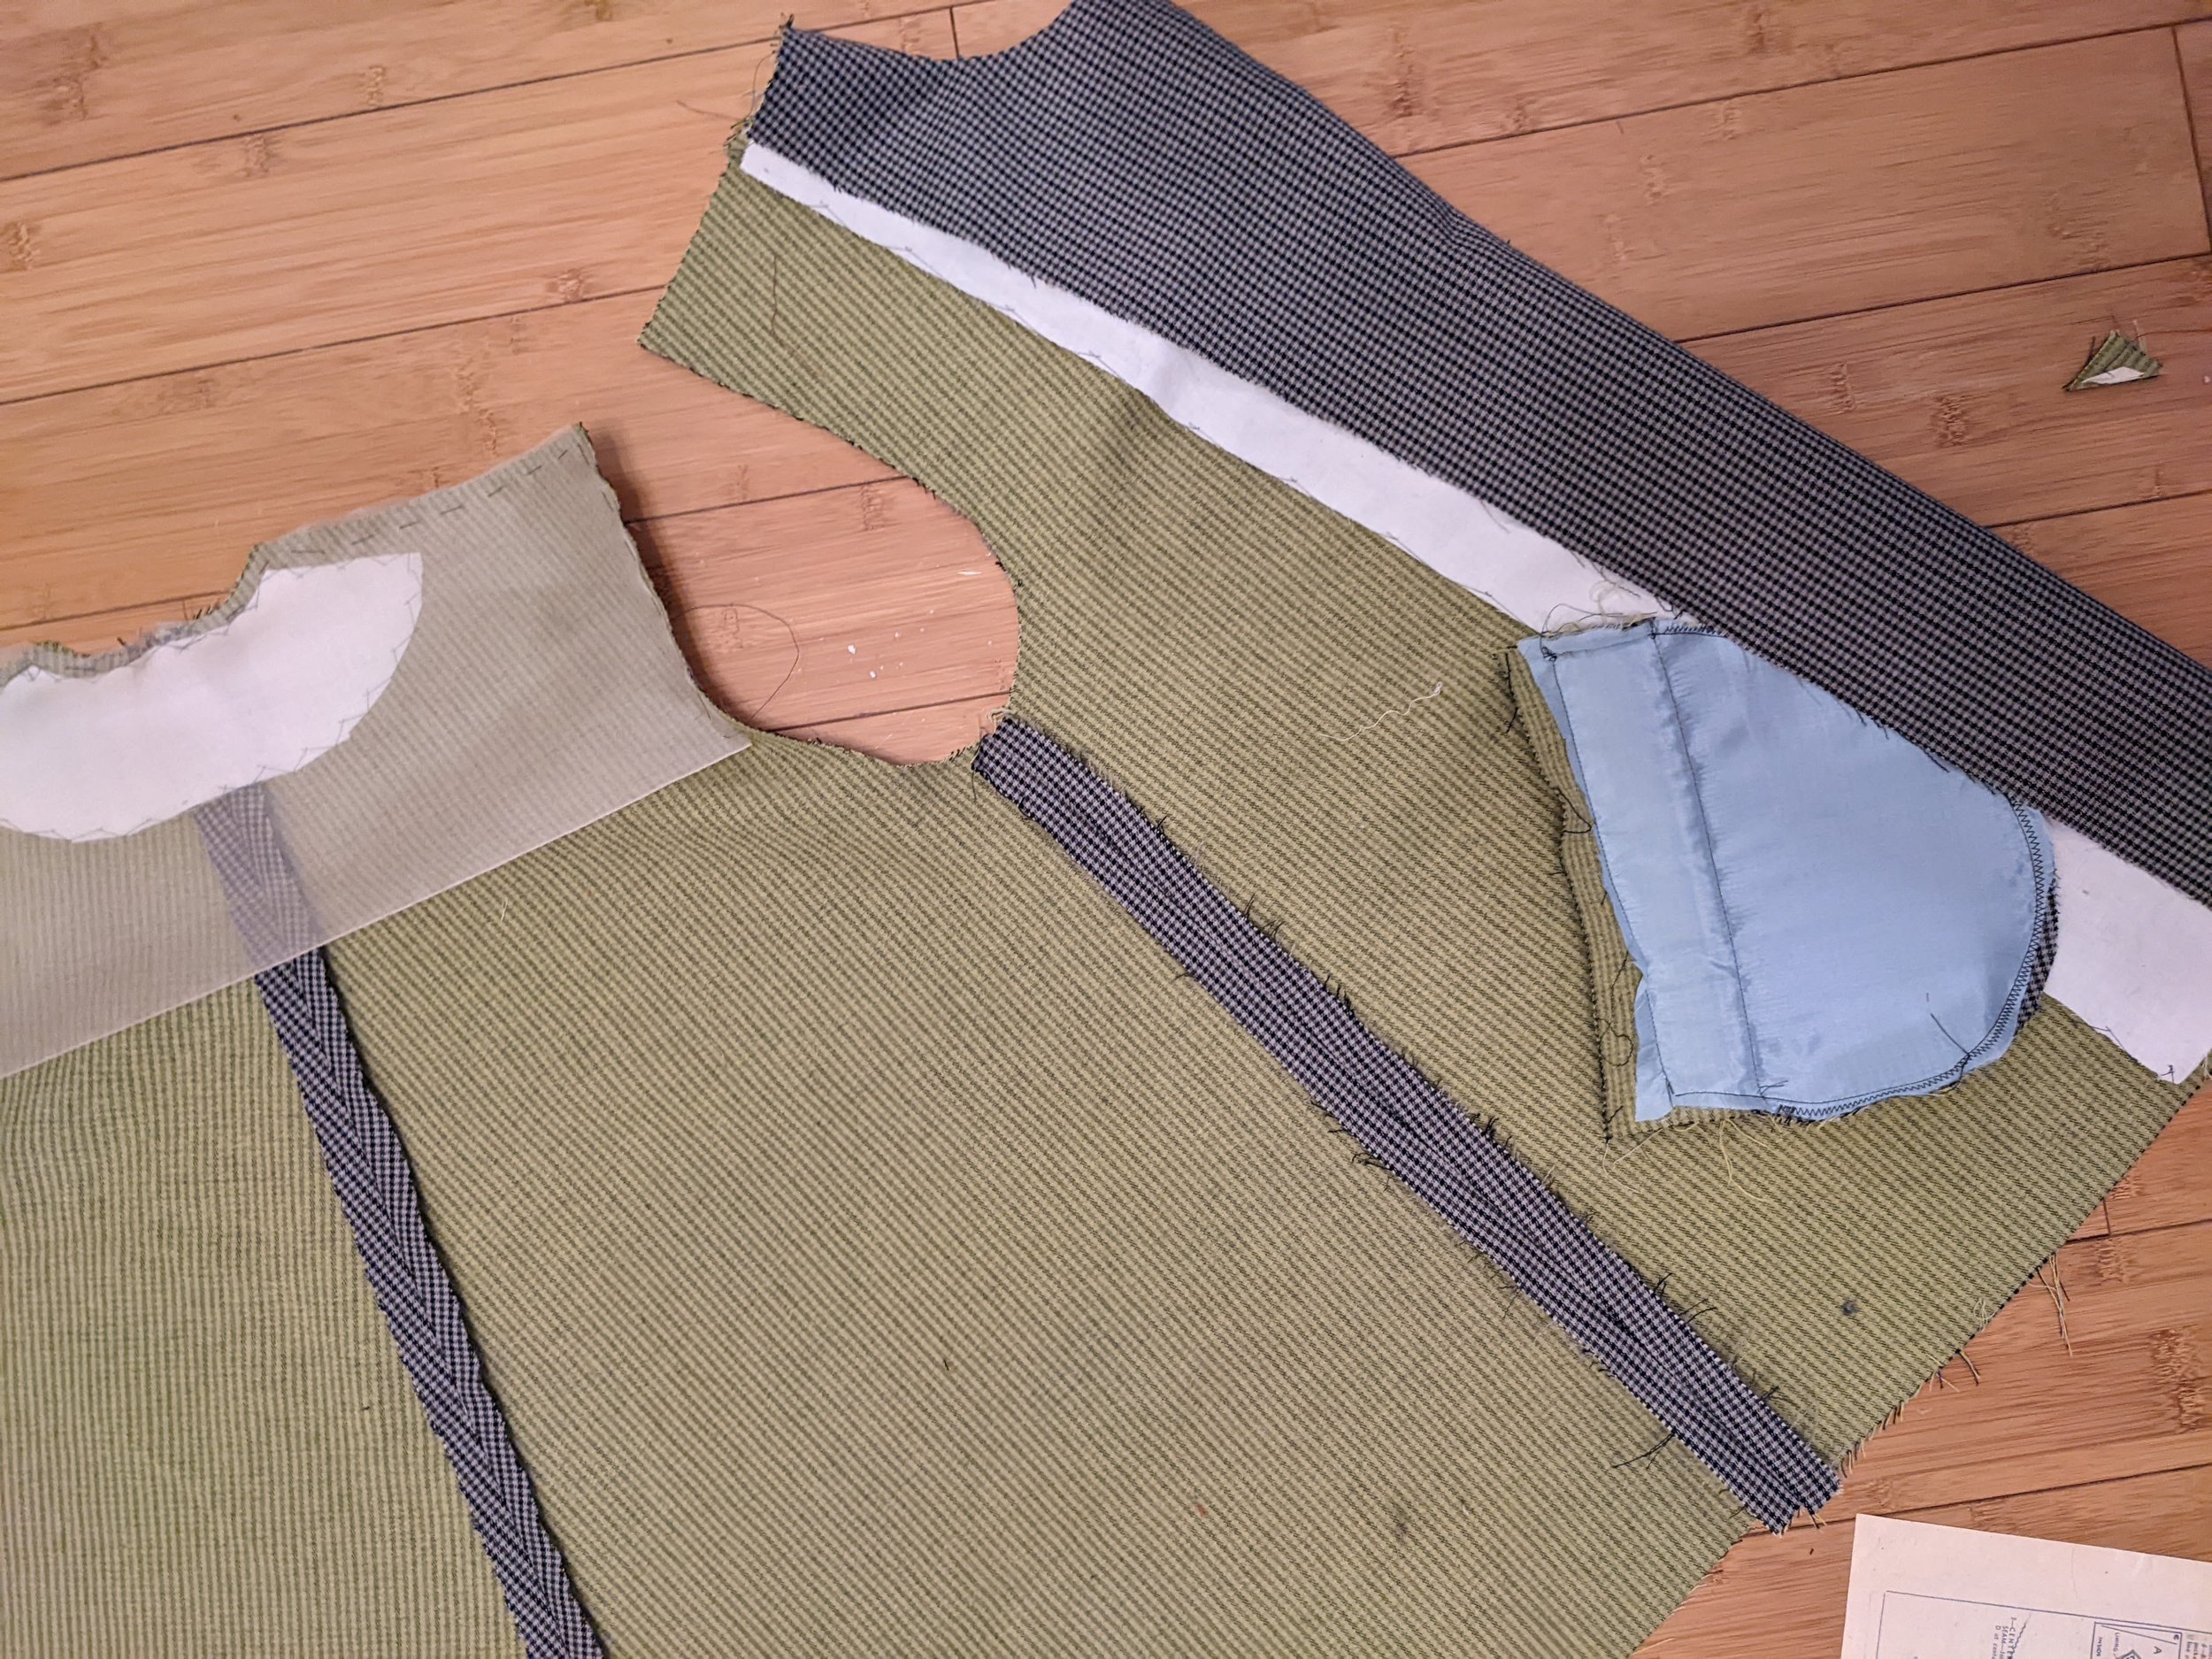
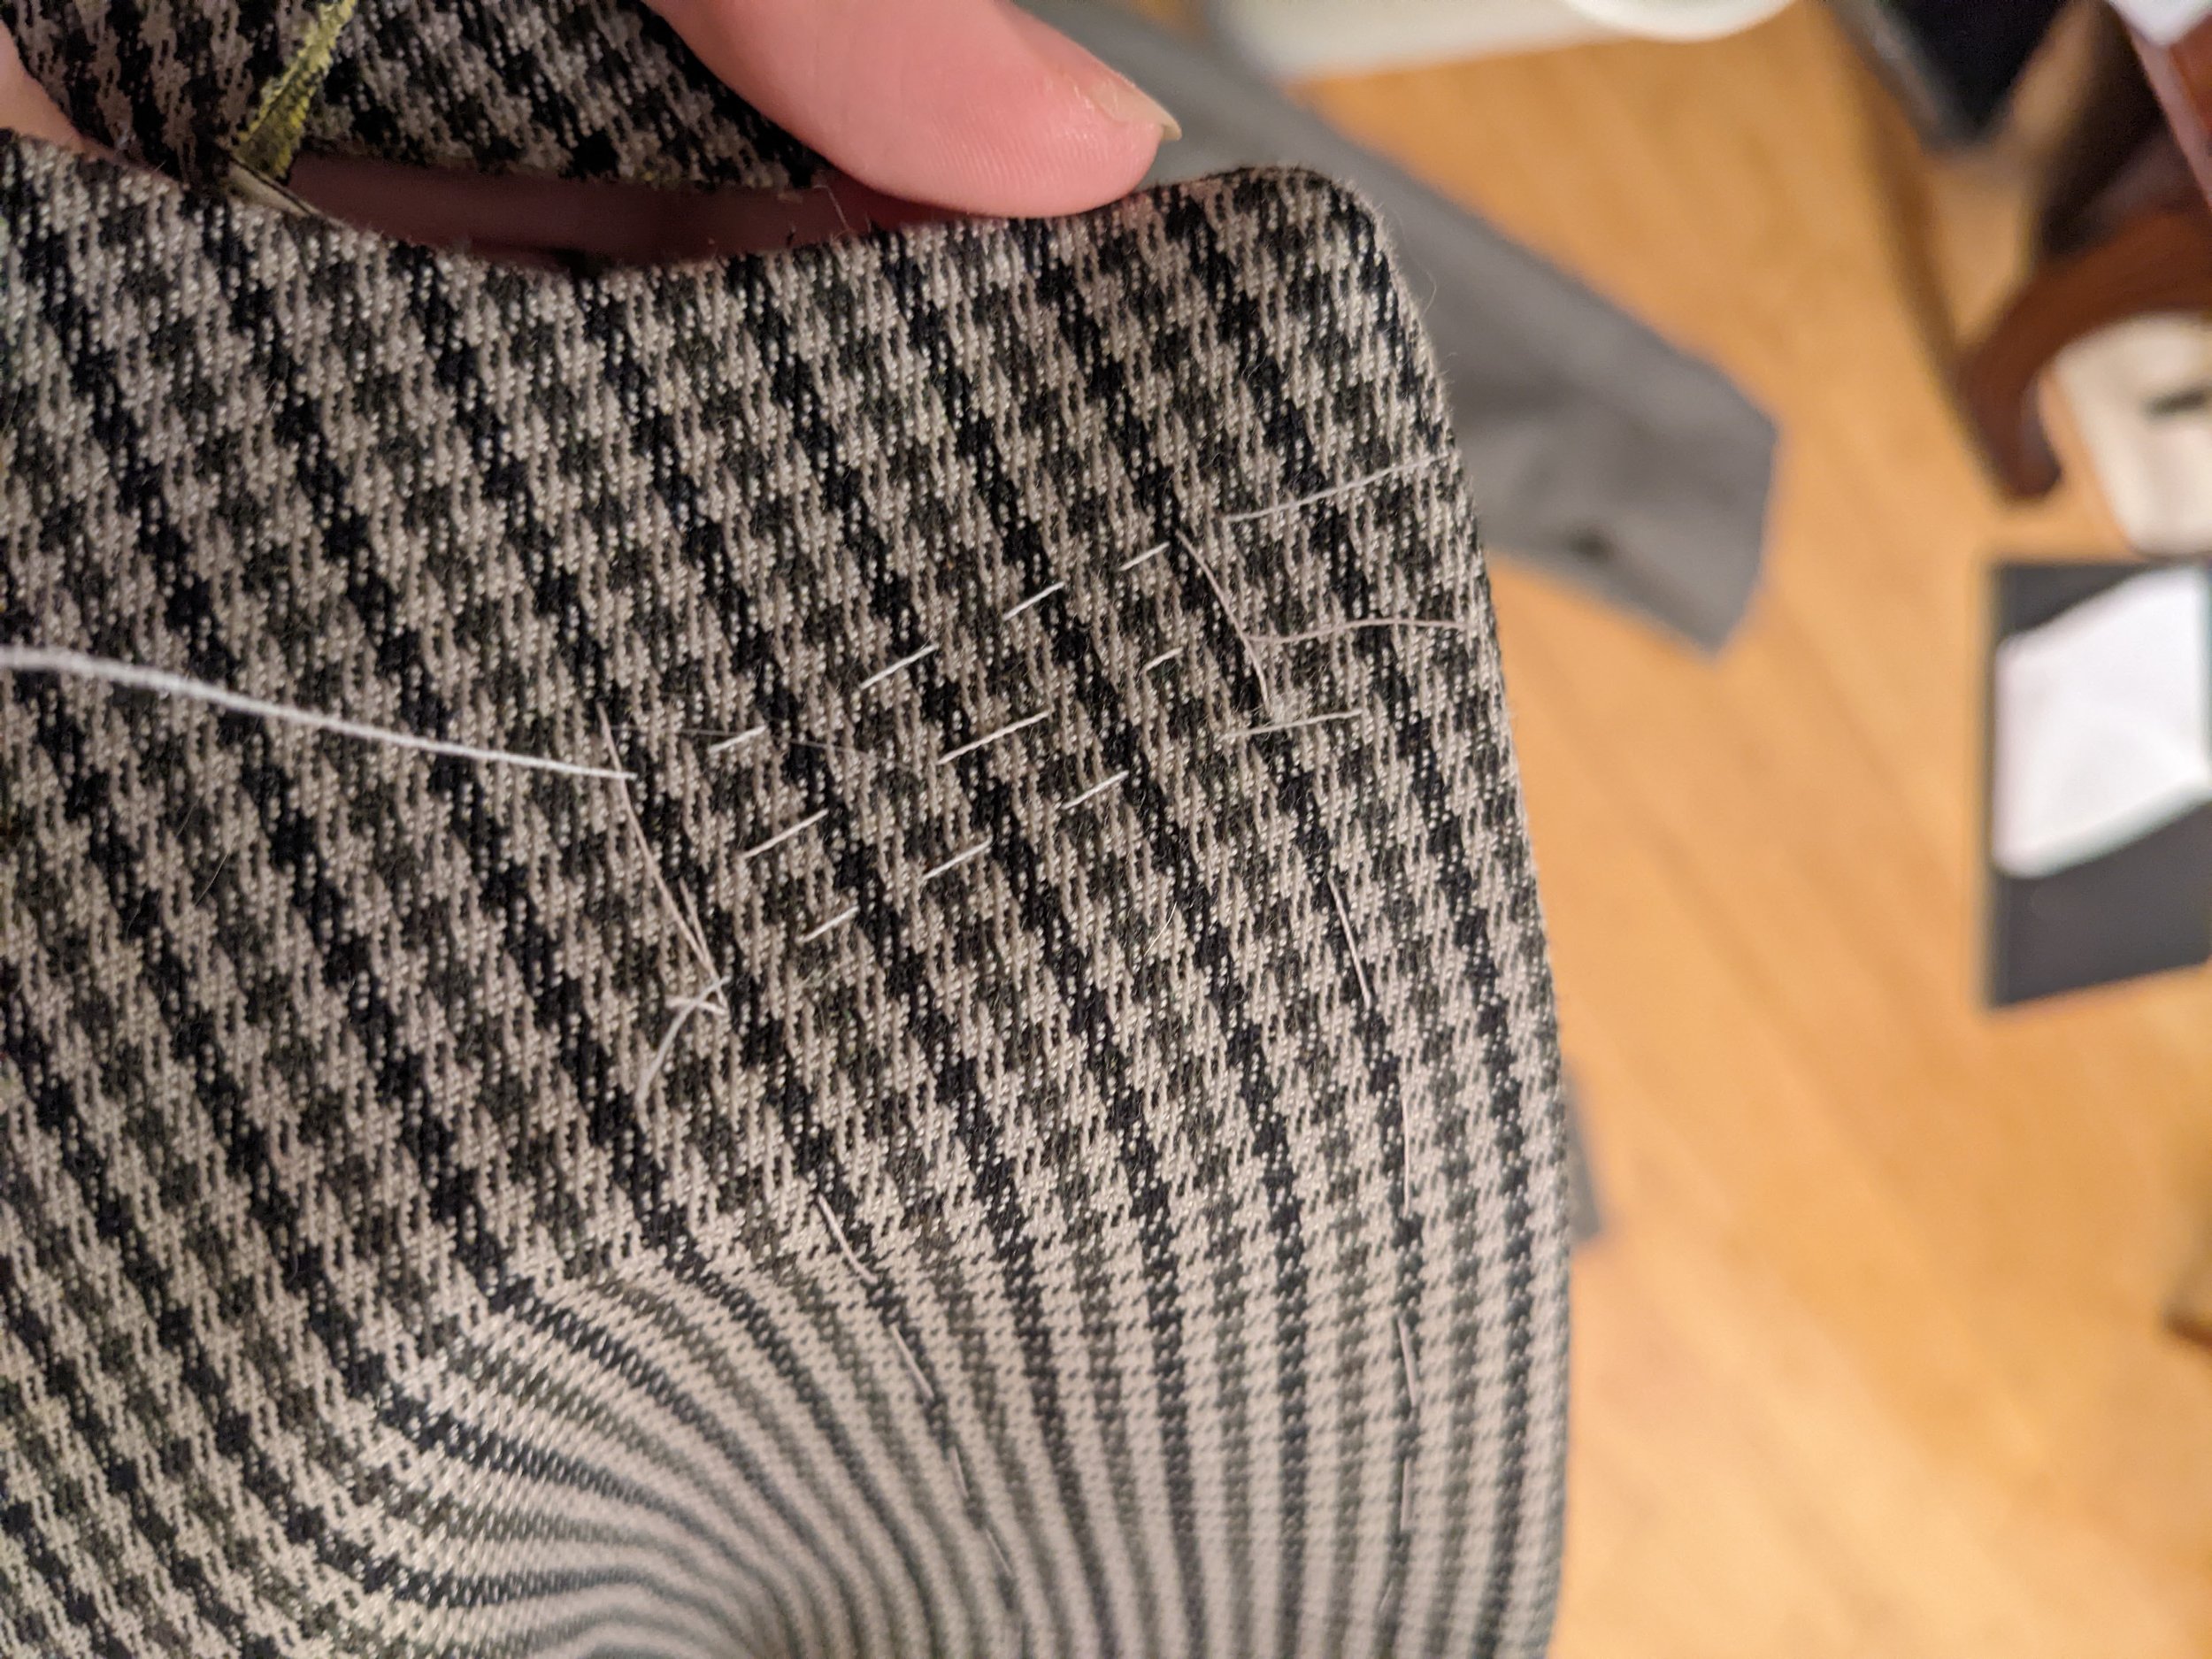
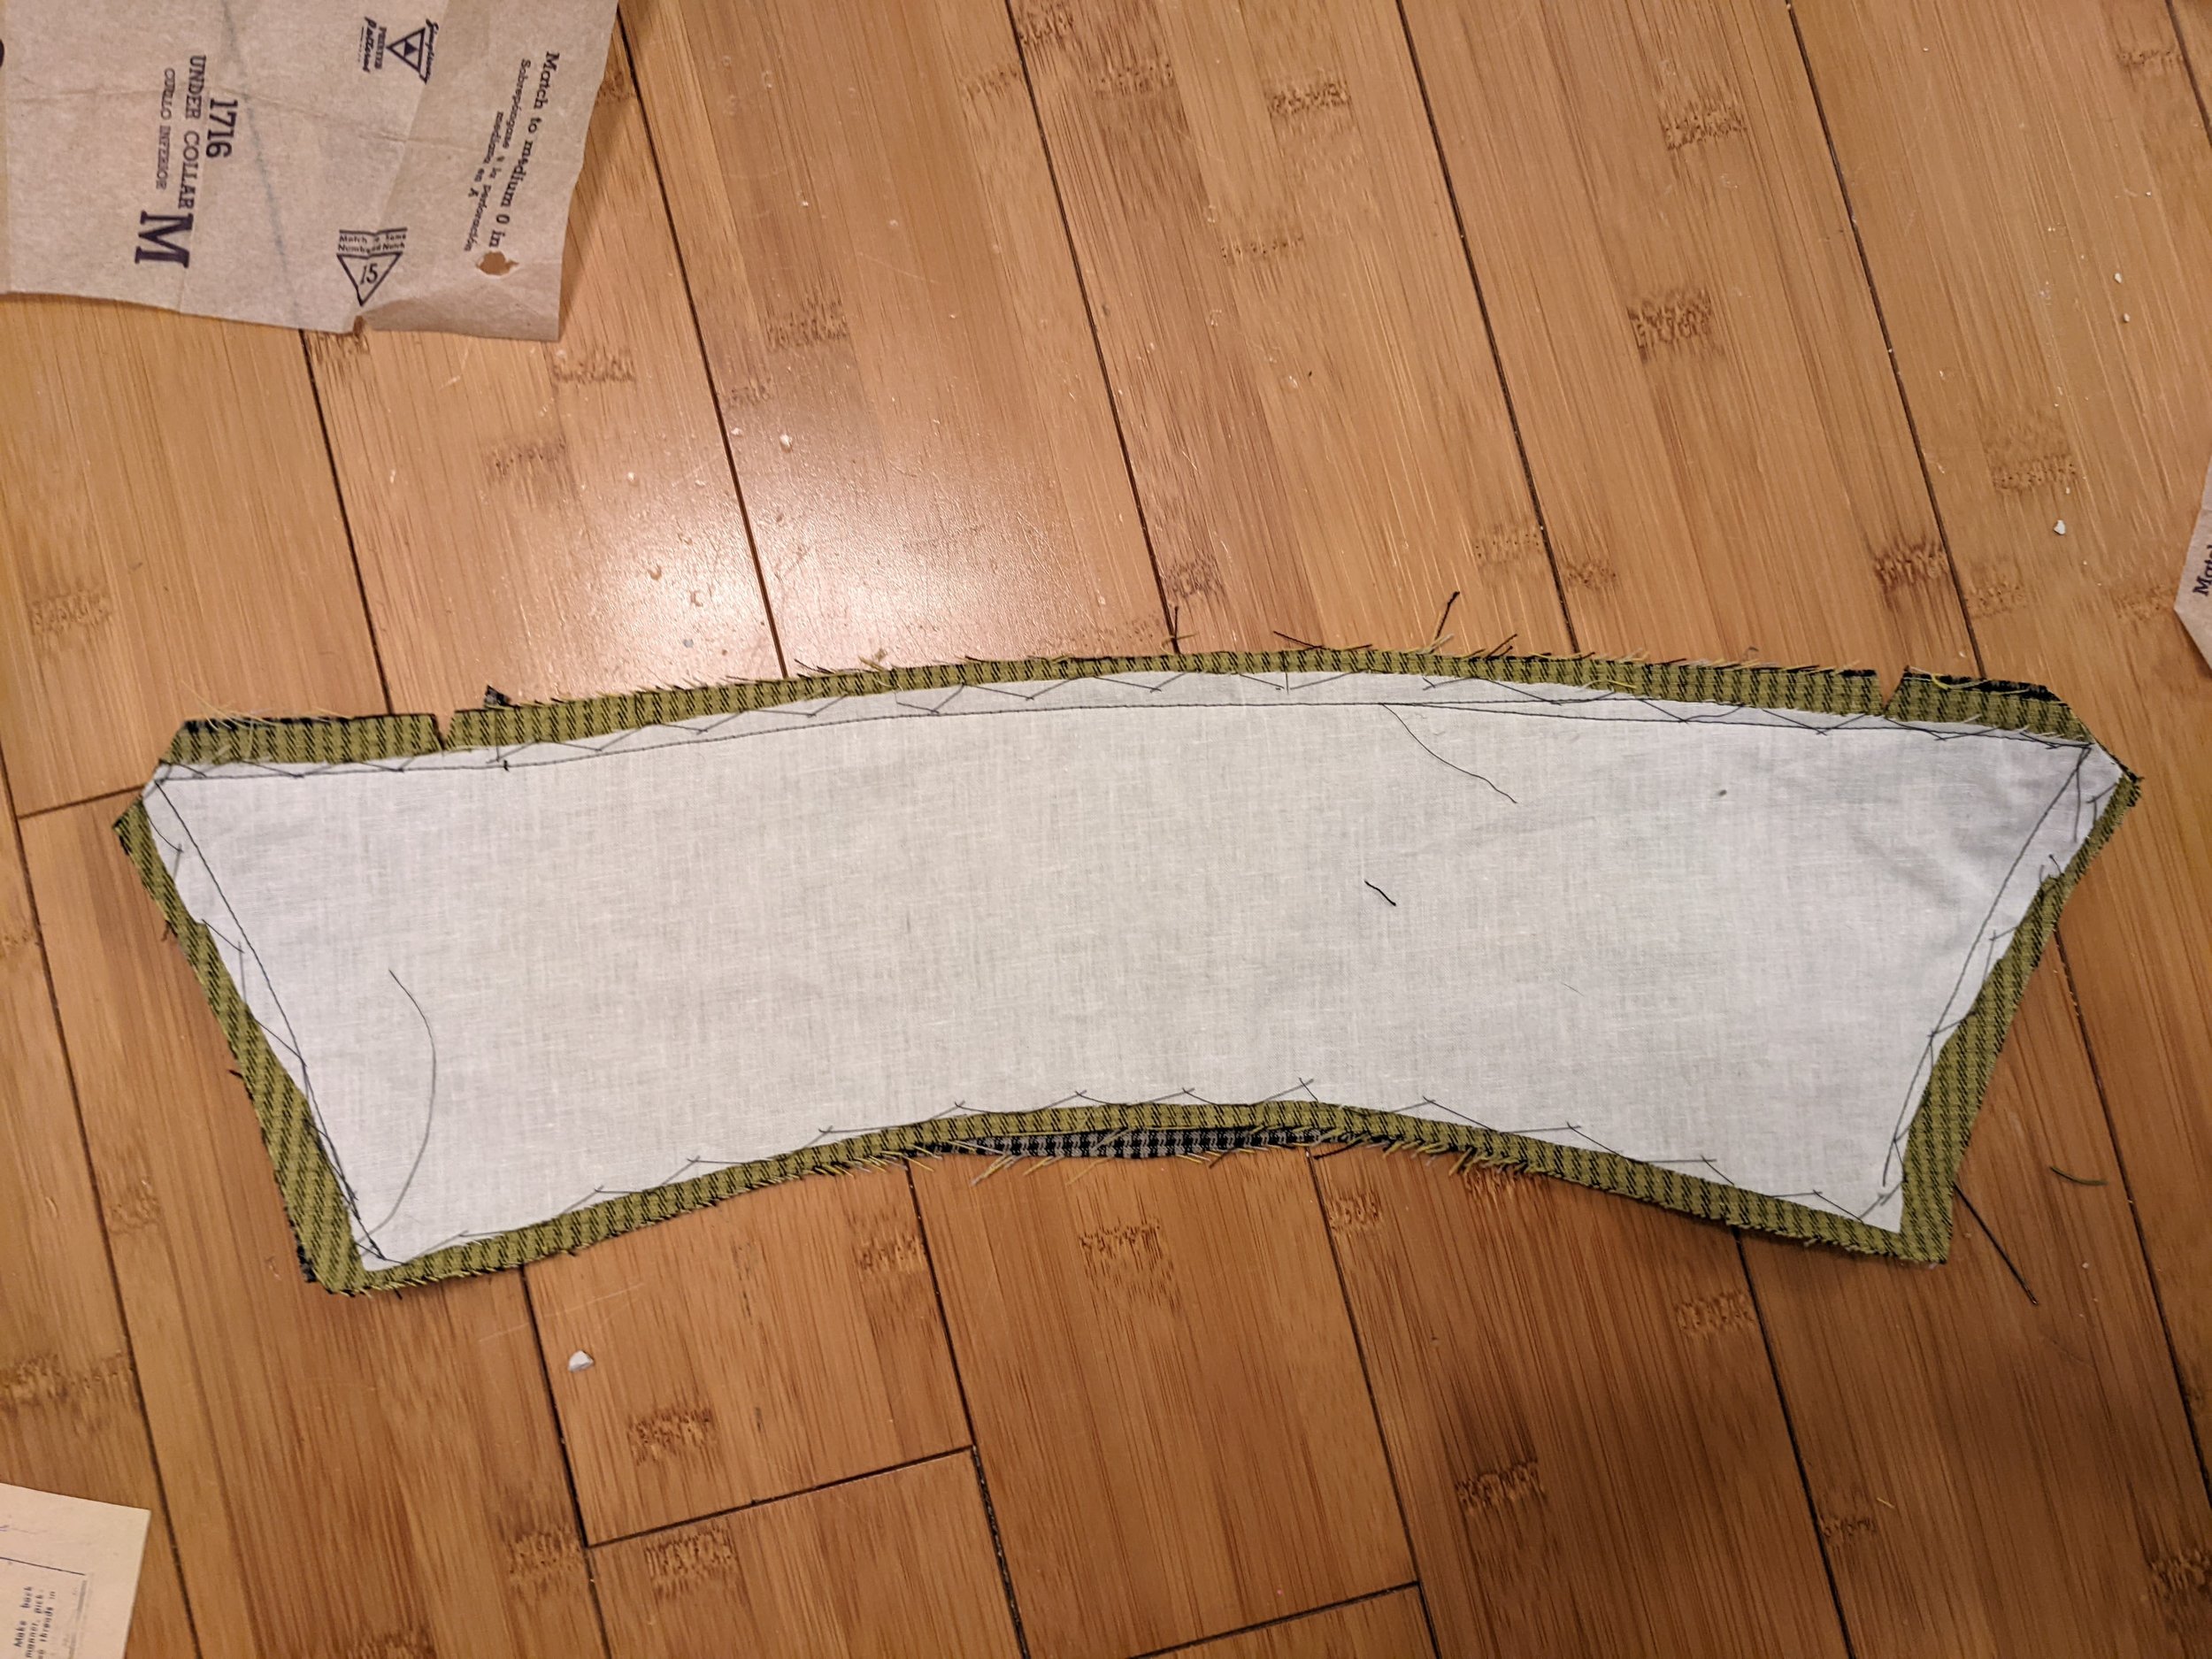
It’s all catch-stitched in, which leaves tiny stitches on the outside of the jacket and holds the interfacing in place securely. The 3rd photo is of the neckline interfacing and the back stay which keeps the swing back from drooping or stretching from the top.
Next up was doing the front facings (this part ended up being confusing because I sewed in the facing and then had to open it back up when I added in the collar much later - that sequence of events was a little unclear from the Shaeffer book). I did the double-welt pockets and bags (learned in couture class and fun to practice) and then attached the side seams of the jacket. So far the construction order felt pretty standard to a commercial pattern. Also at this point my room had become very messy.

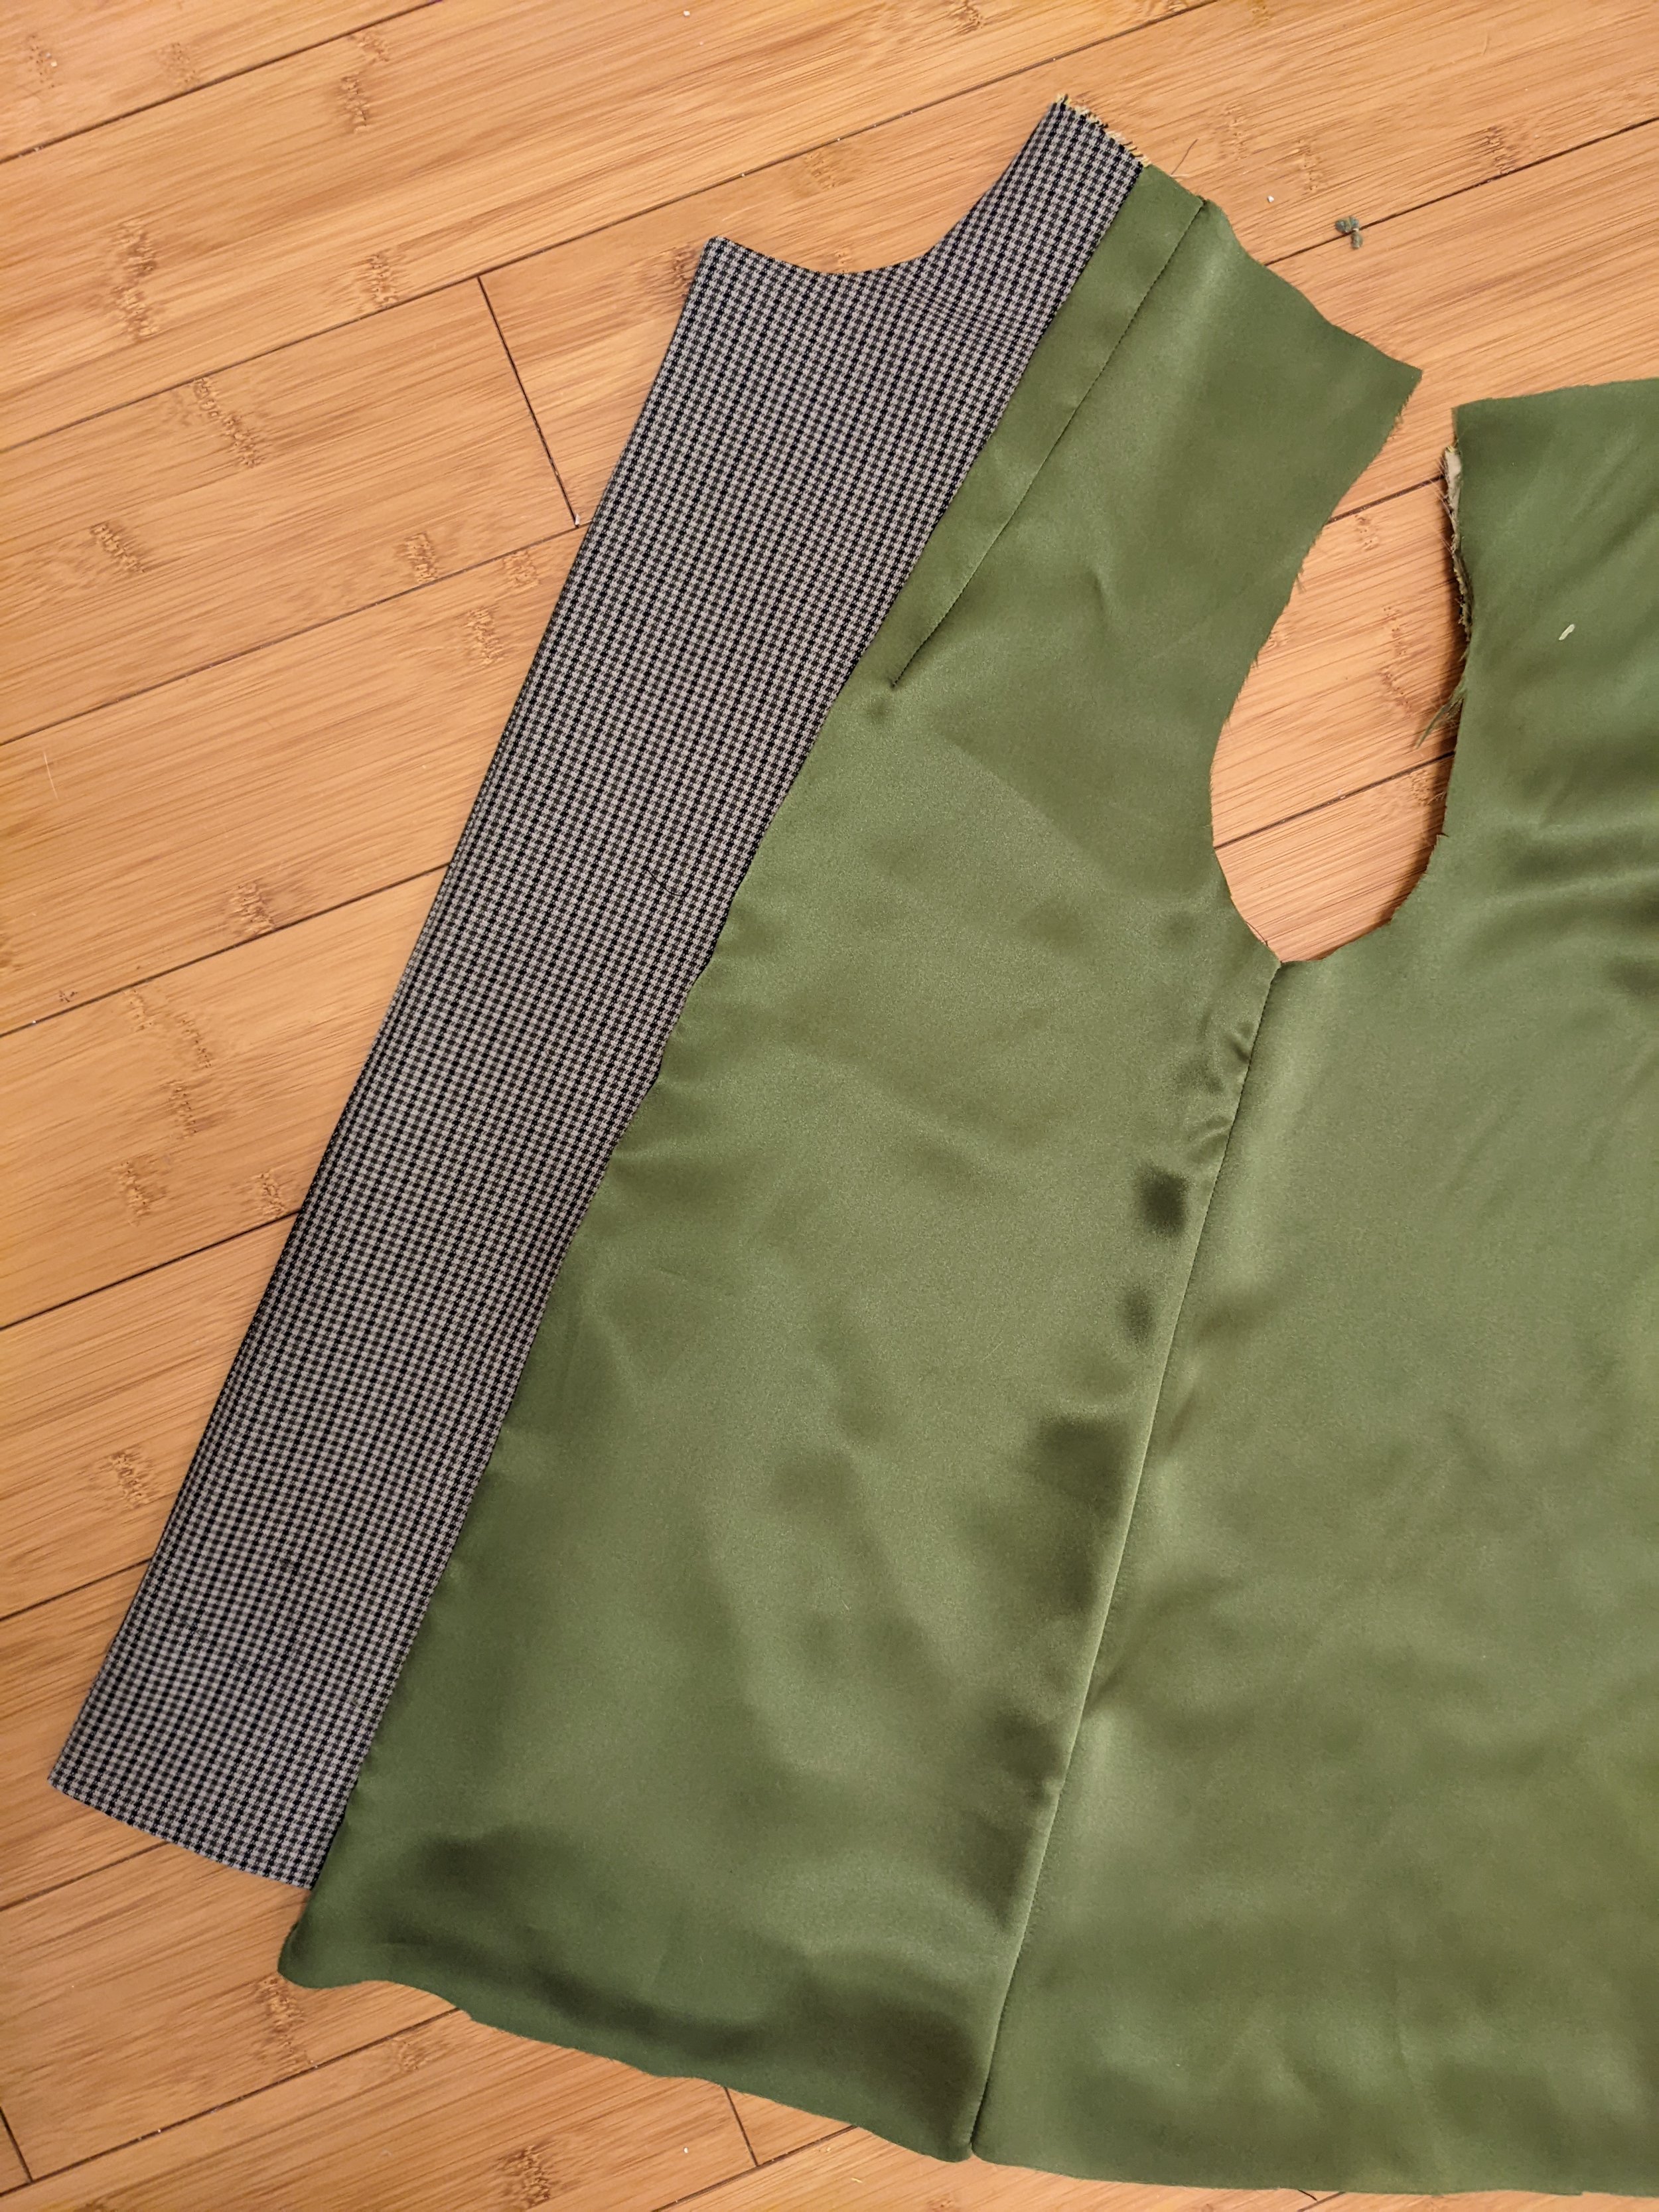
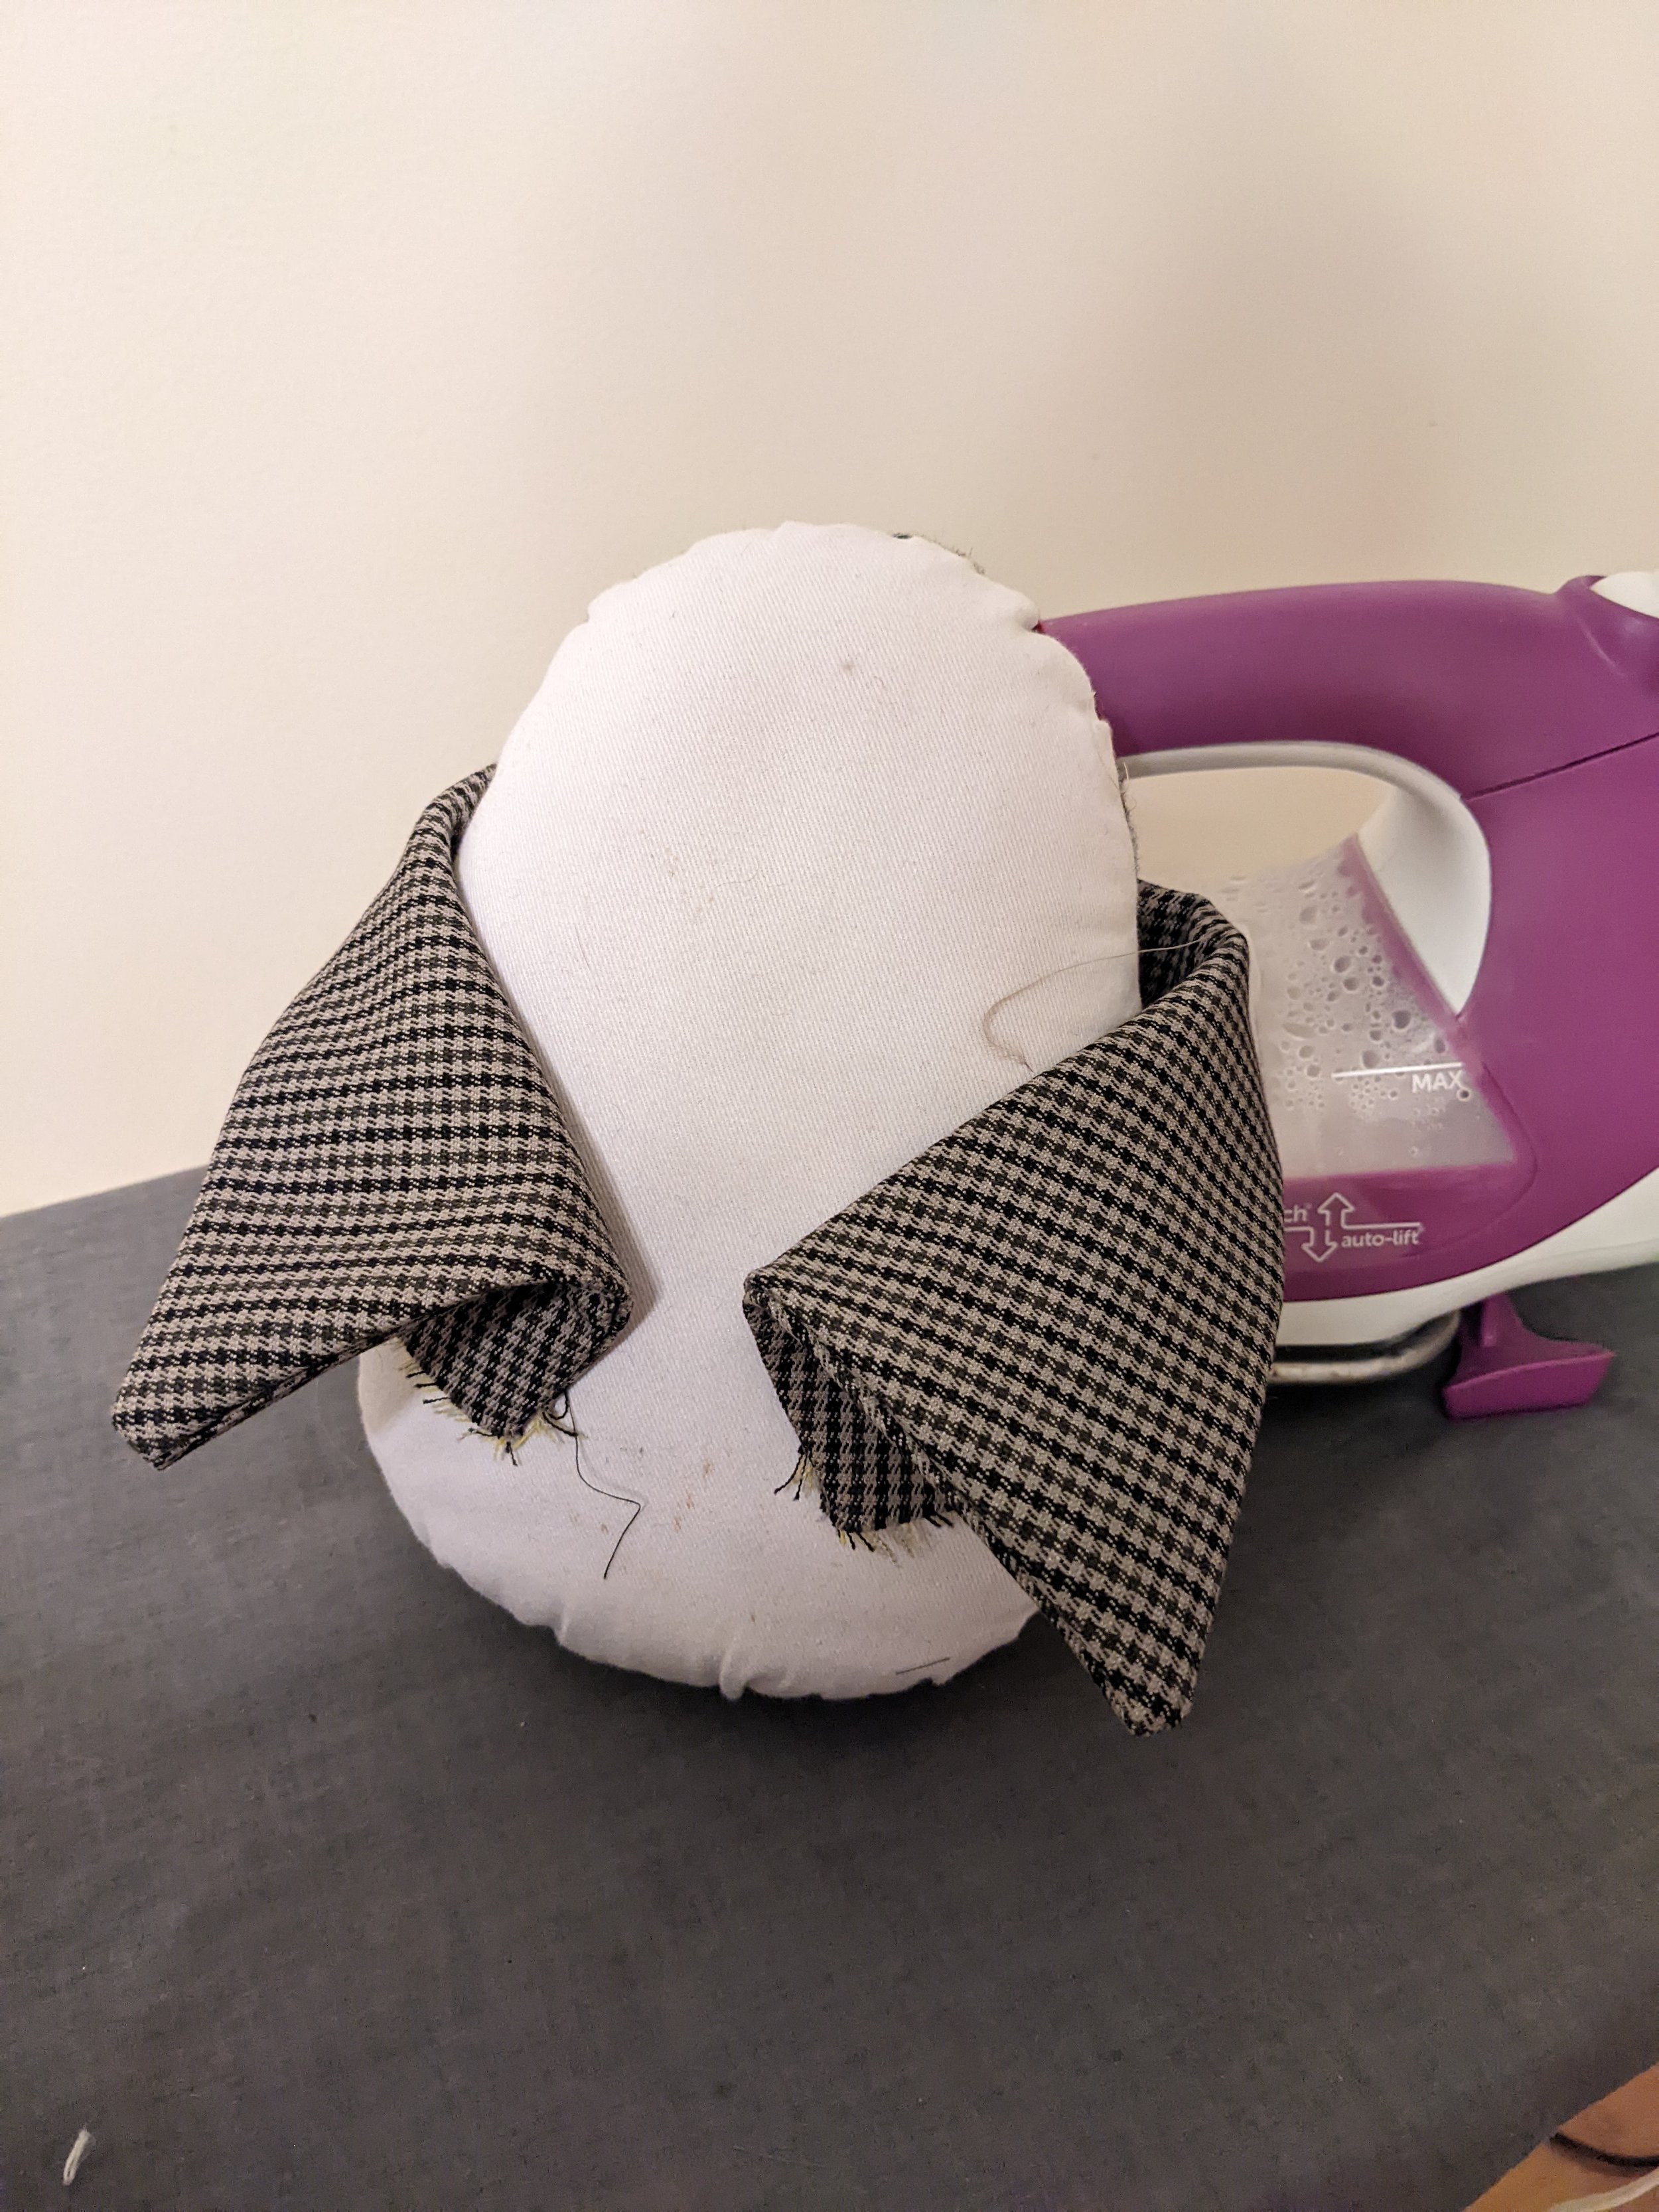
Here is where the construction started to differ significantly from a regular jacket. At this point I would attach the shoulder seams, then sew the sleeves and sew them in, then sew the lining by the same process and attach it to the jacket facings and hem by some method. In Claire Shaeffer’s method, the jacket is hemmed, then the lining is attached to the jacket body, and the sleeves are completed and lined even before the shoulder seams get attached.
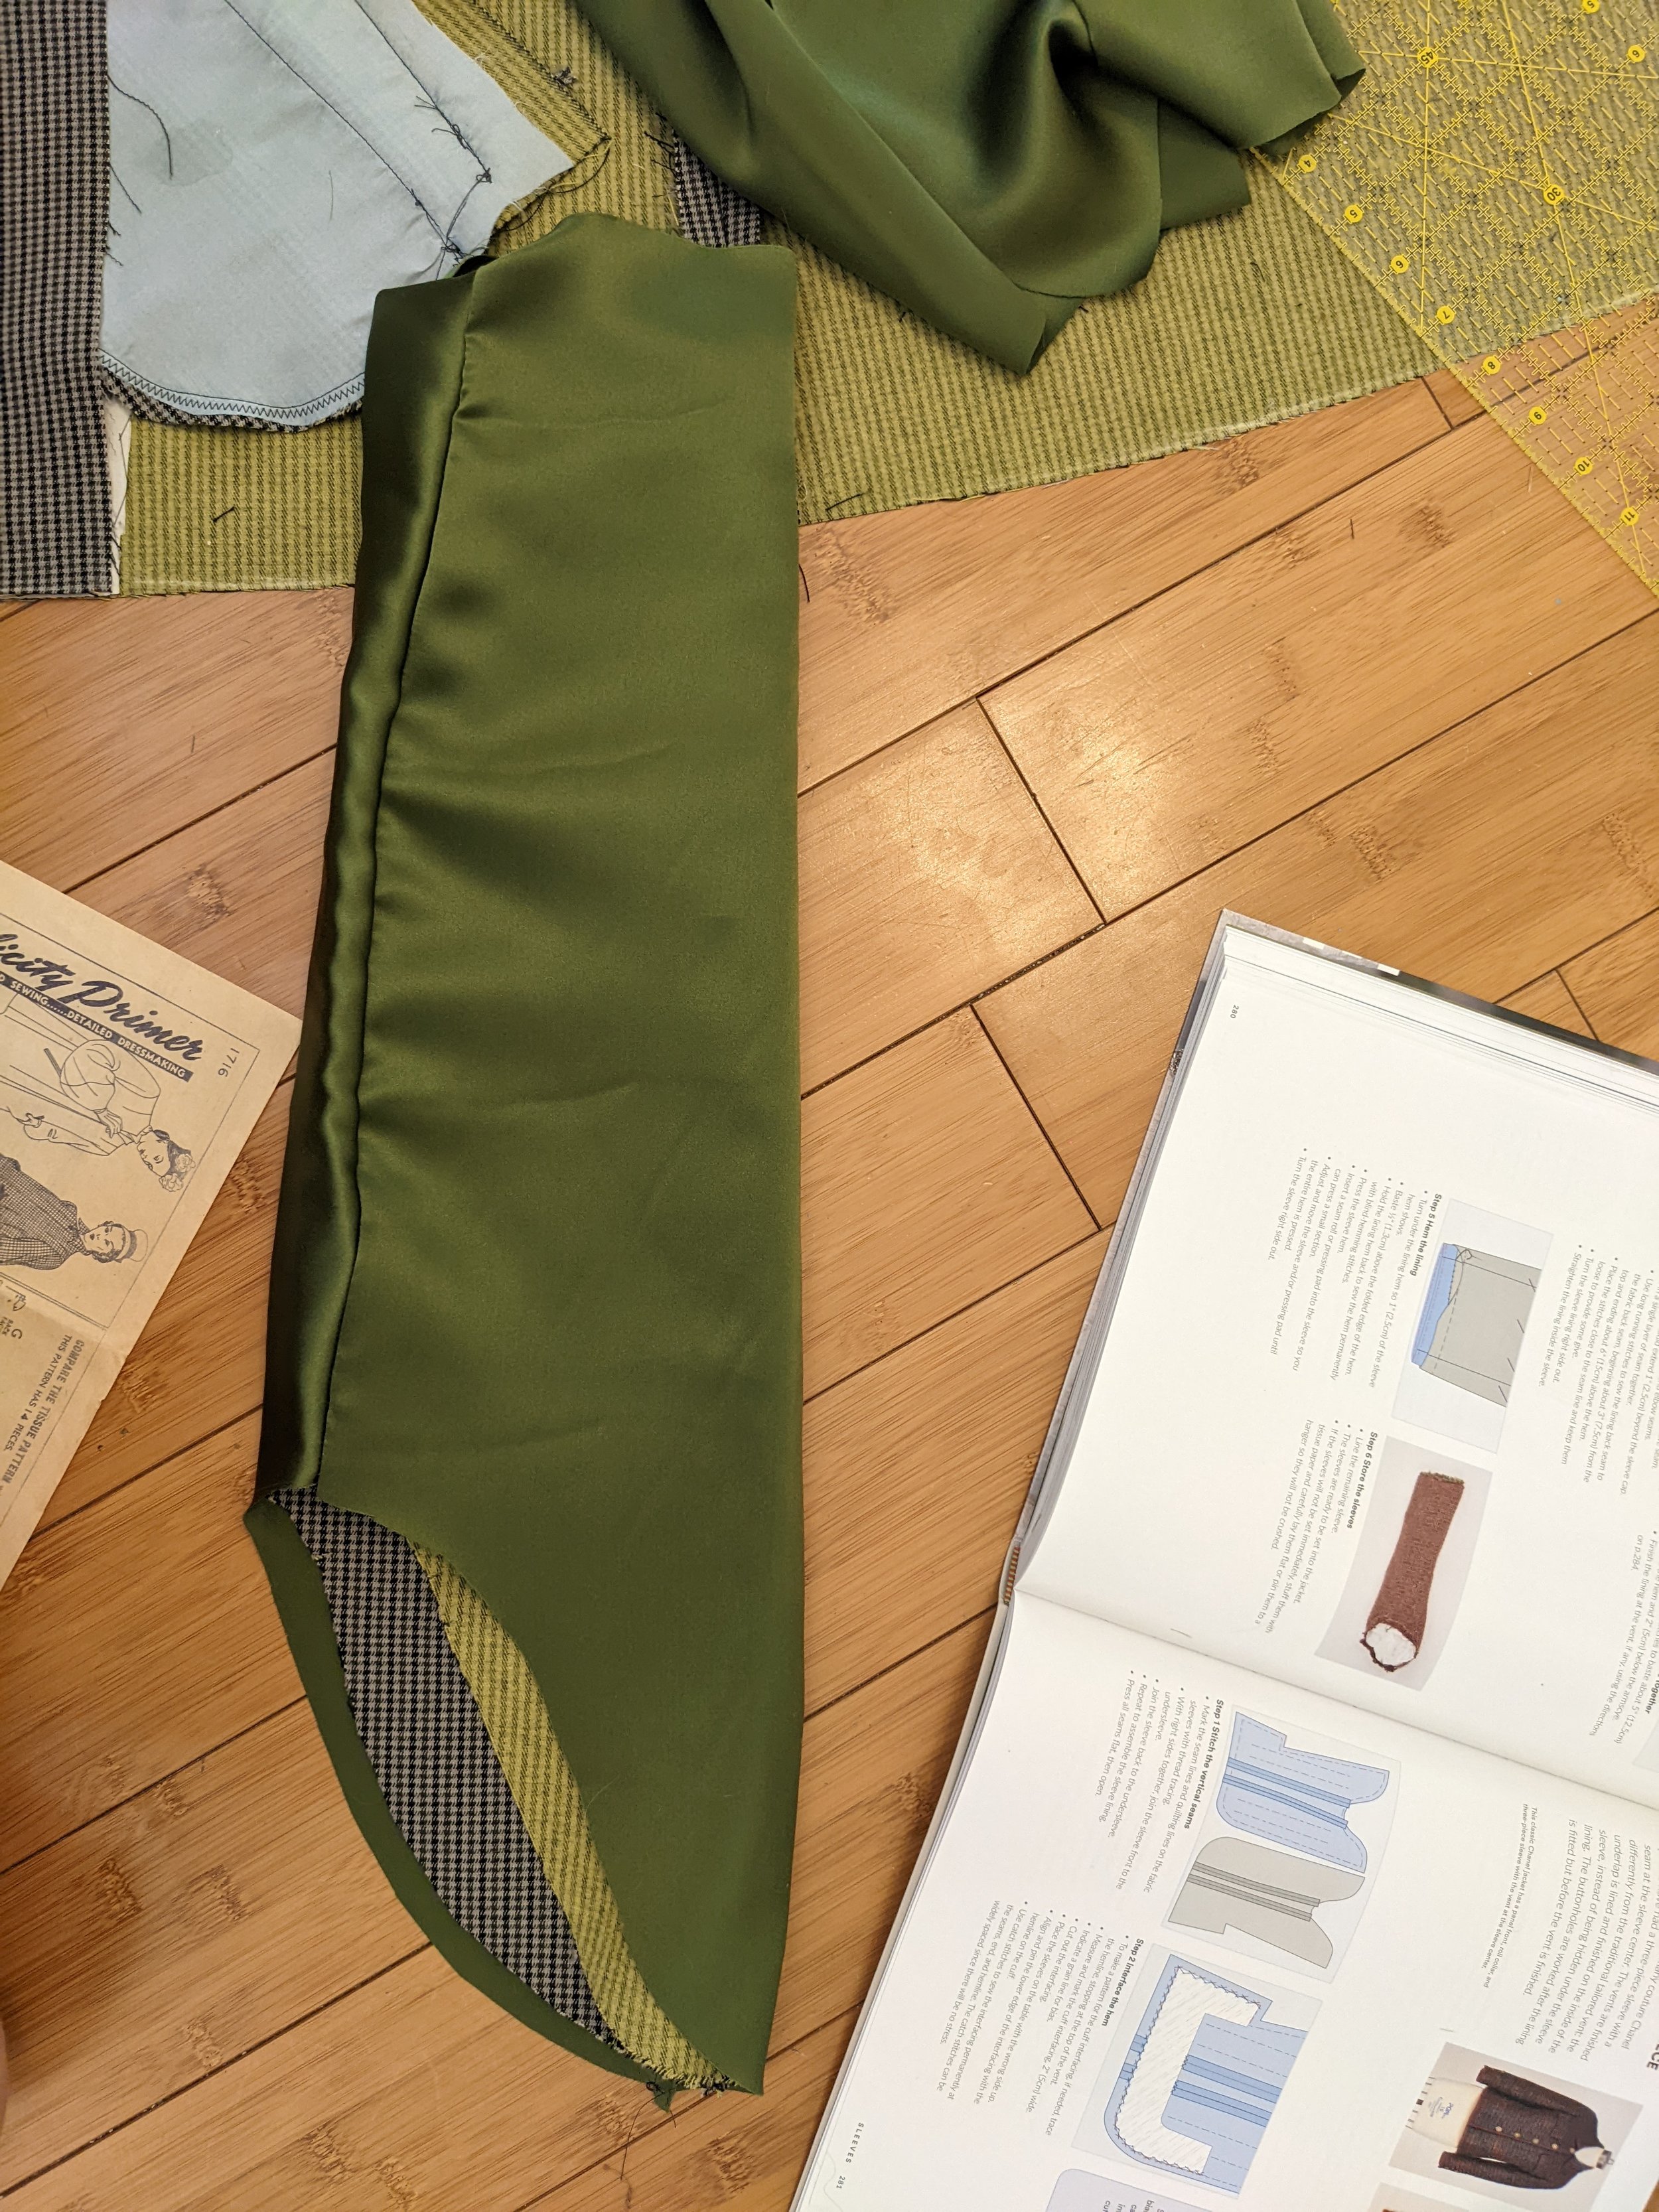
The sleeves are completed and lined separately from the jacket so that they can be correctly slip-stitched at the cuff without forcing the jacket inside out at the end and so that they can be minimally handled in this process.
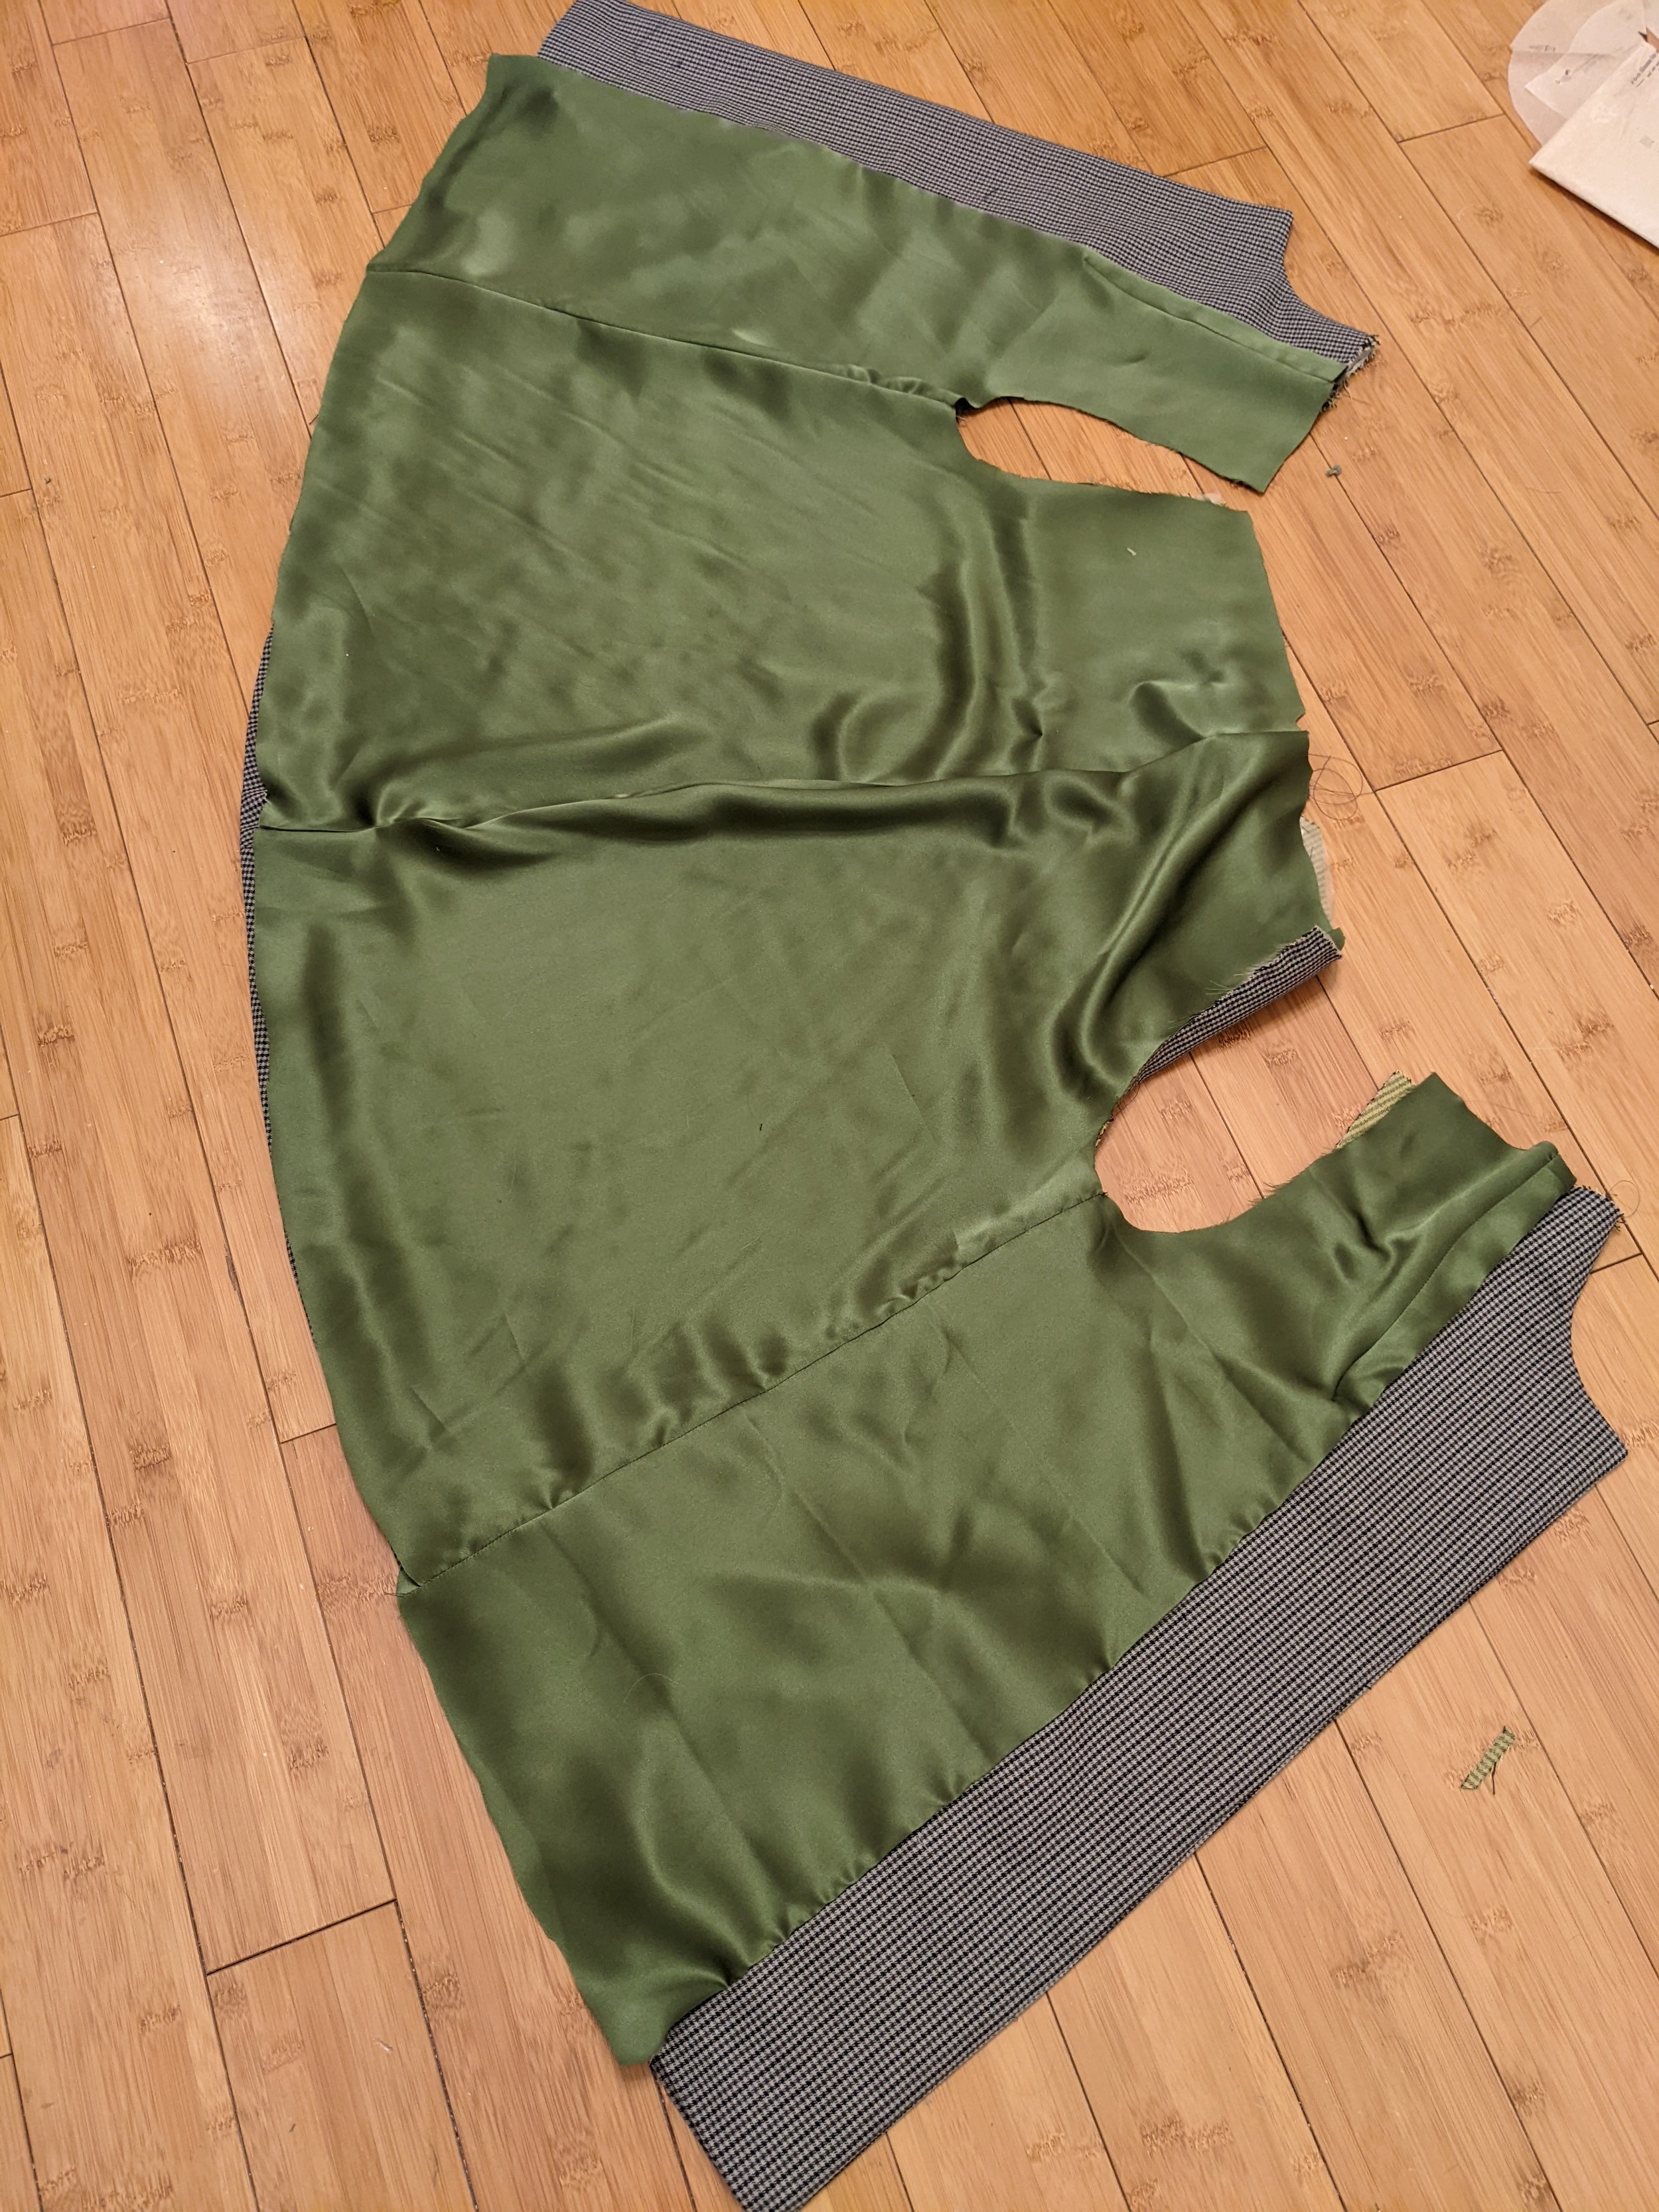
The organza interfacing at the cuff I used I sewed in by hand and then the lining is sewn to the seam allowance and slipped over the sleeve. And then the sleeve lining is hemmed to the sleeve.
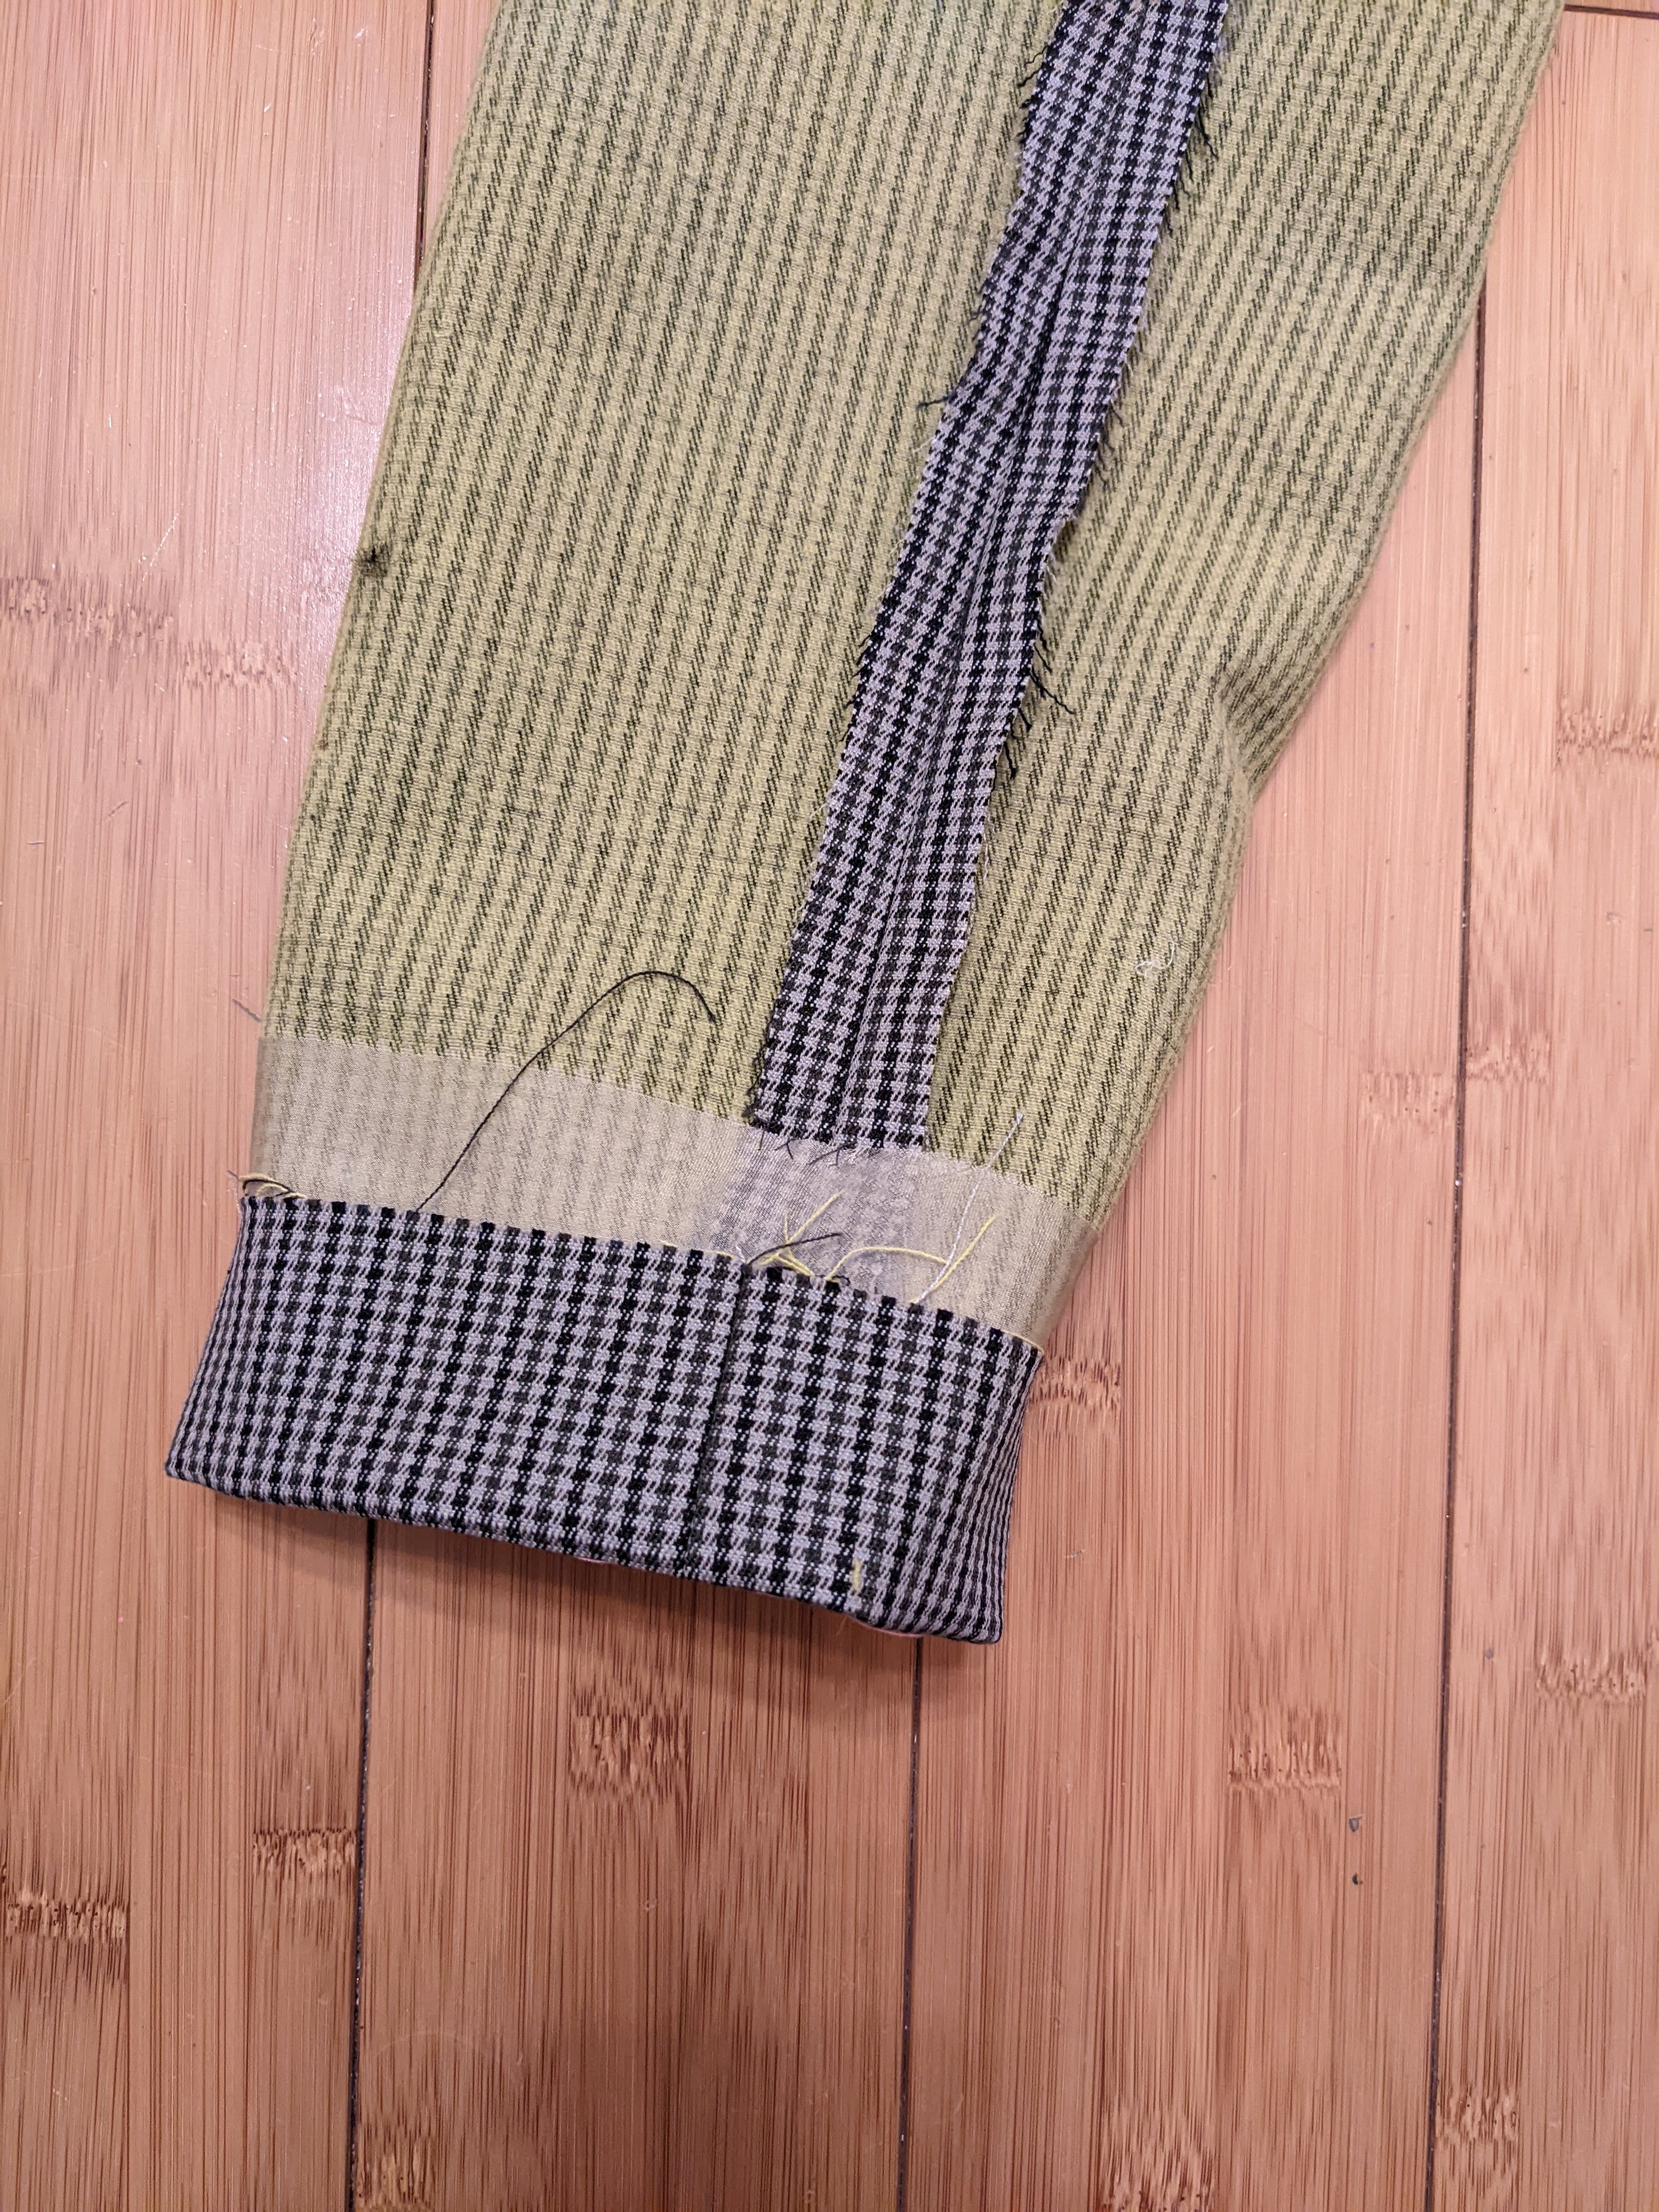
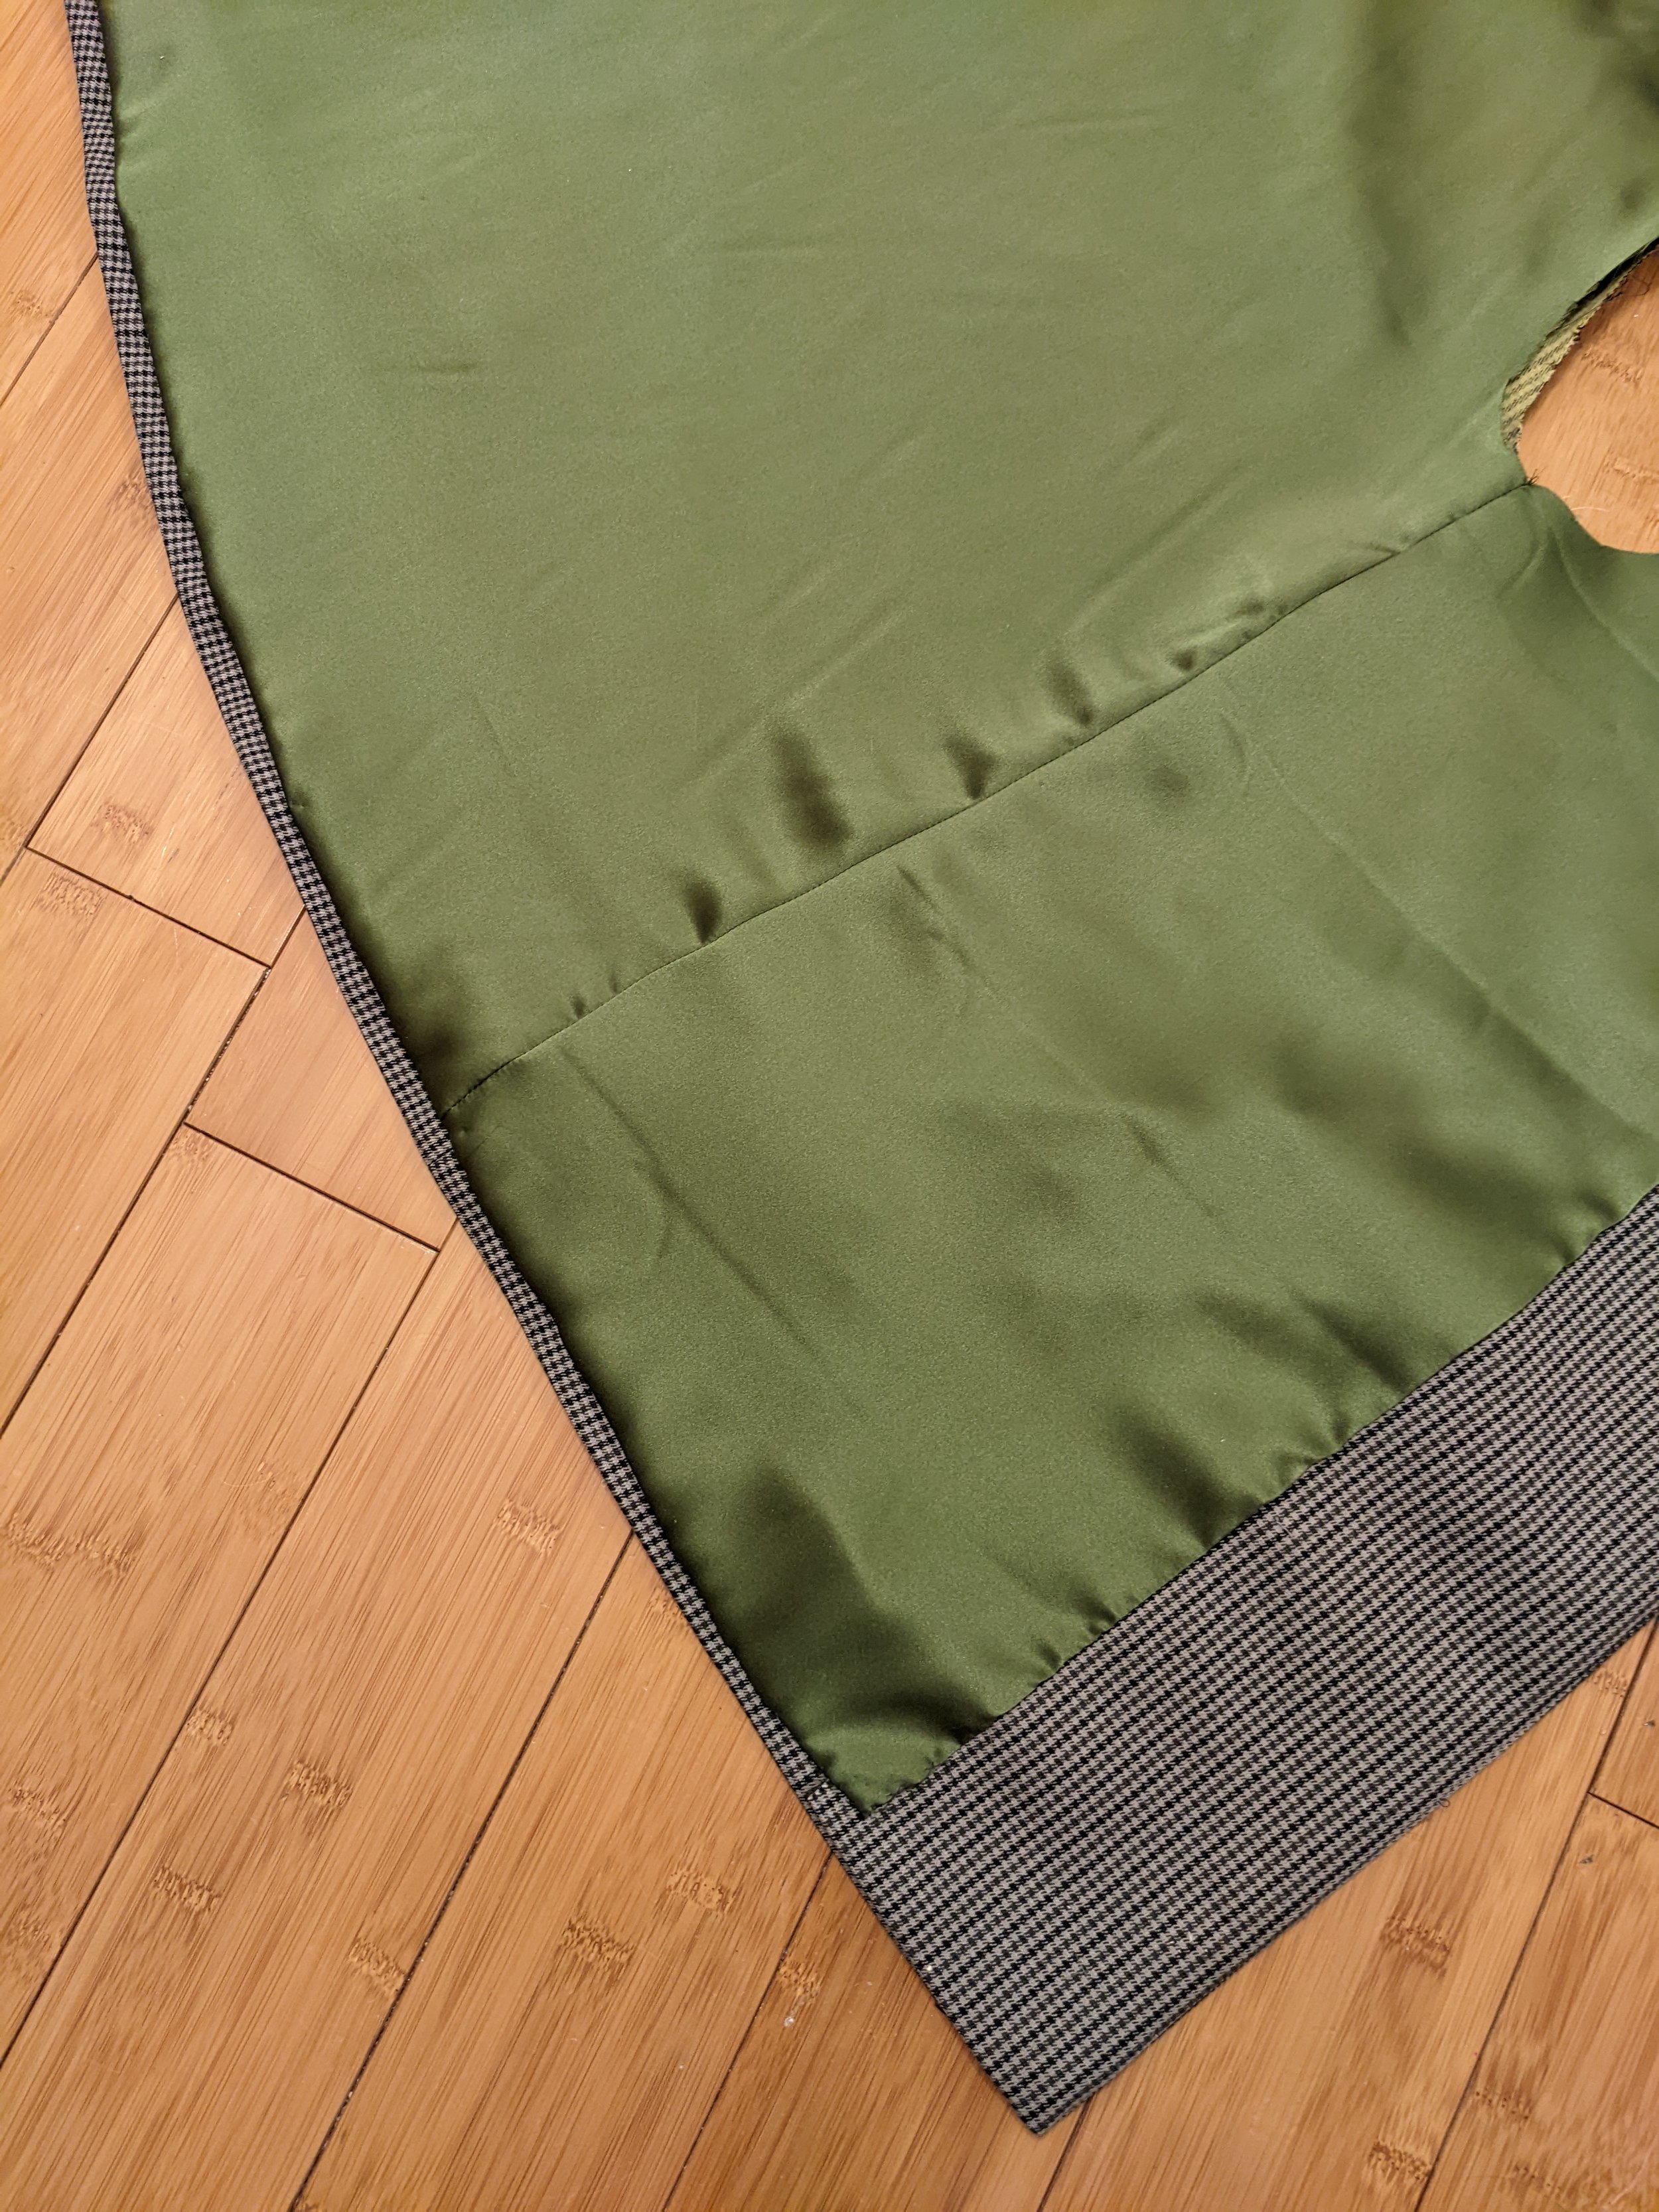
Next I hemmed the jacket with hem interfacing, AKA “bias cut wigan” that I bought from Wawak - it’s like a very fine, woven, bias cut, 2” ribbon. I sewed all of this in with catch-stitching which was quite the process due to the wide sweep of the back of this coat. But it was fun. Claire’s instructions for shaping the hem were super helpful.
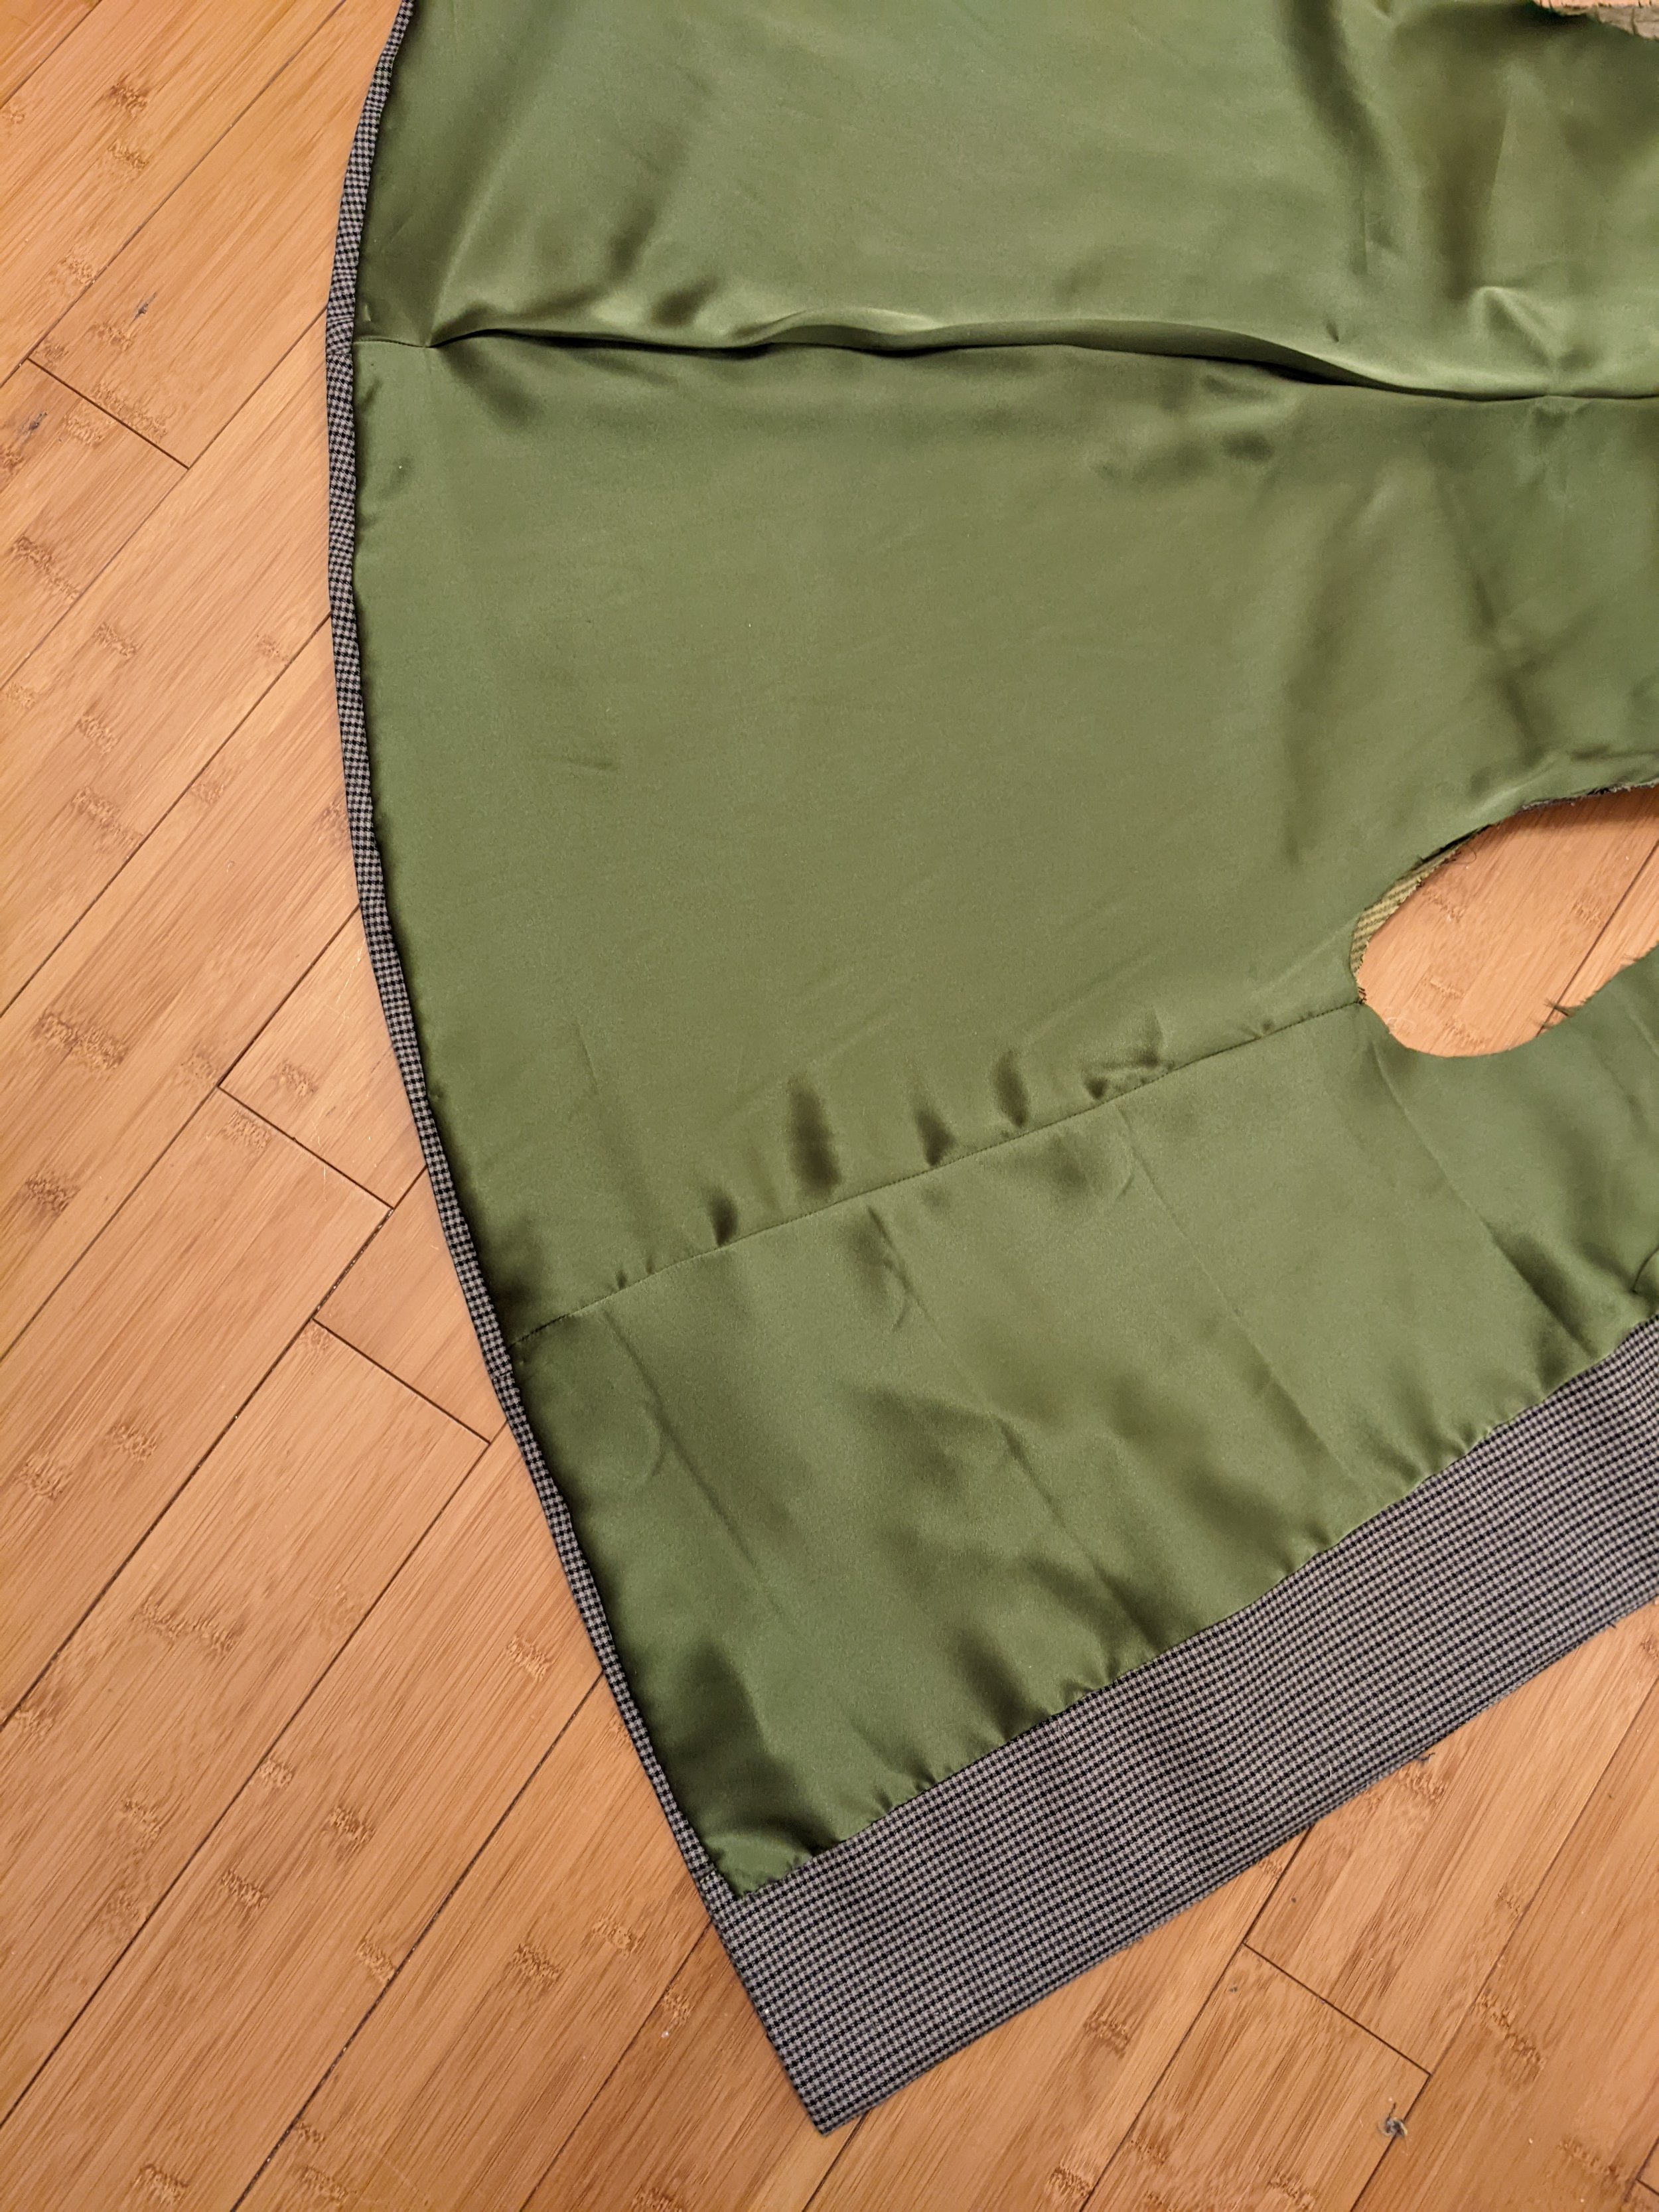
Then I attached the lining to the body - I was able to attach it to the facings by machine, but I had to sew in the hem by hand with a blind felled seam. It took forever but I was by this point really gaining an appreciation for hand sewing. So many things are truly impossible to achieve at the same level by machine - the hem falls way more cleanly this way.
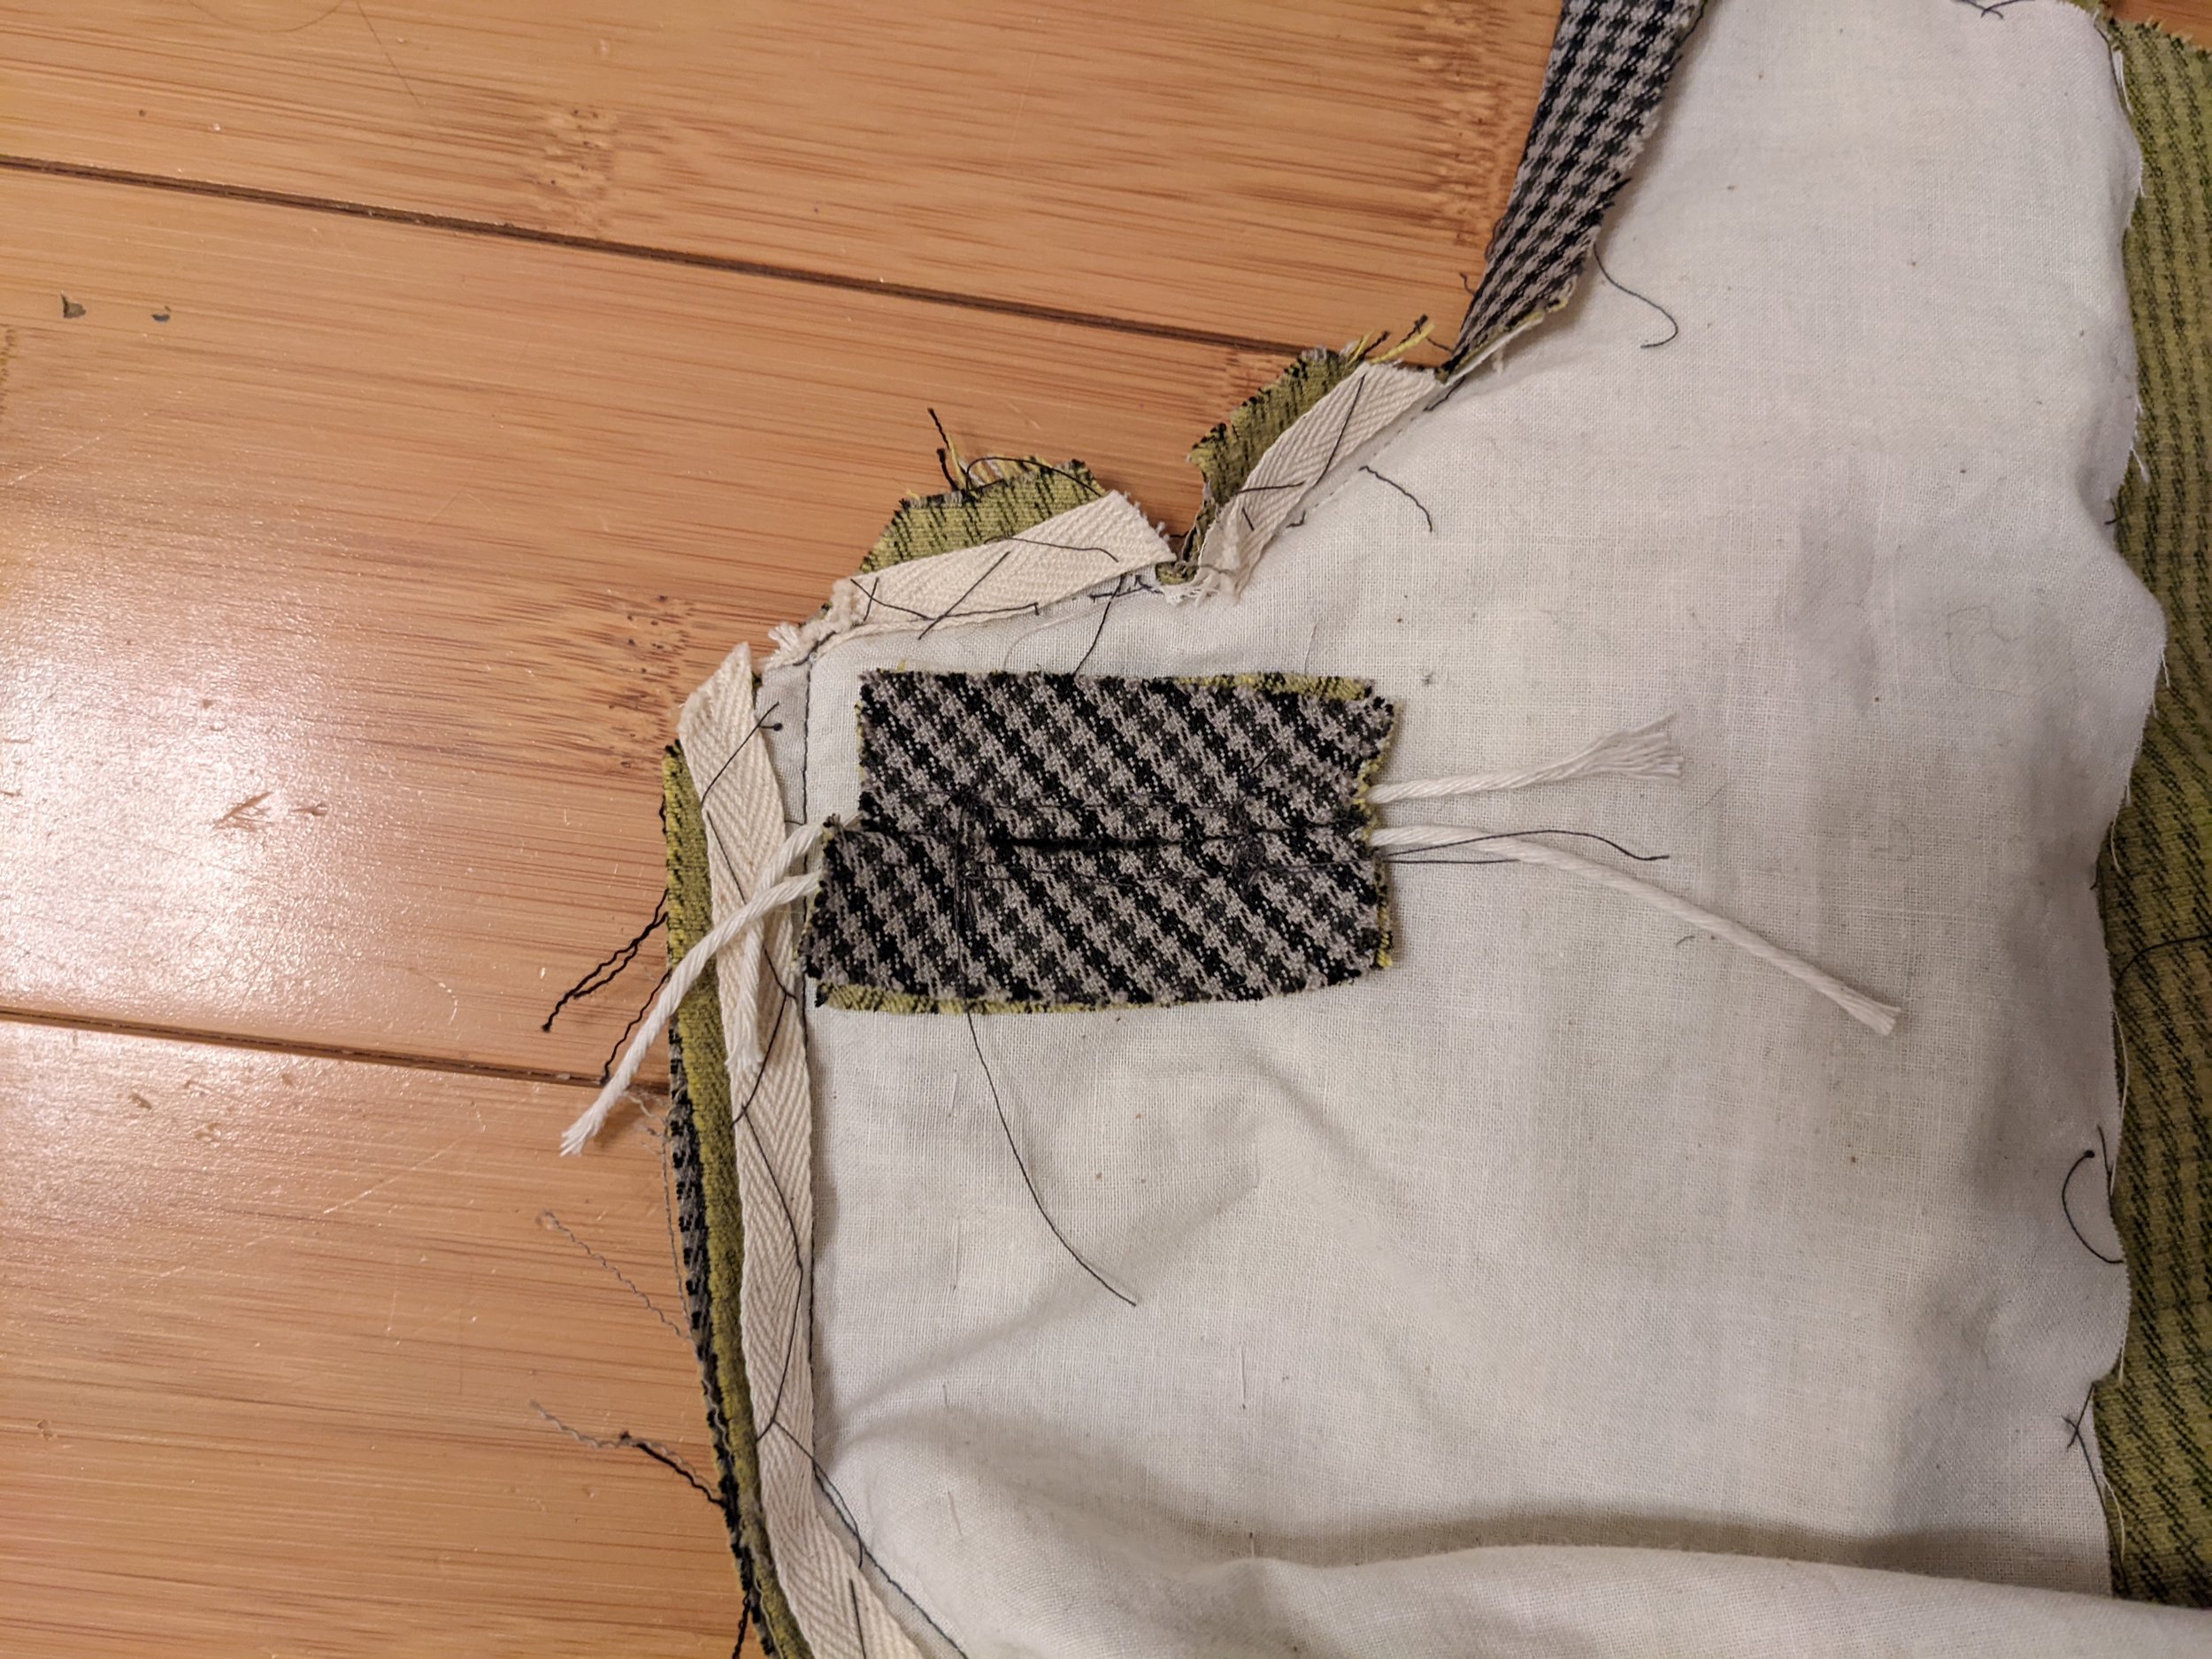
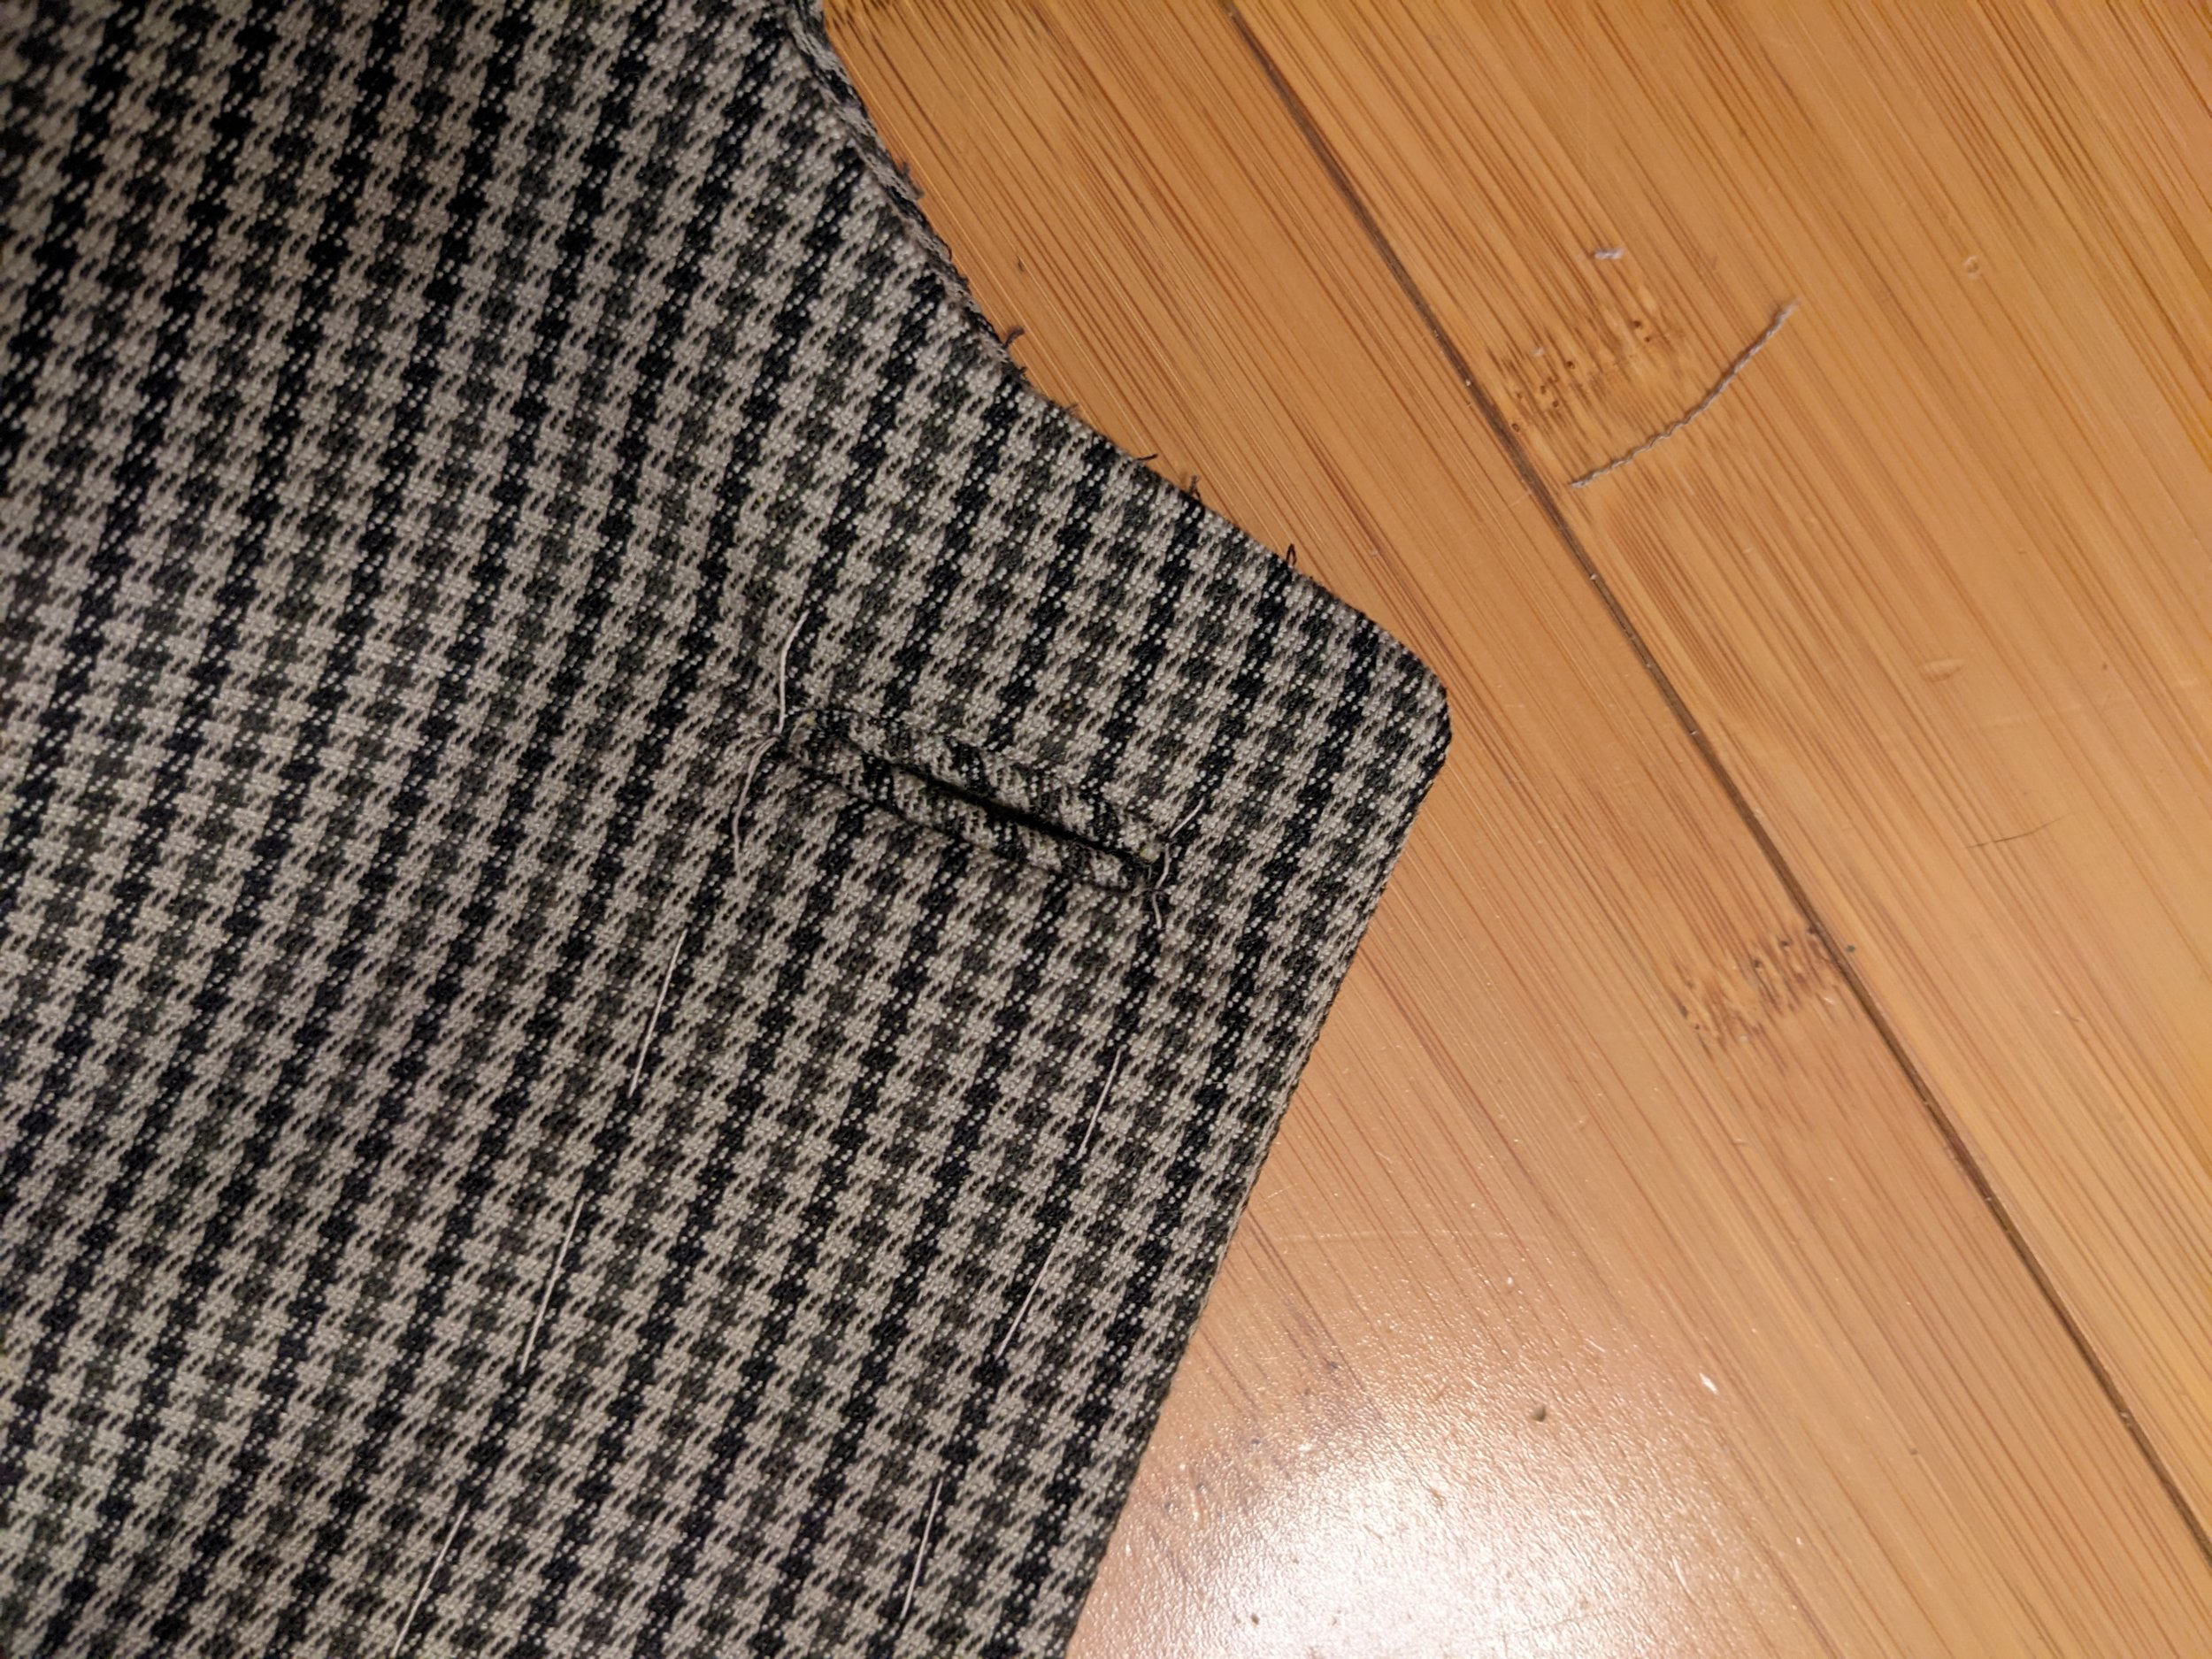
Now, because the jacket was still open from the top (shoulders, sleeves) it was time to do the bound buttonholes in the facing - that way I could access the interior of the facing from the top. With the welt pocket I of course had to do corded buttonholes.

Next was collar, I didn’t photograph the insertion it was pretty standard although Shaeffer has wonderful instructions on rolling/preparing the collar and under collar.
At this point I sewed together the lining at the shoulders, the wool fabric at the shoulders, and then attached the sleeves (but not the sleeve lining) to the coat … and it looked very close to done :)

But, it wasn’t done. I still had to make buttons and put in the shoulder pads (this was easy, they just got tacked in inside the lining along the armscye).
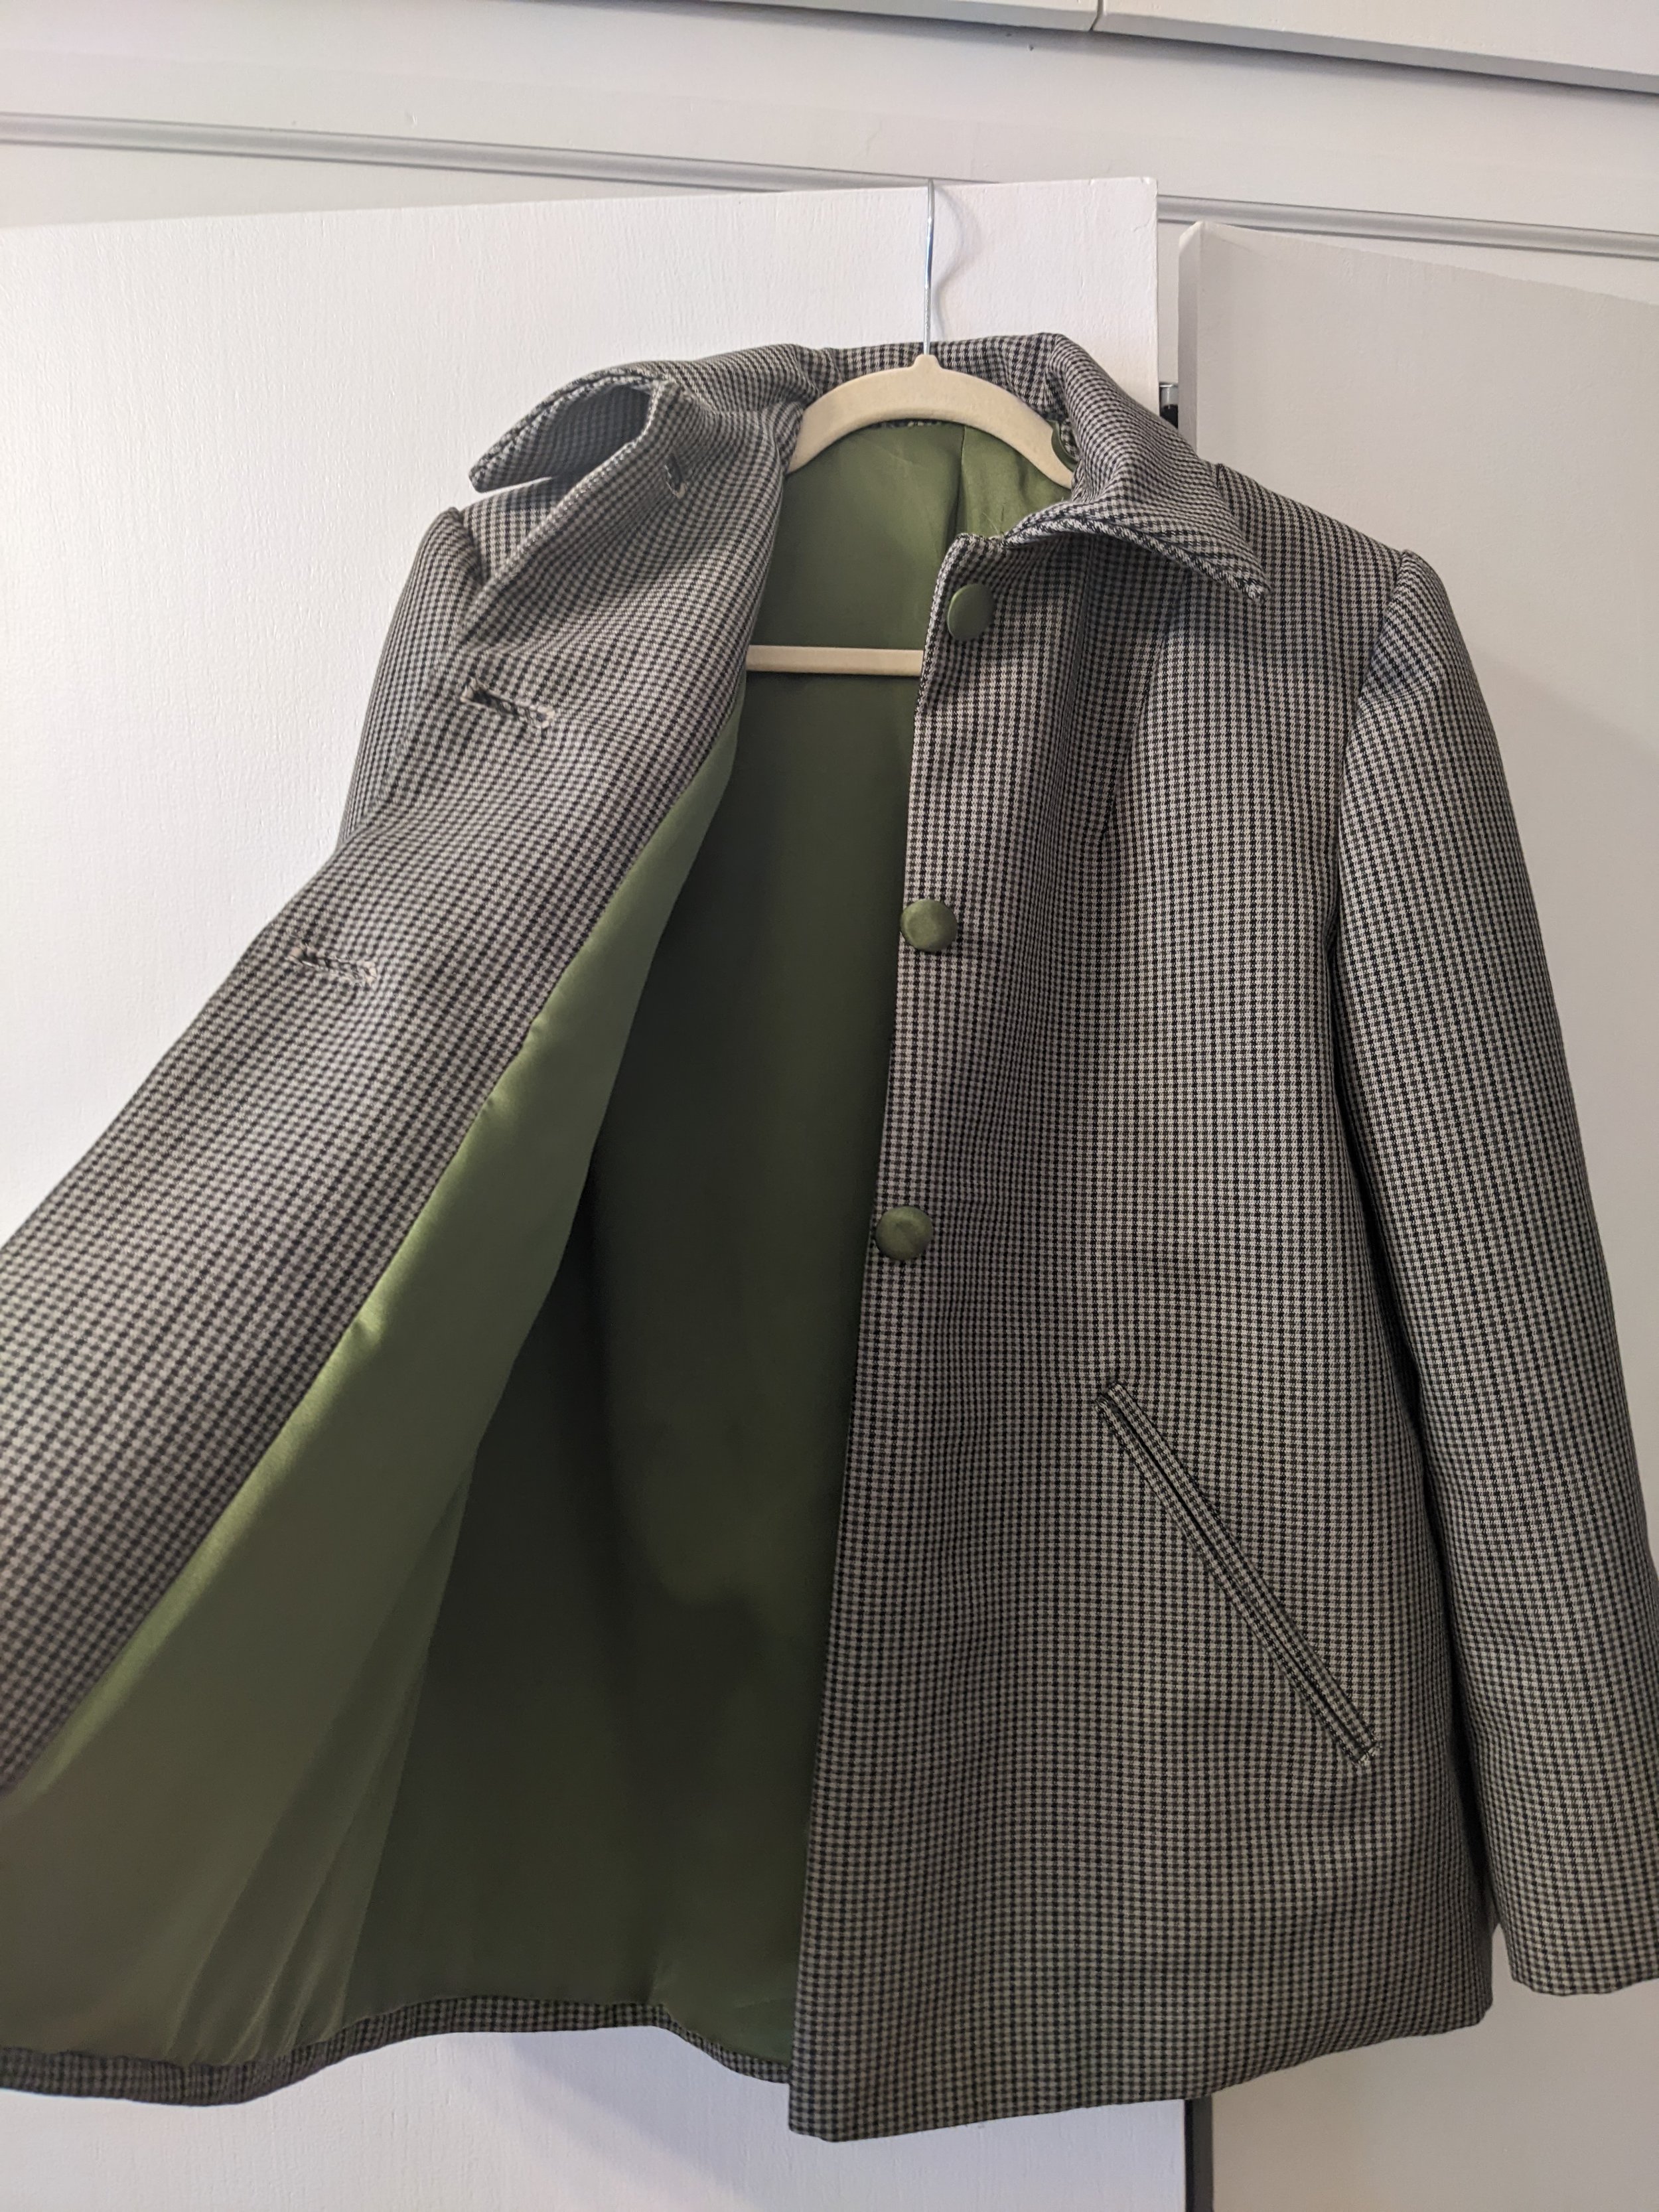
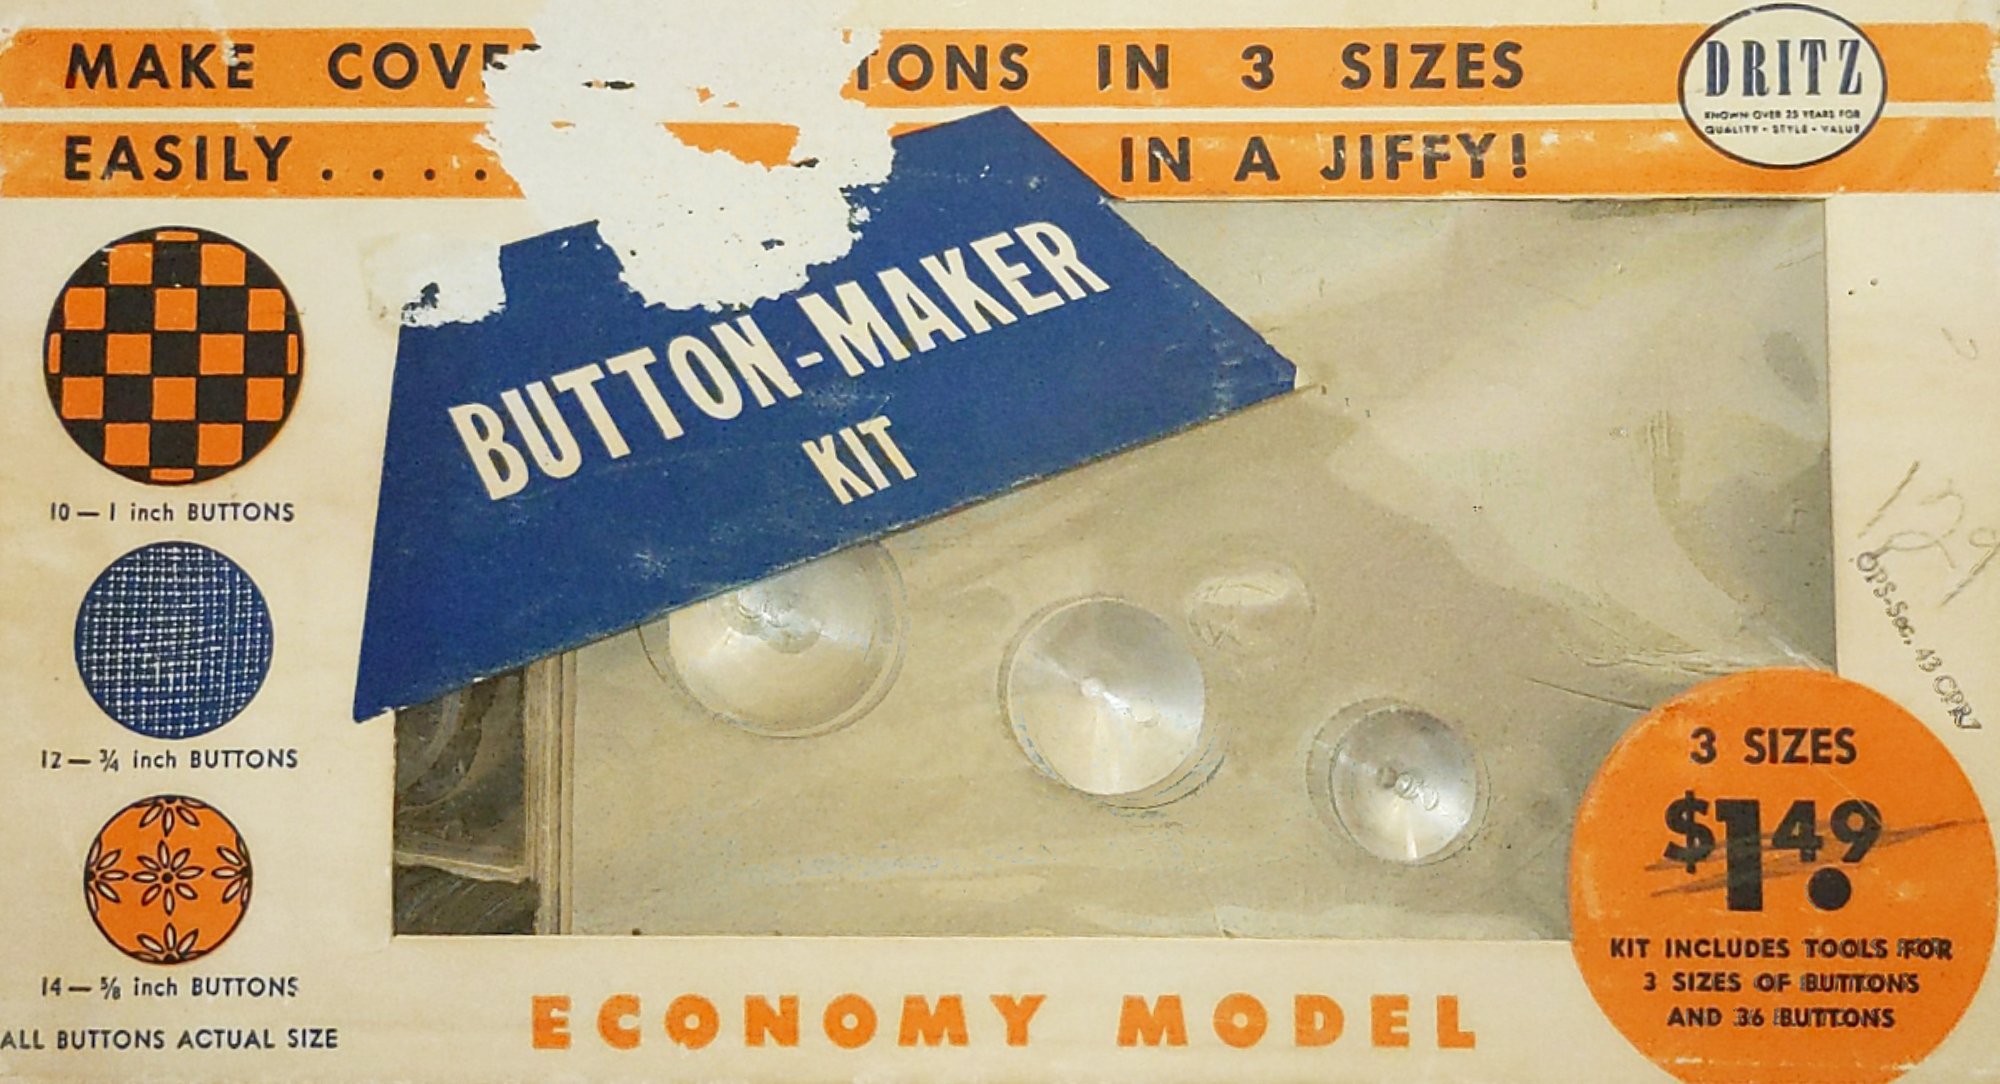
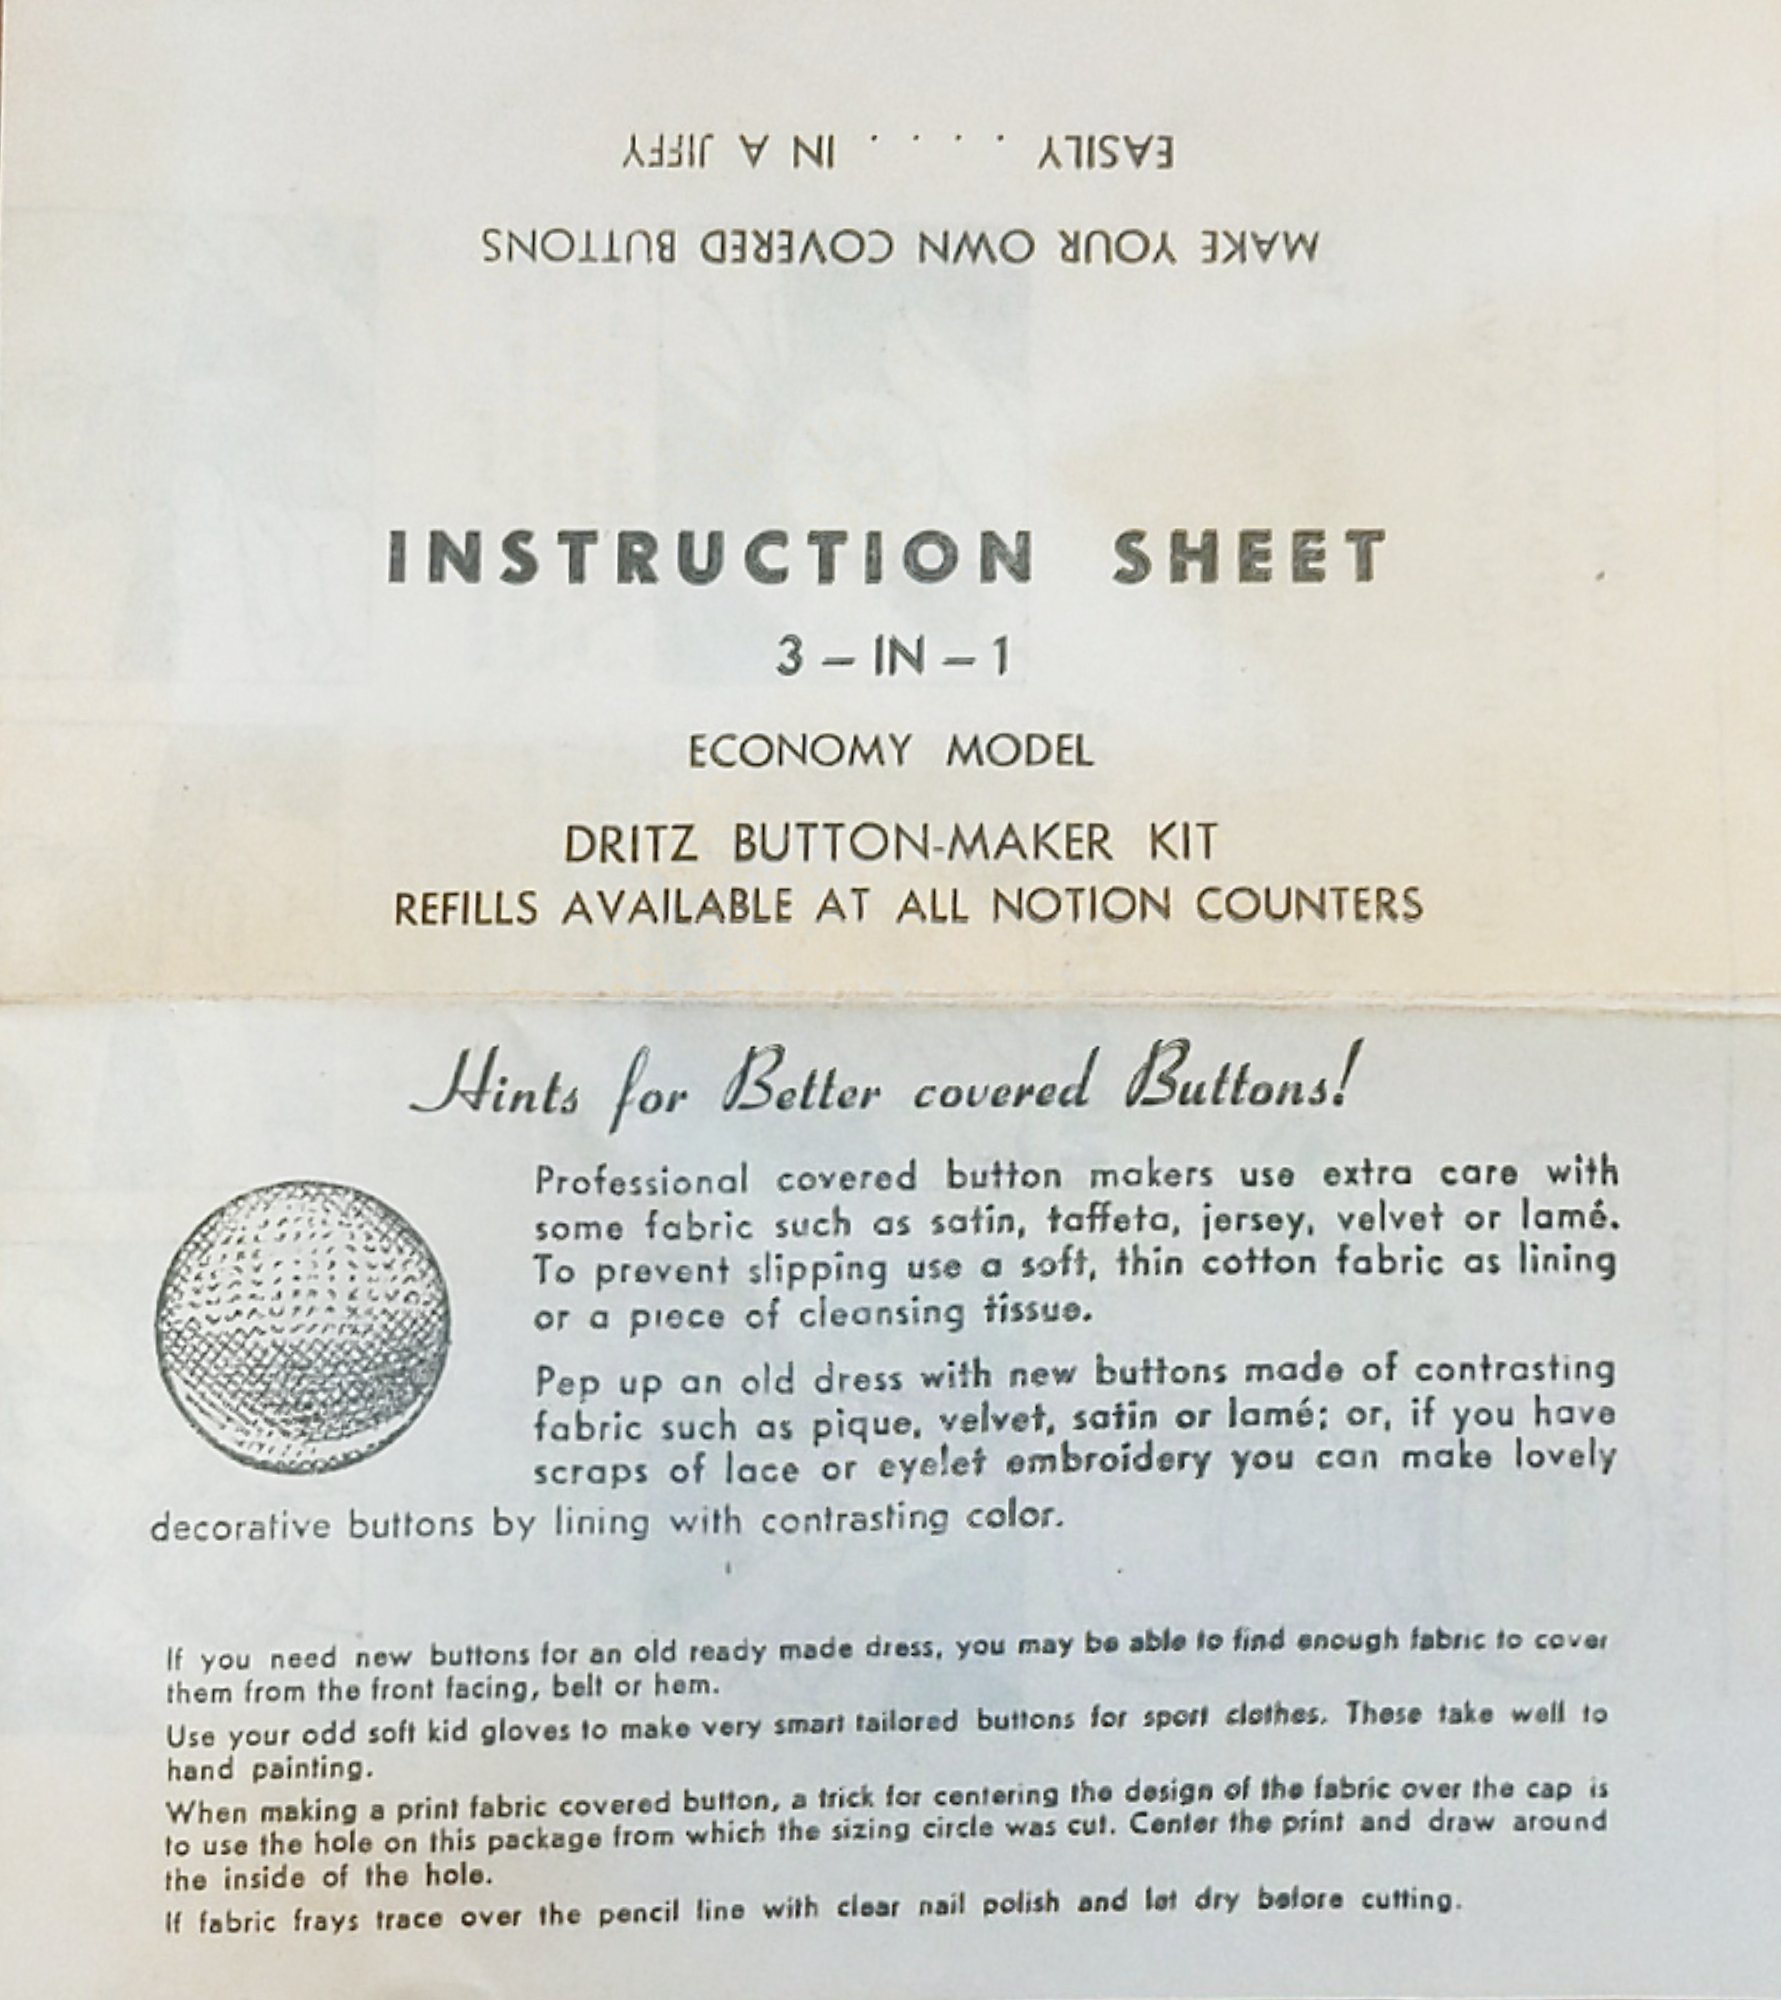
I bought a 1940s button maker kit off eBay and made the buttons out of the lining fabric. The wool fabric from the body of the coat was too thick for this button maker. So cute though. I love how the instructions suggest taking fabric from facings, hems, or old gloves.

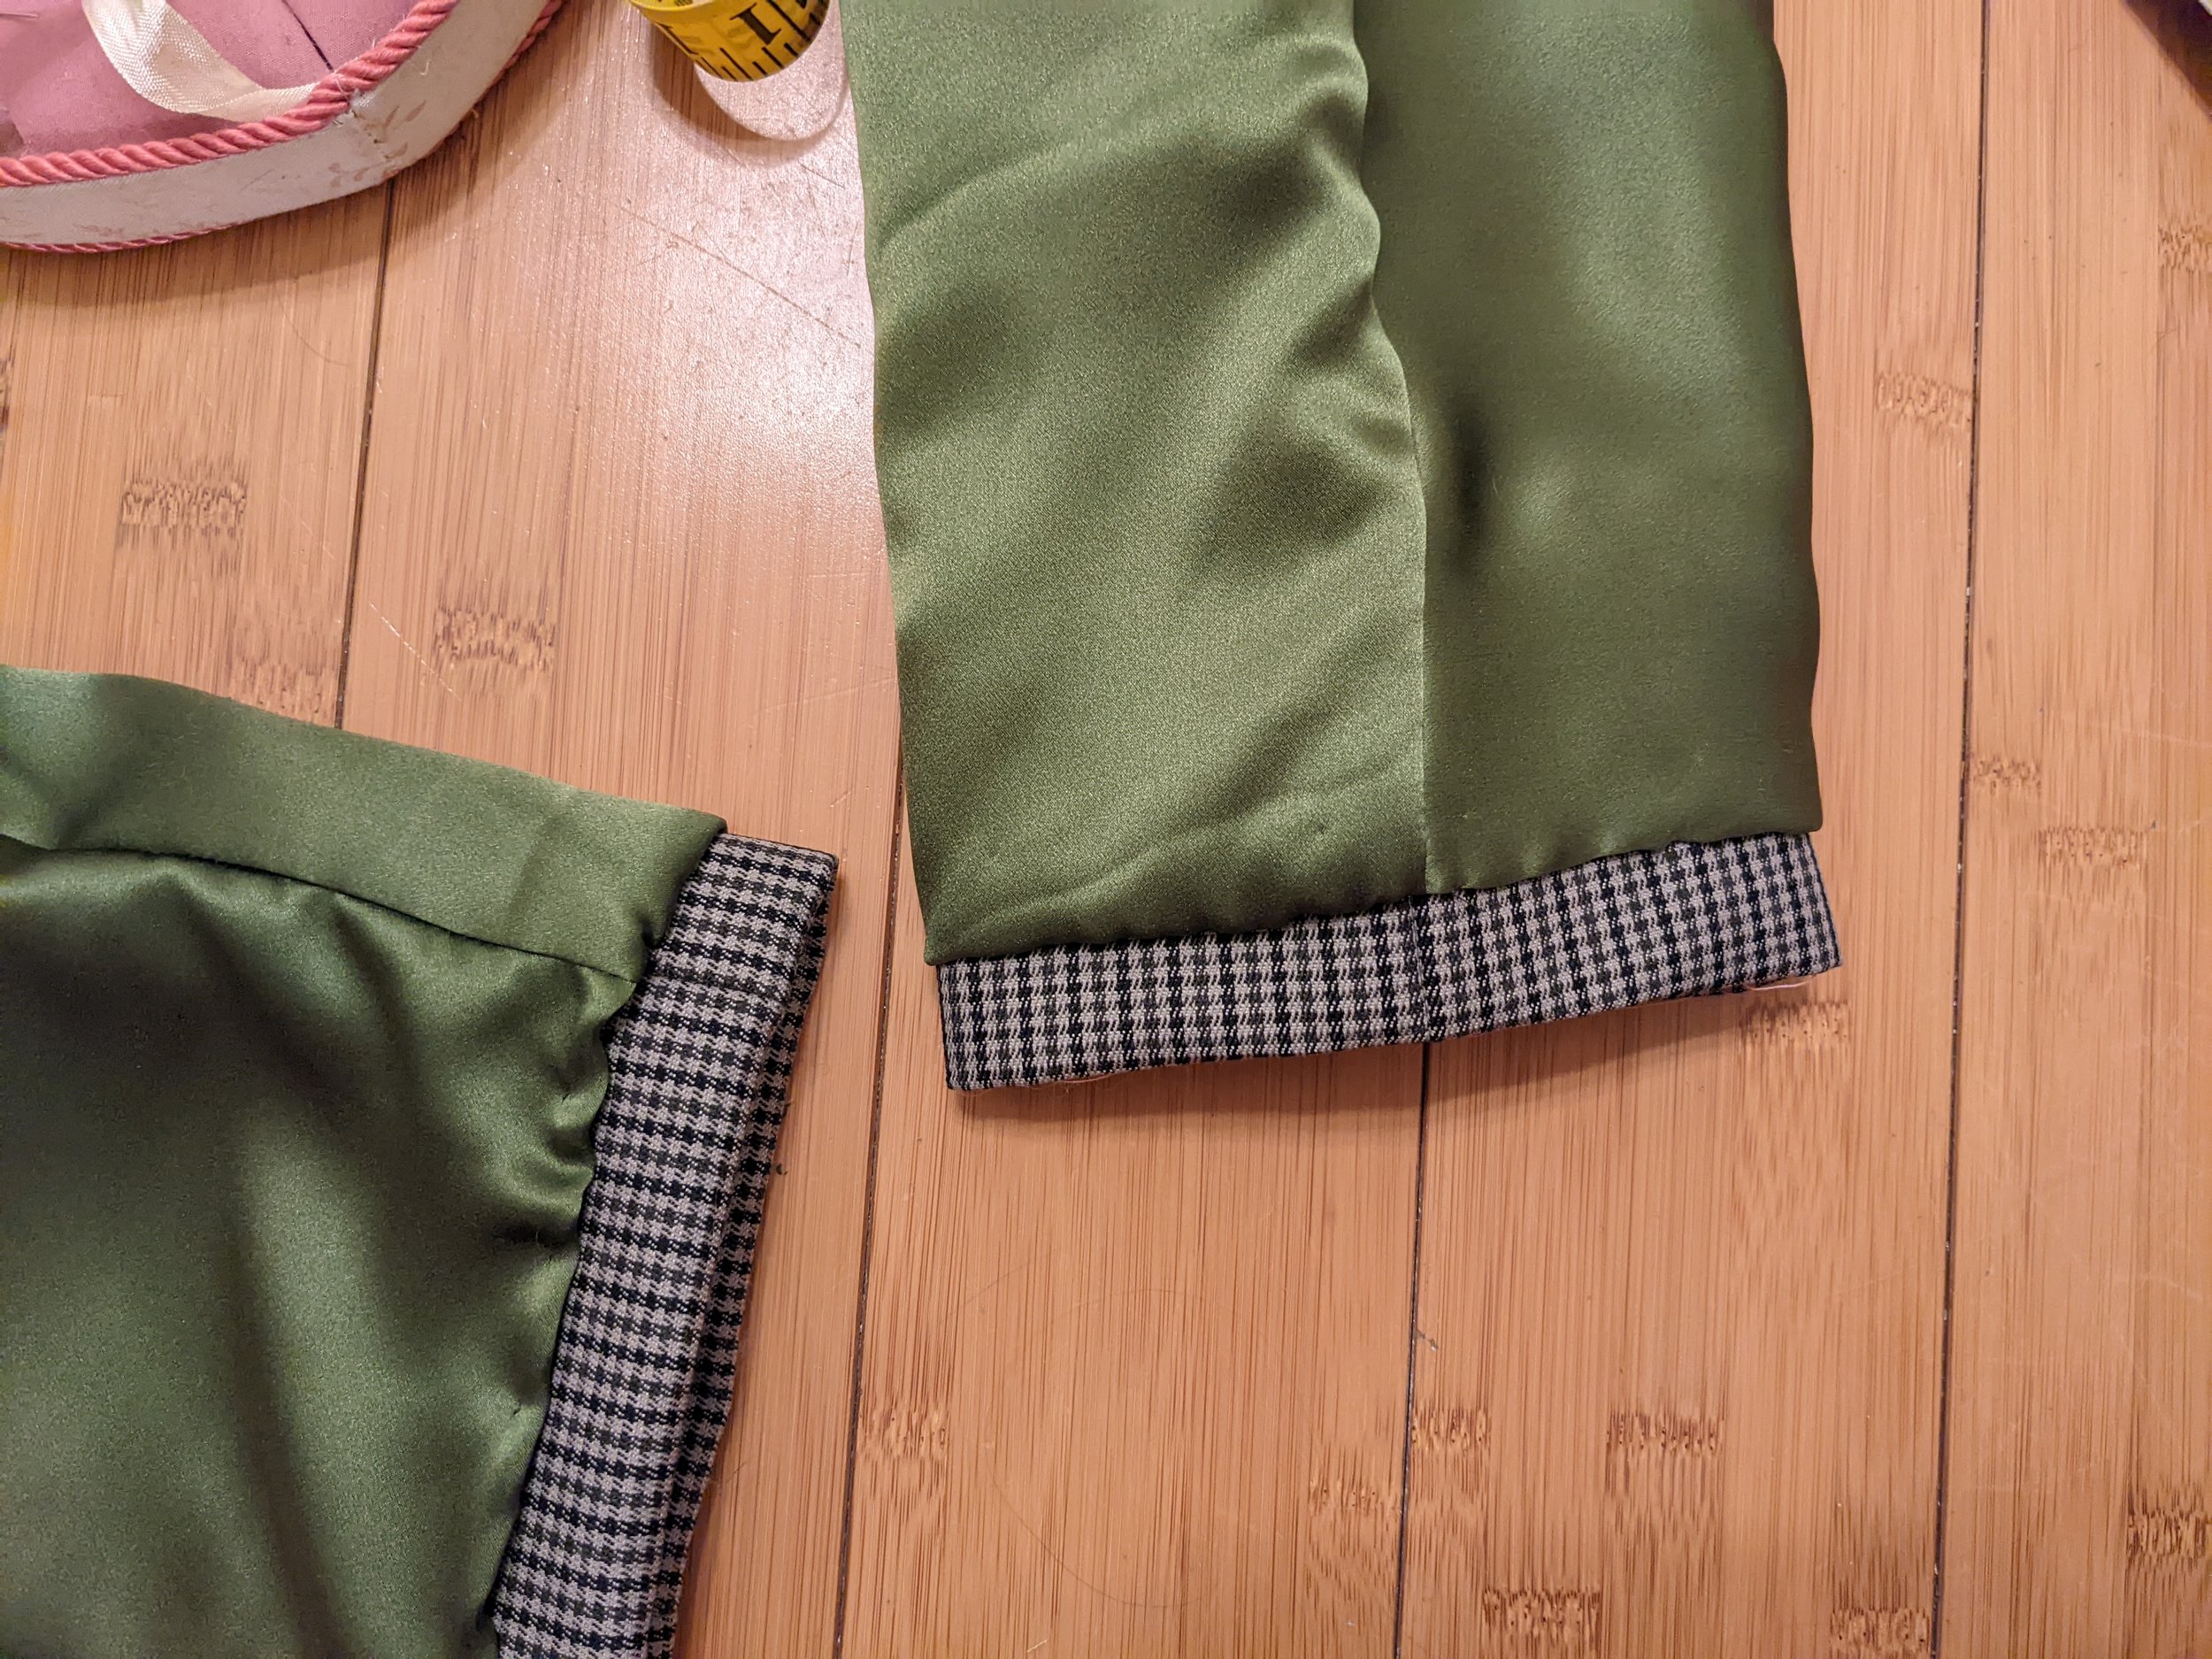
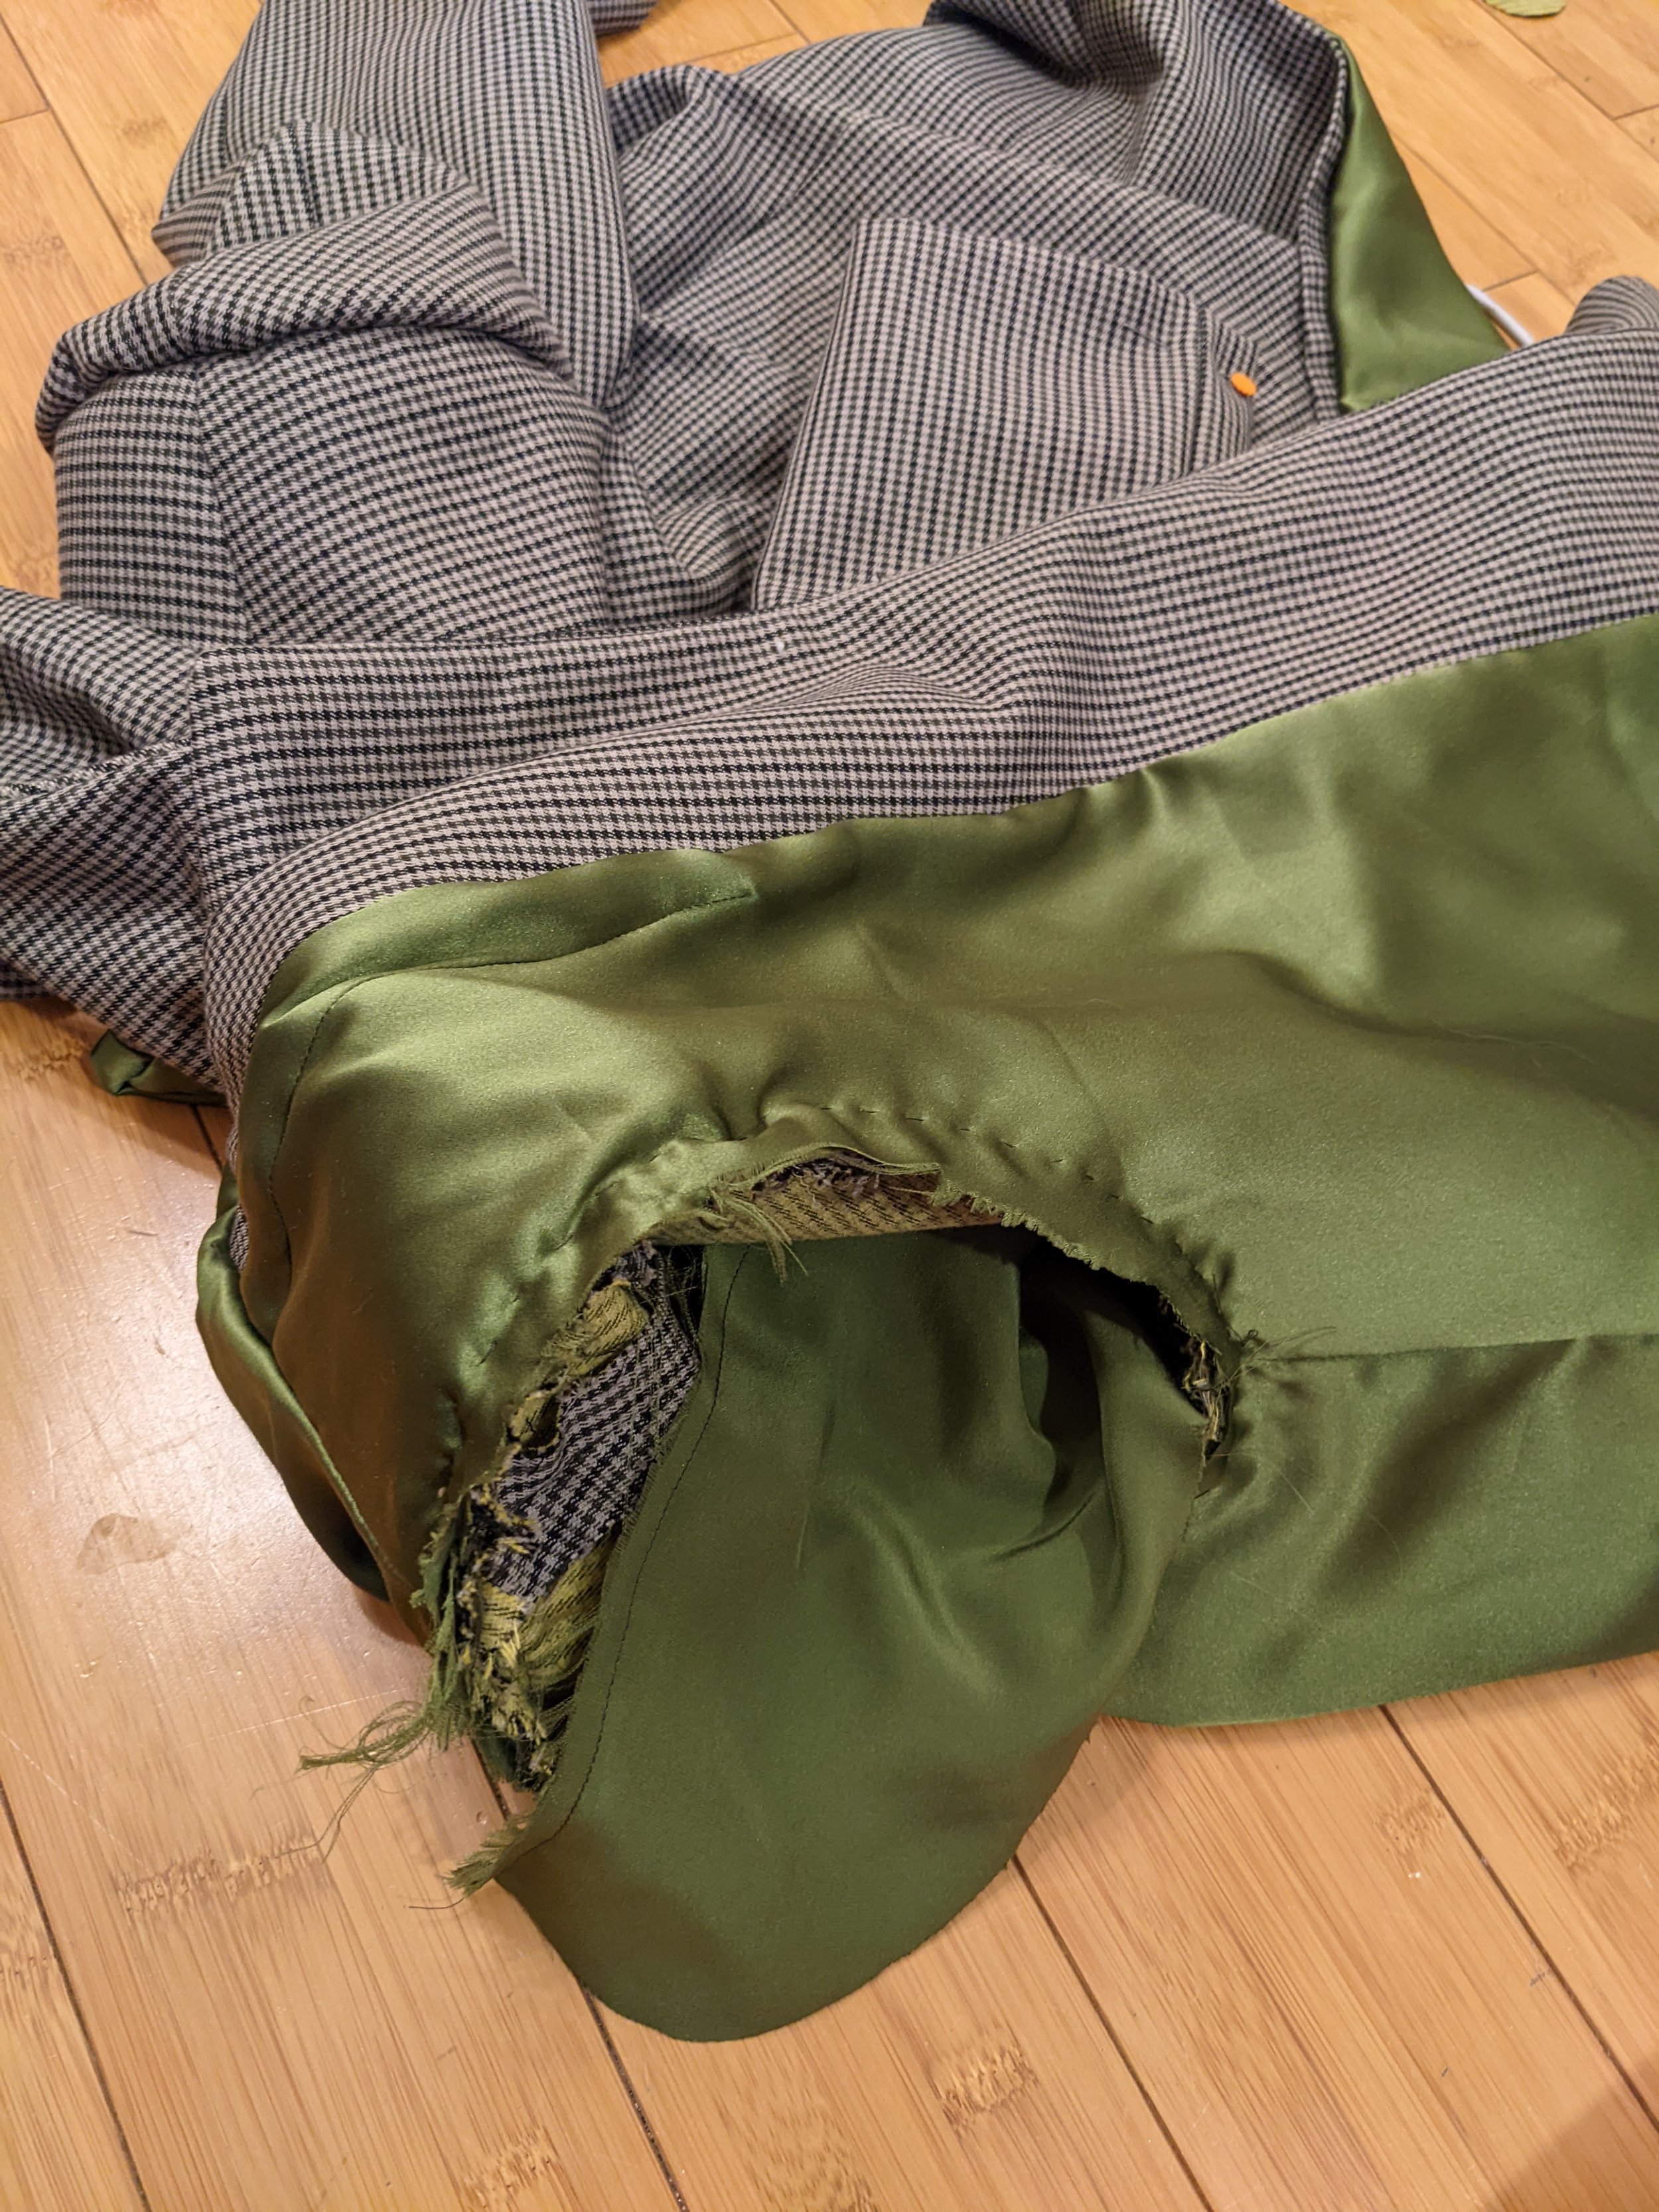
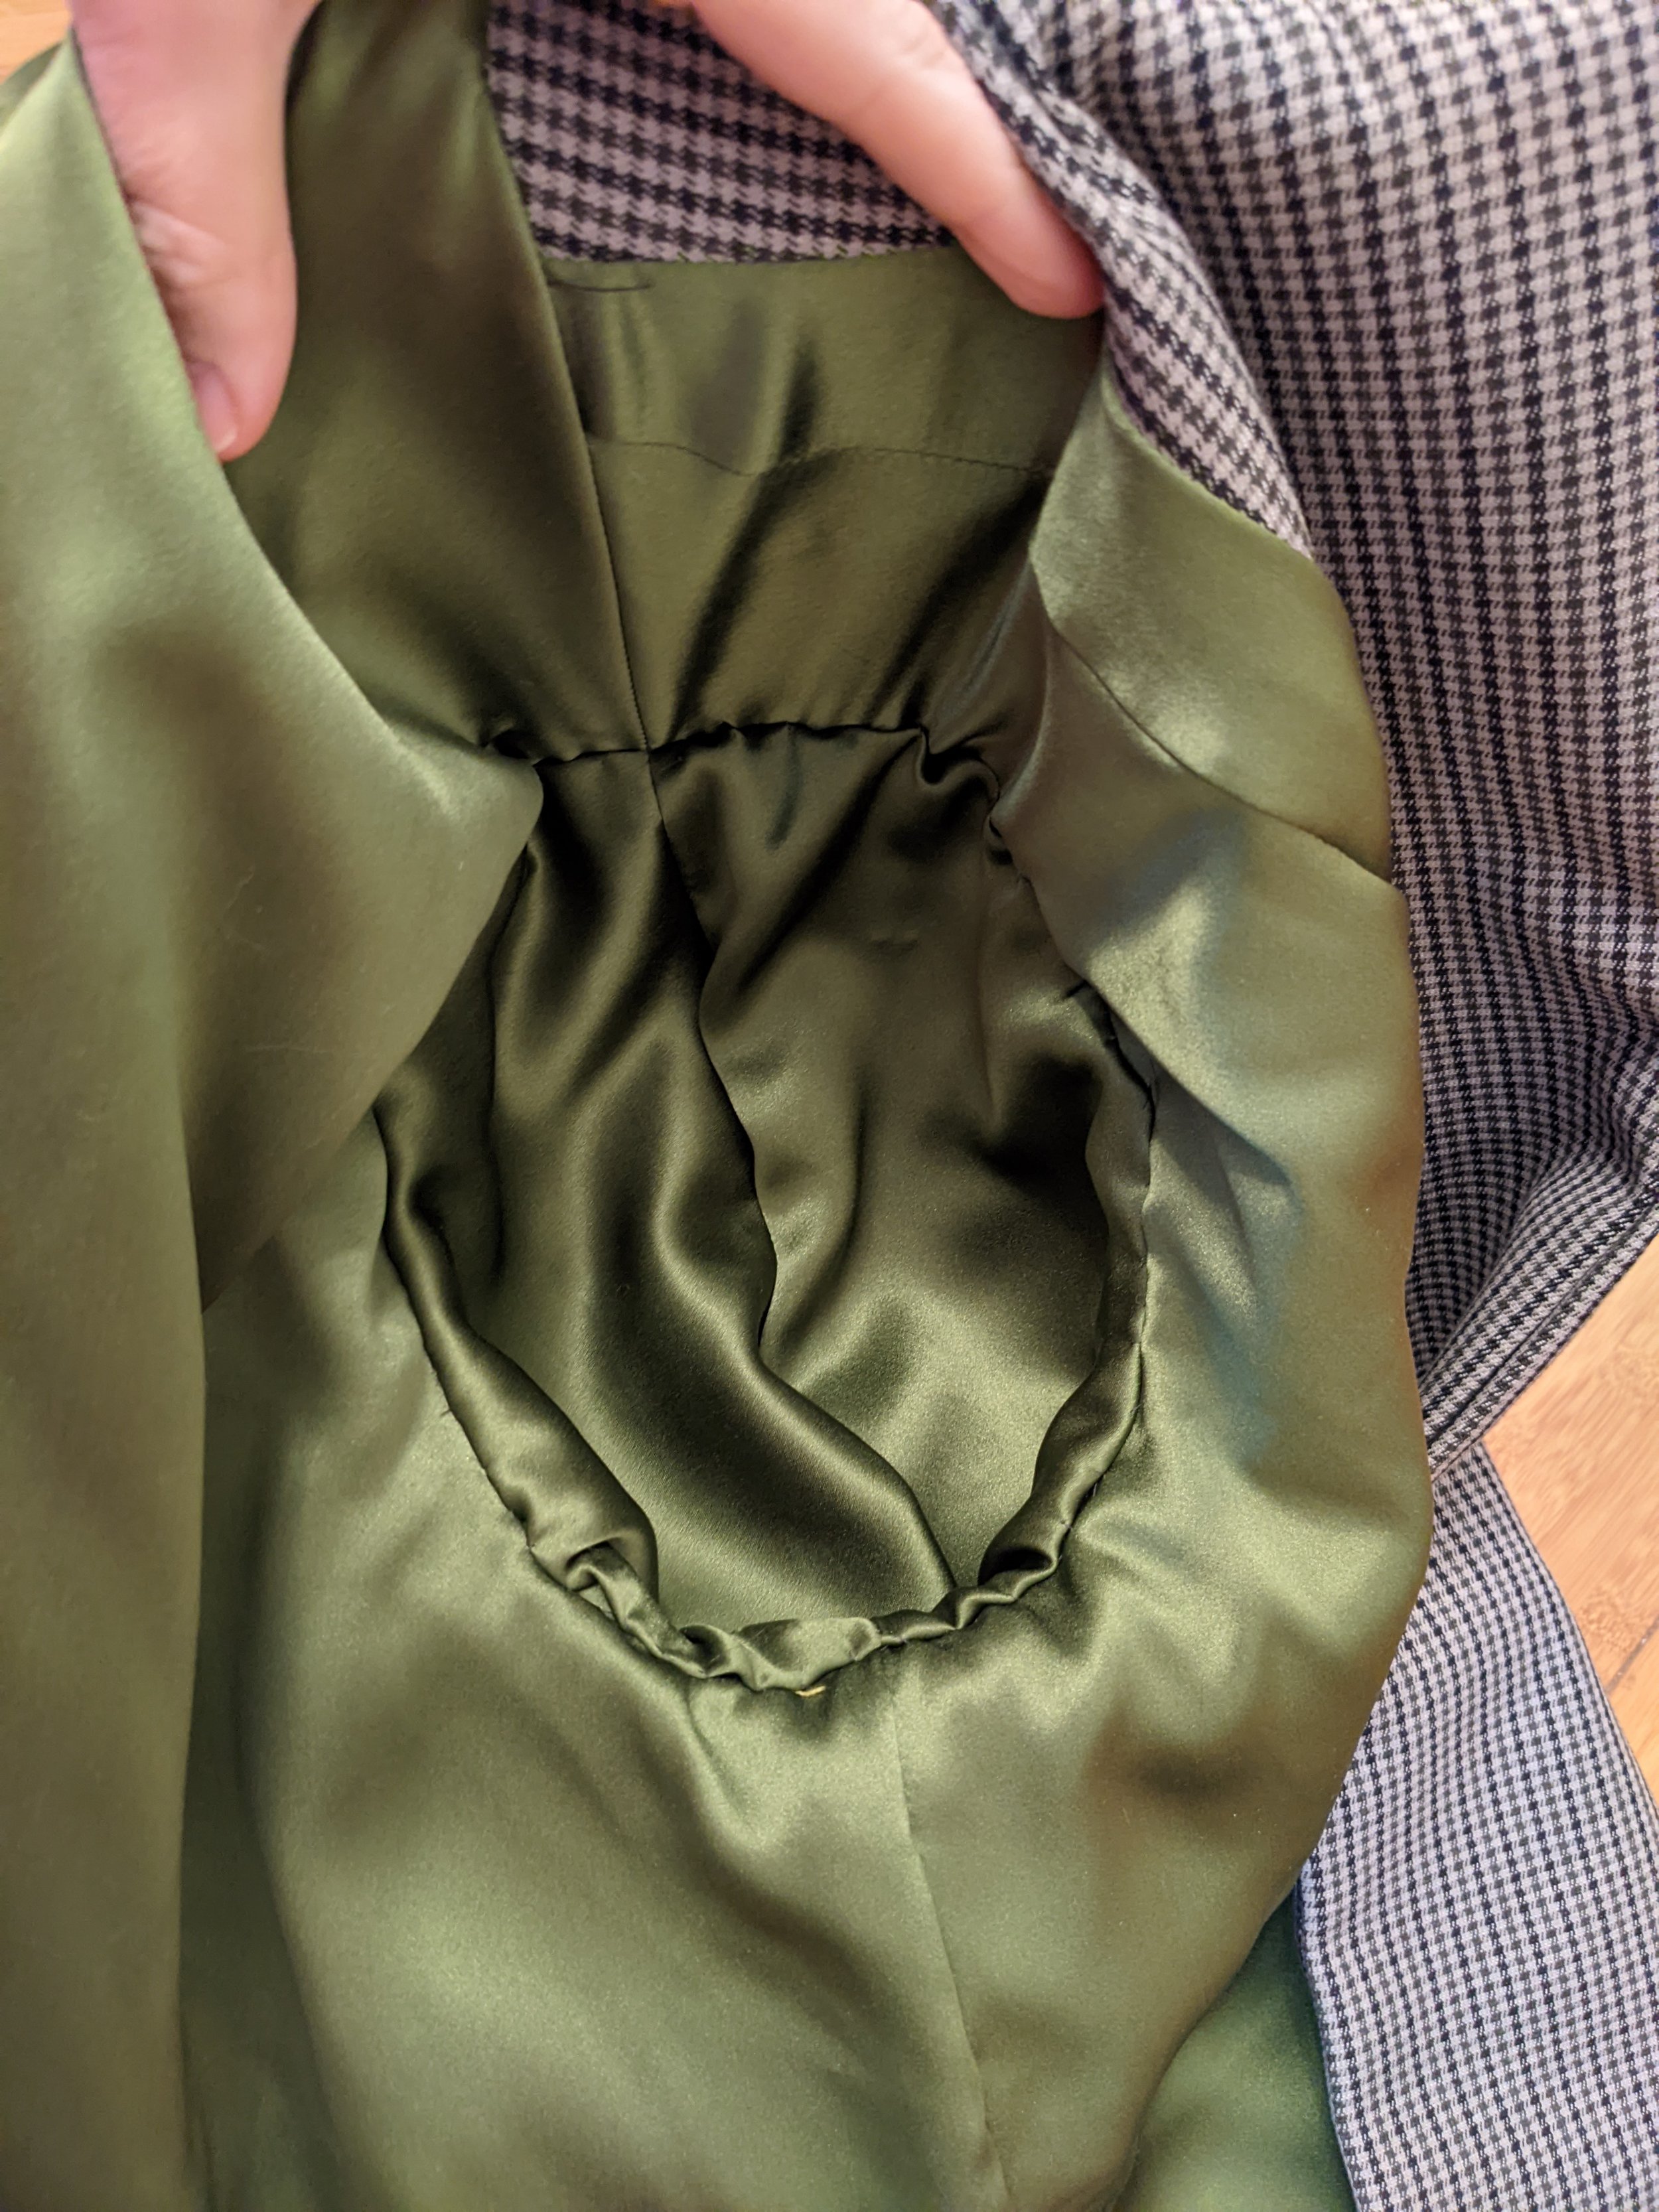
The last step was to attach sleeve lining to body lining. This is done by basting the body lining to the body, then the sleeve lining is basted to the body lining, and then the sleeve lining is trimmed and felled to the lining of the body.
Wow.. Yay.. it’s done! Looking back it seems surprising it took me so long, I really had to think about every step and I also took a lot of breaks to sew swimsuits. And all that hand sewing. I am super happy and excited about how it turned out. I learned a lot of new construction techniques especially with lining.
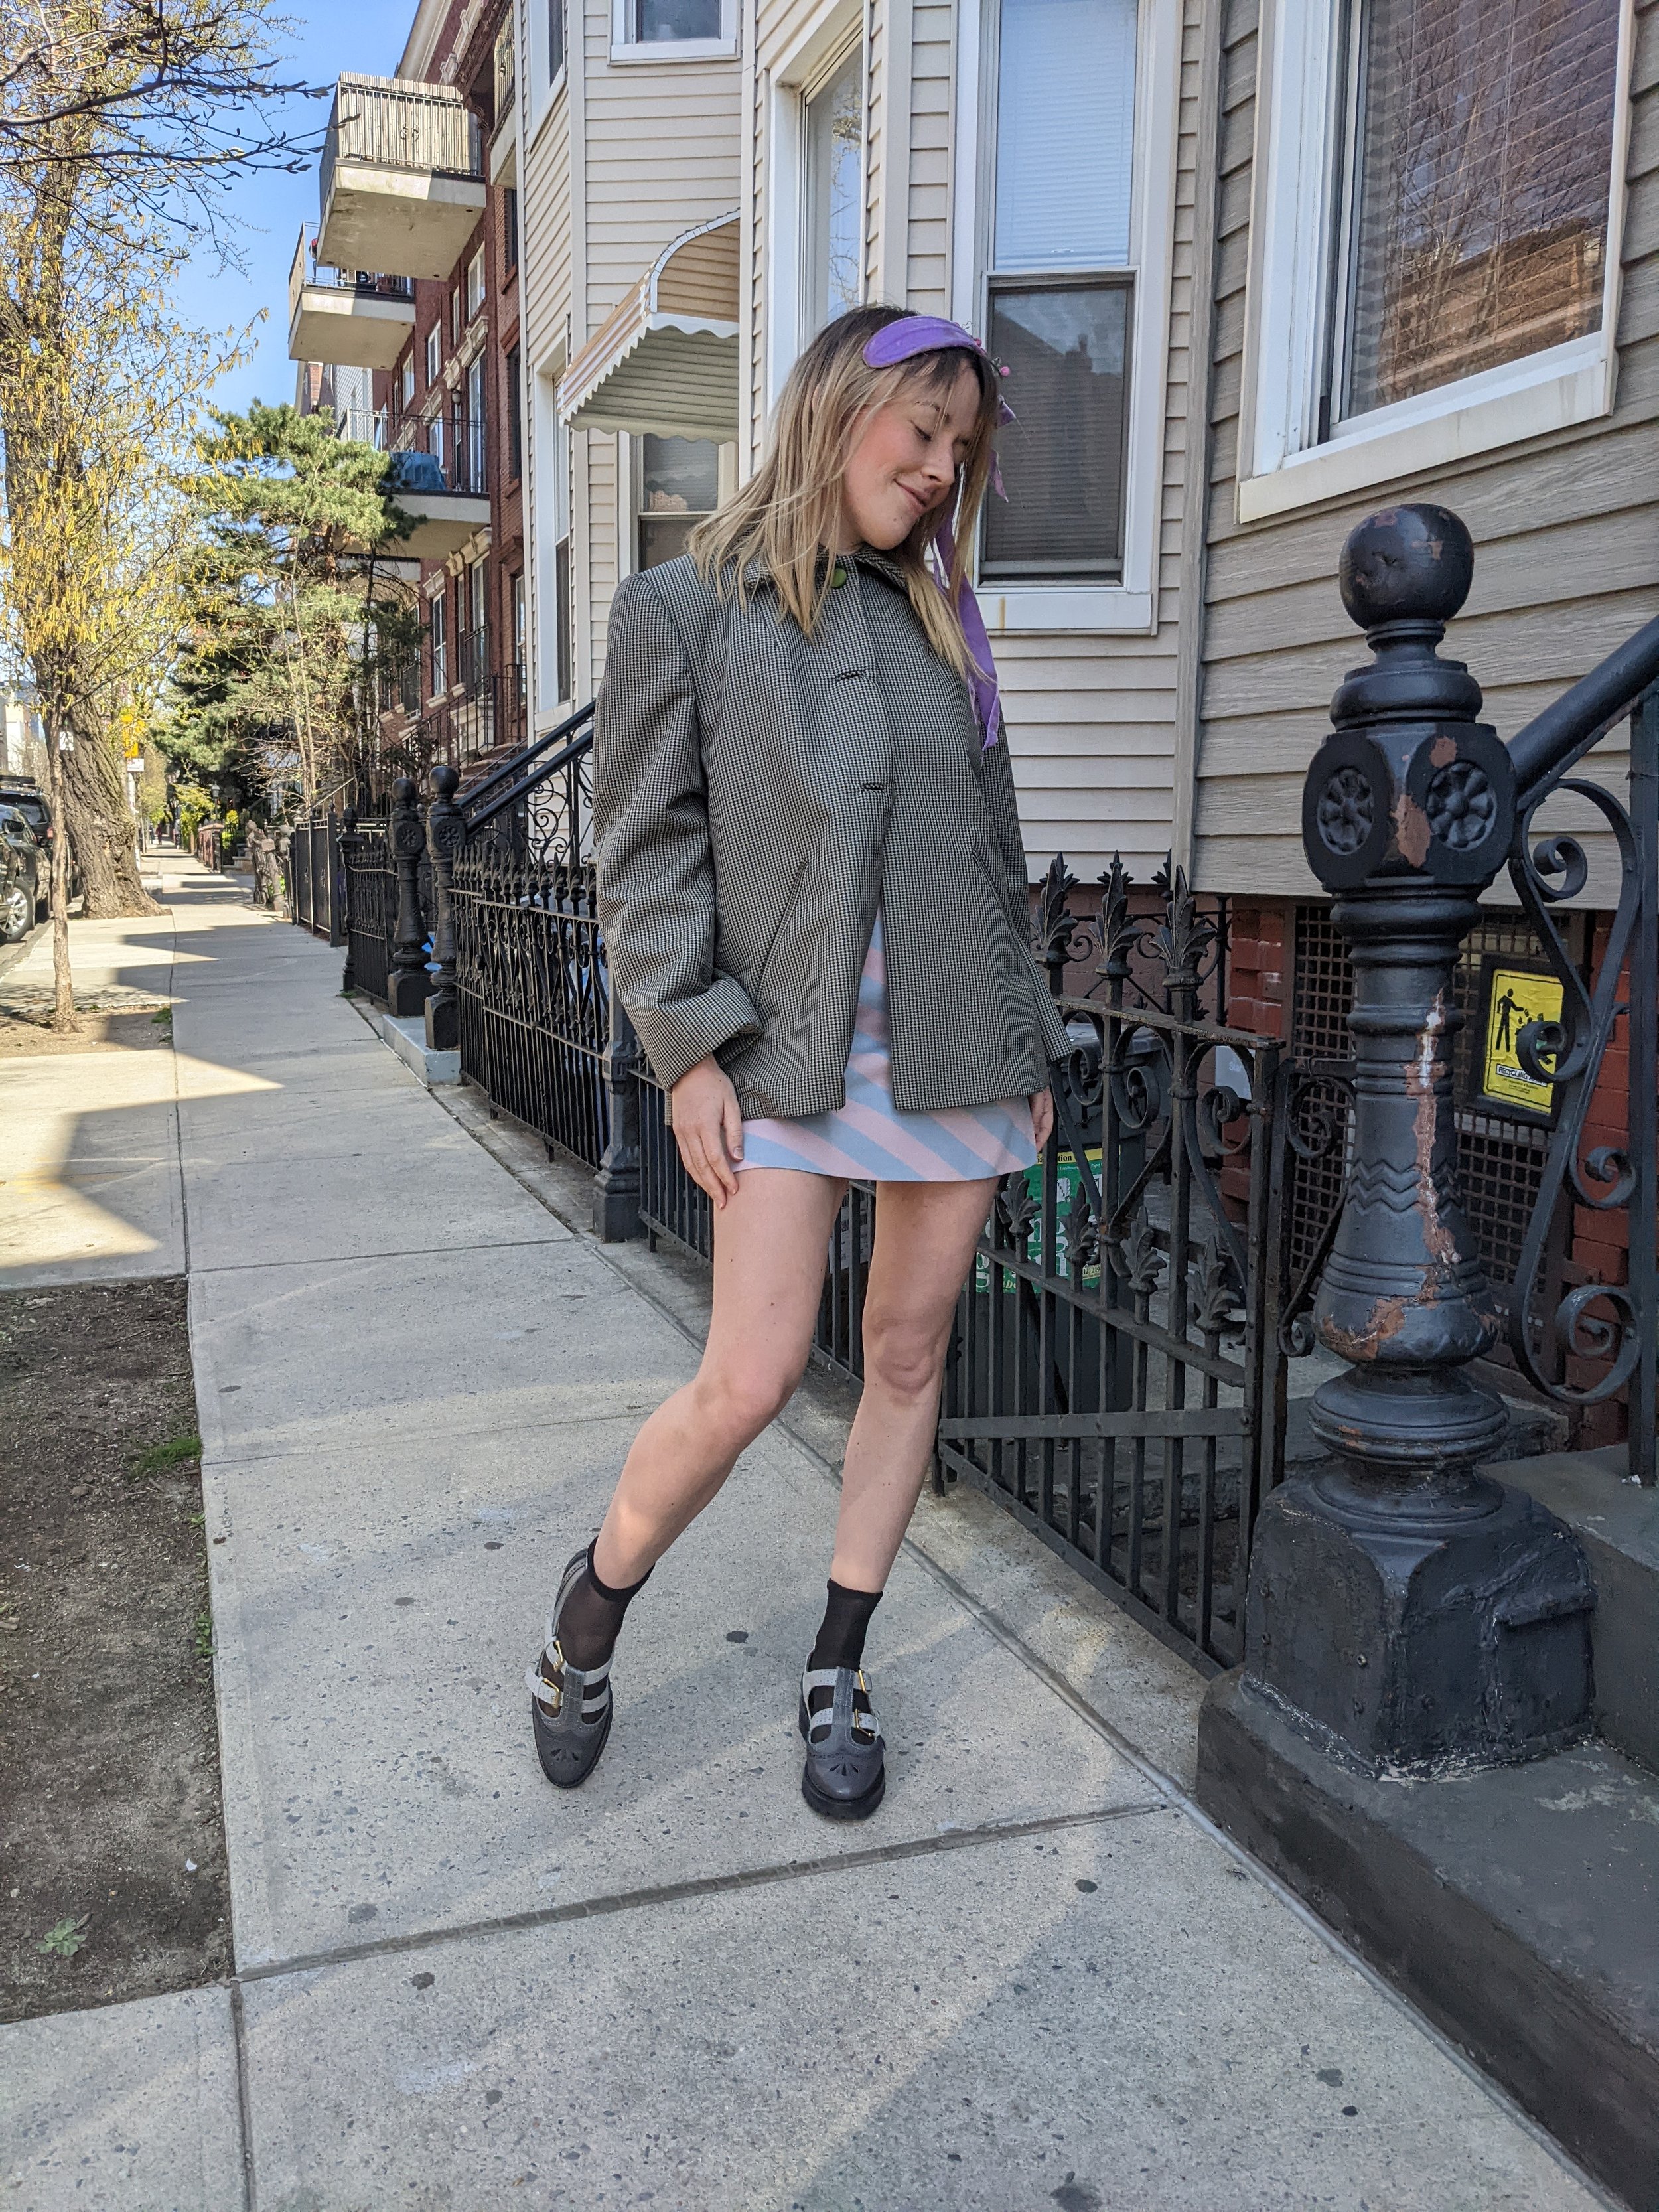
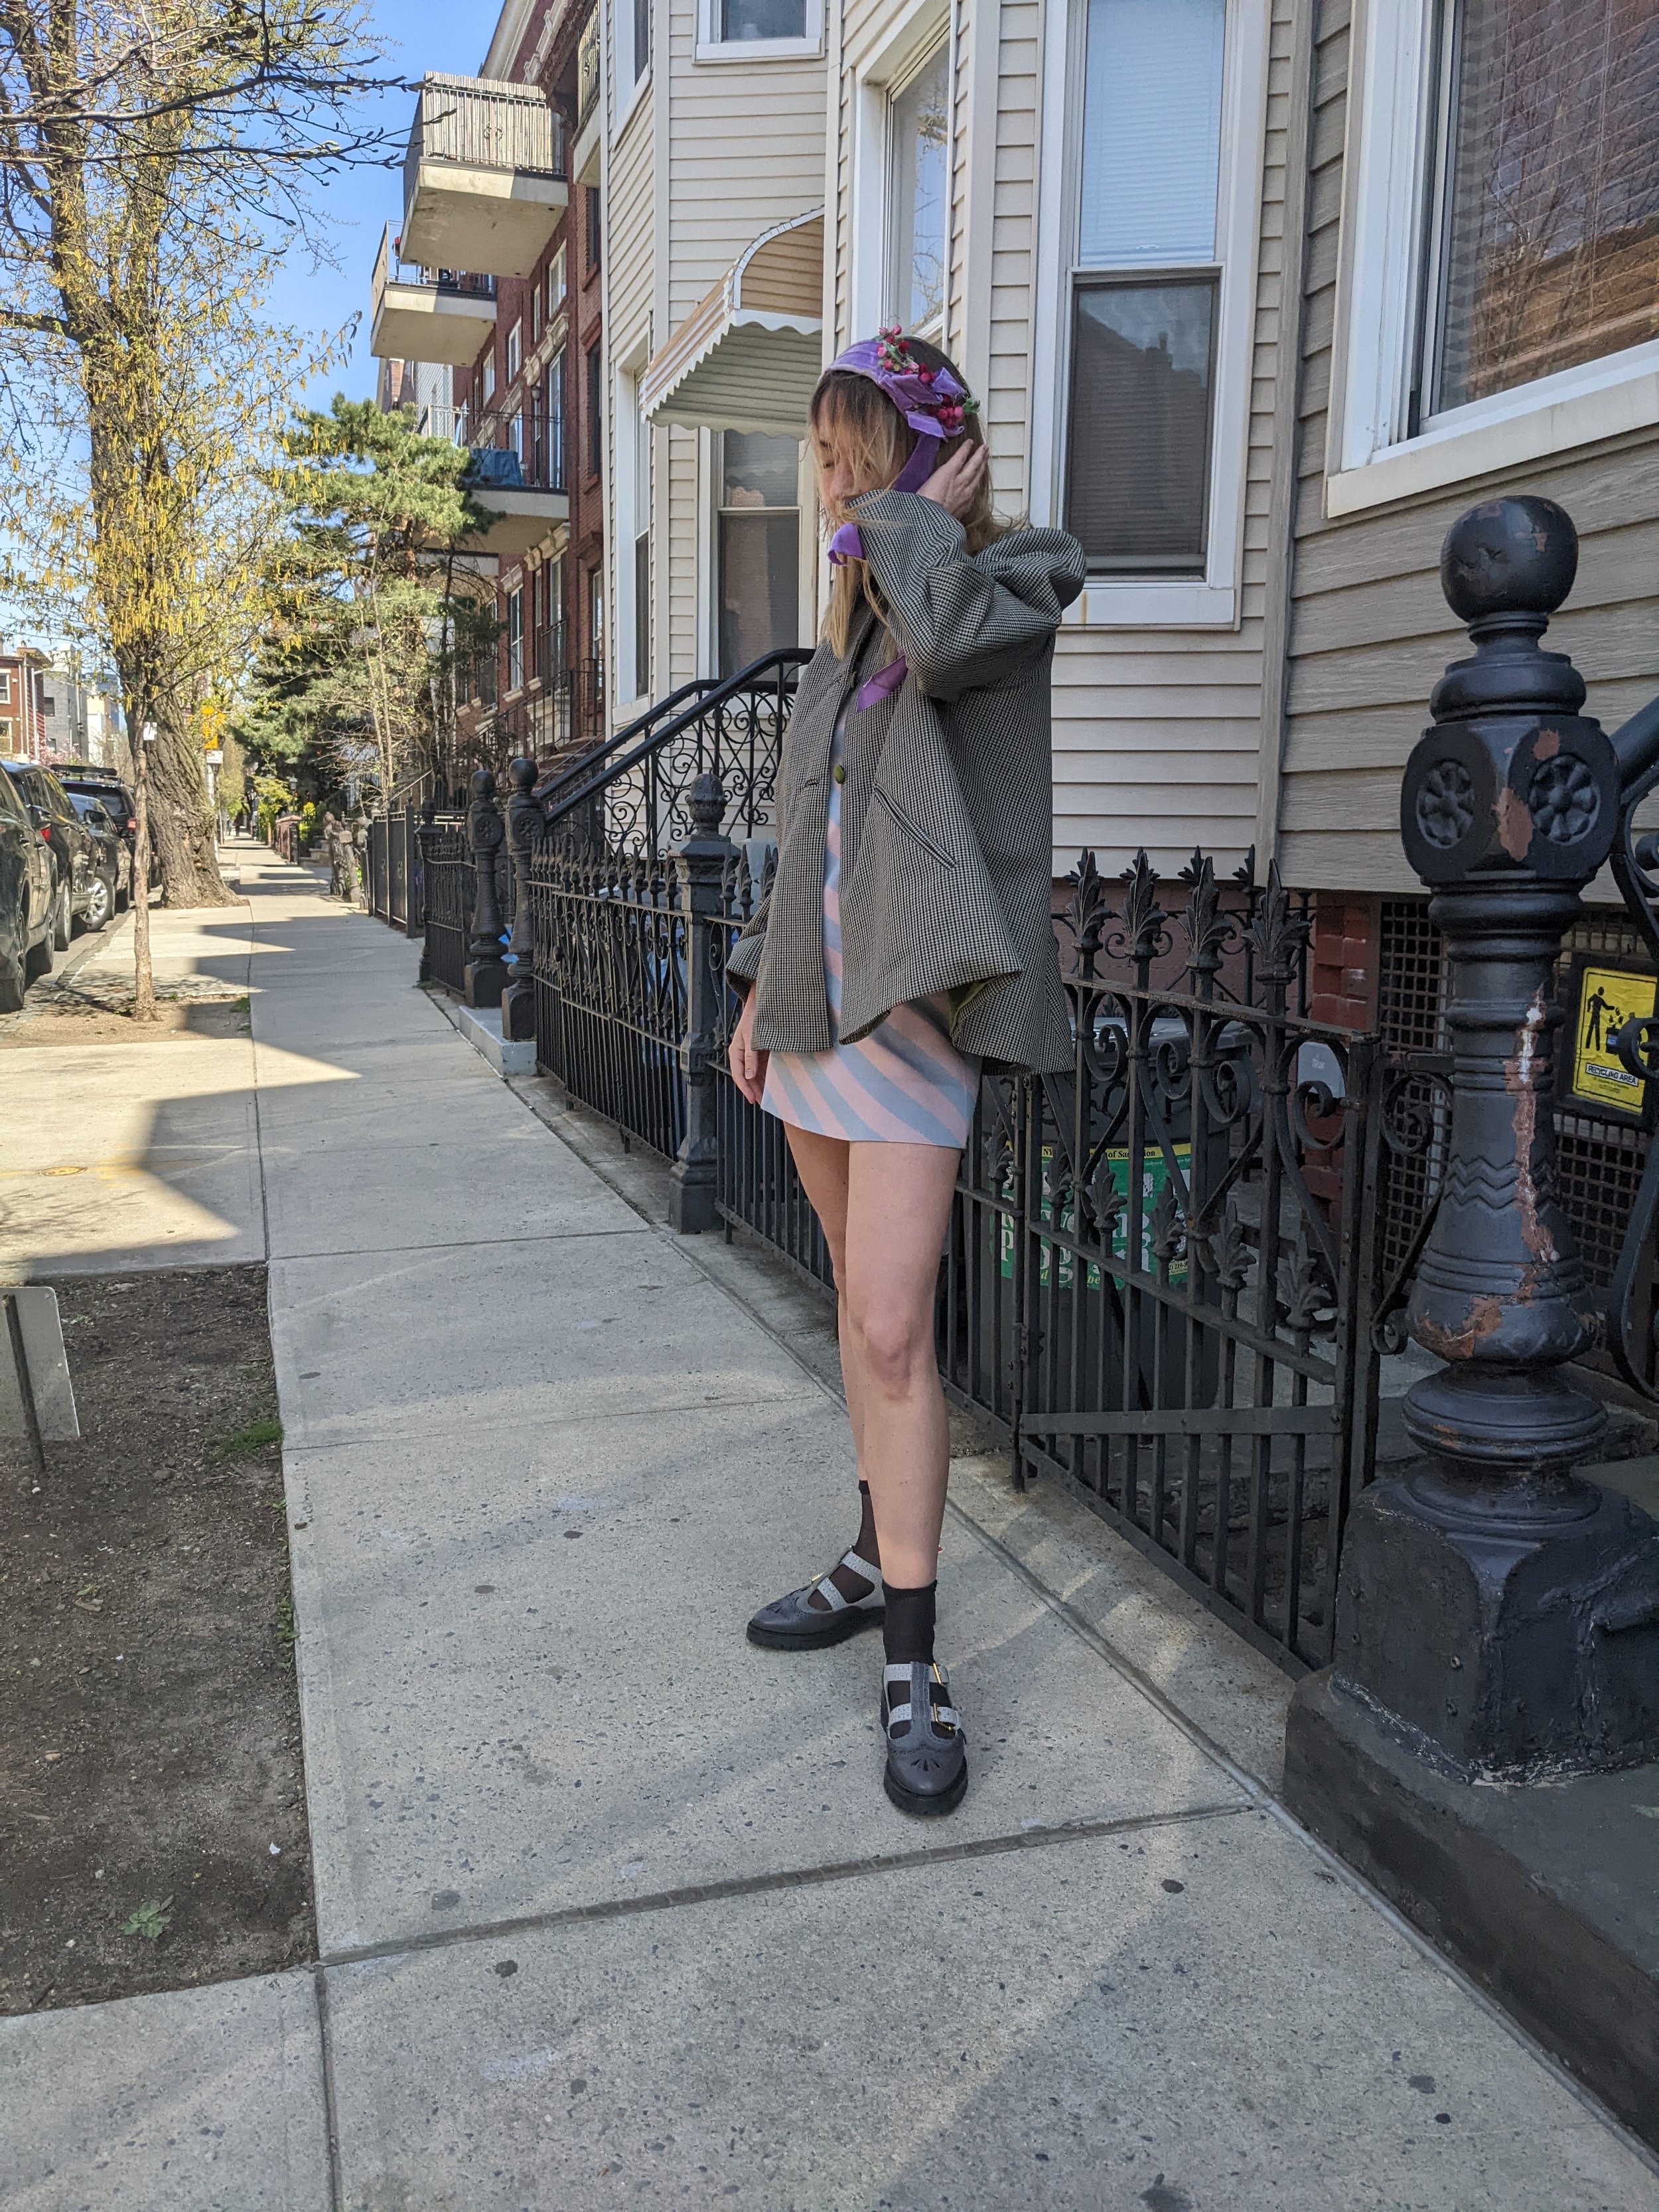
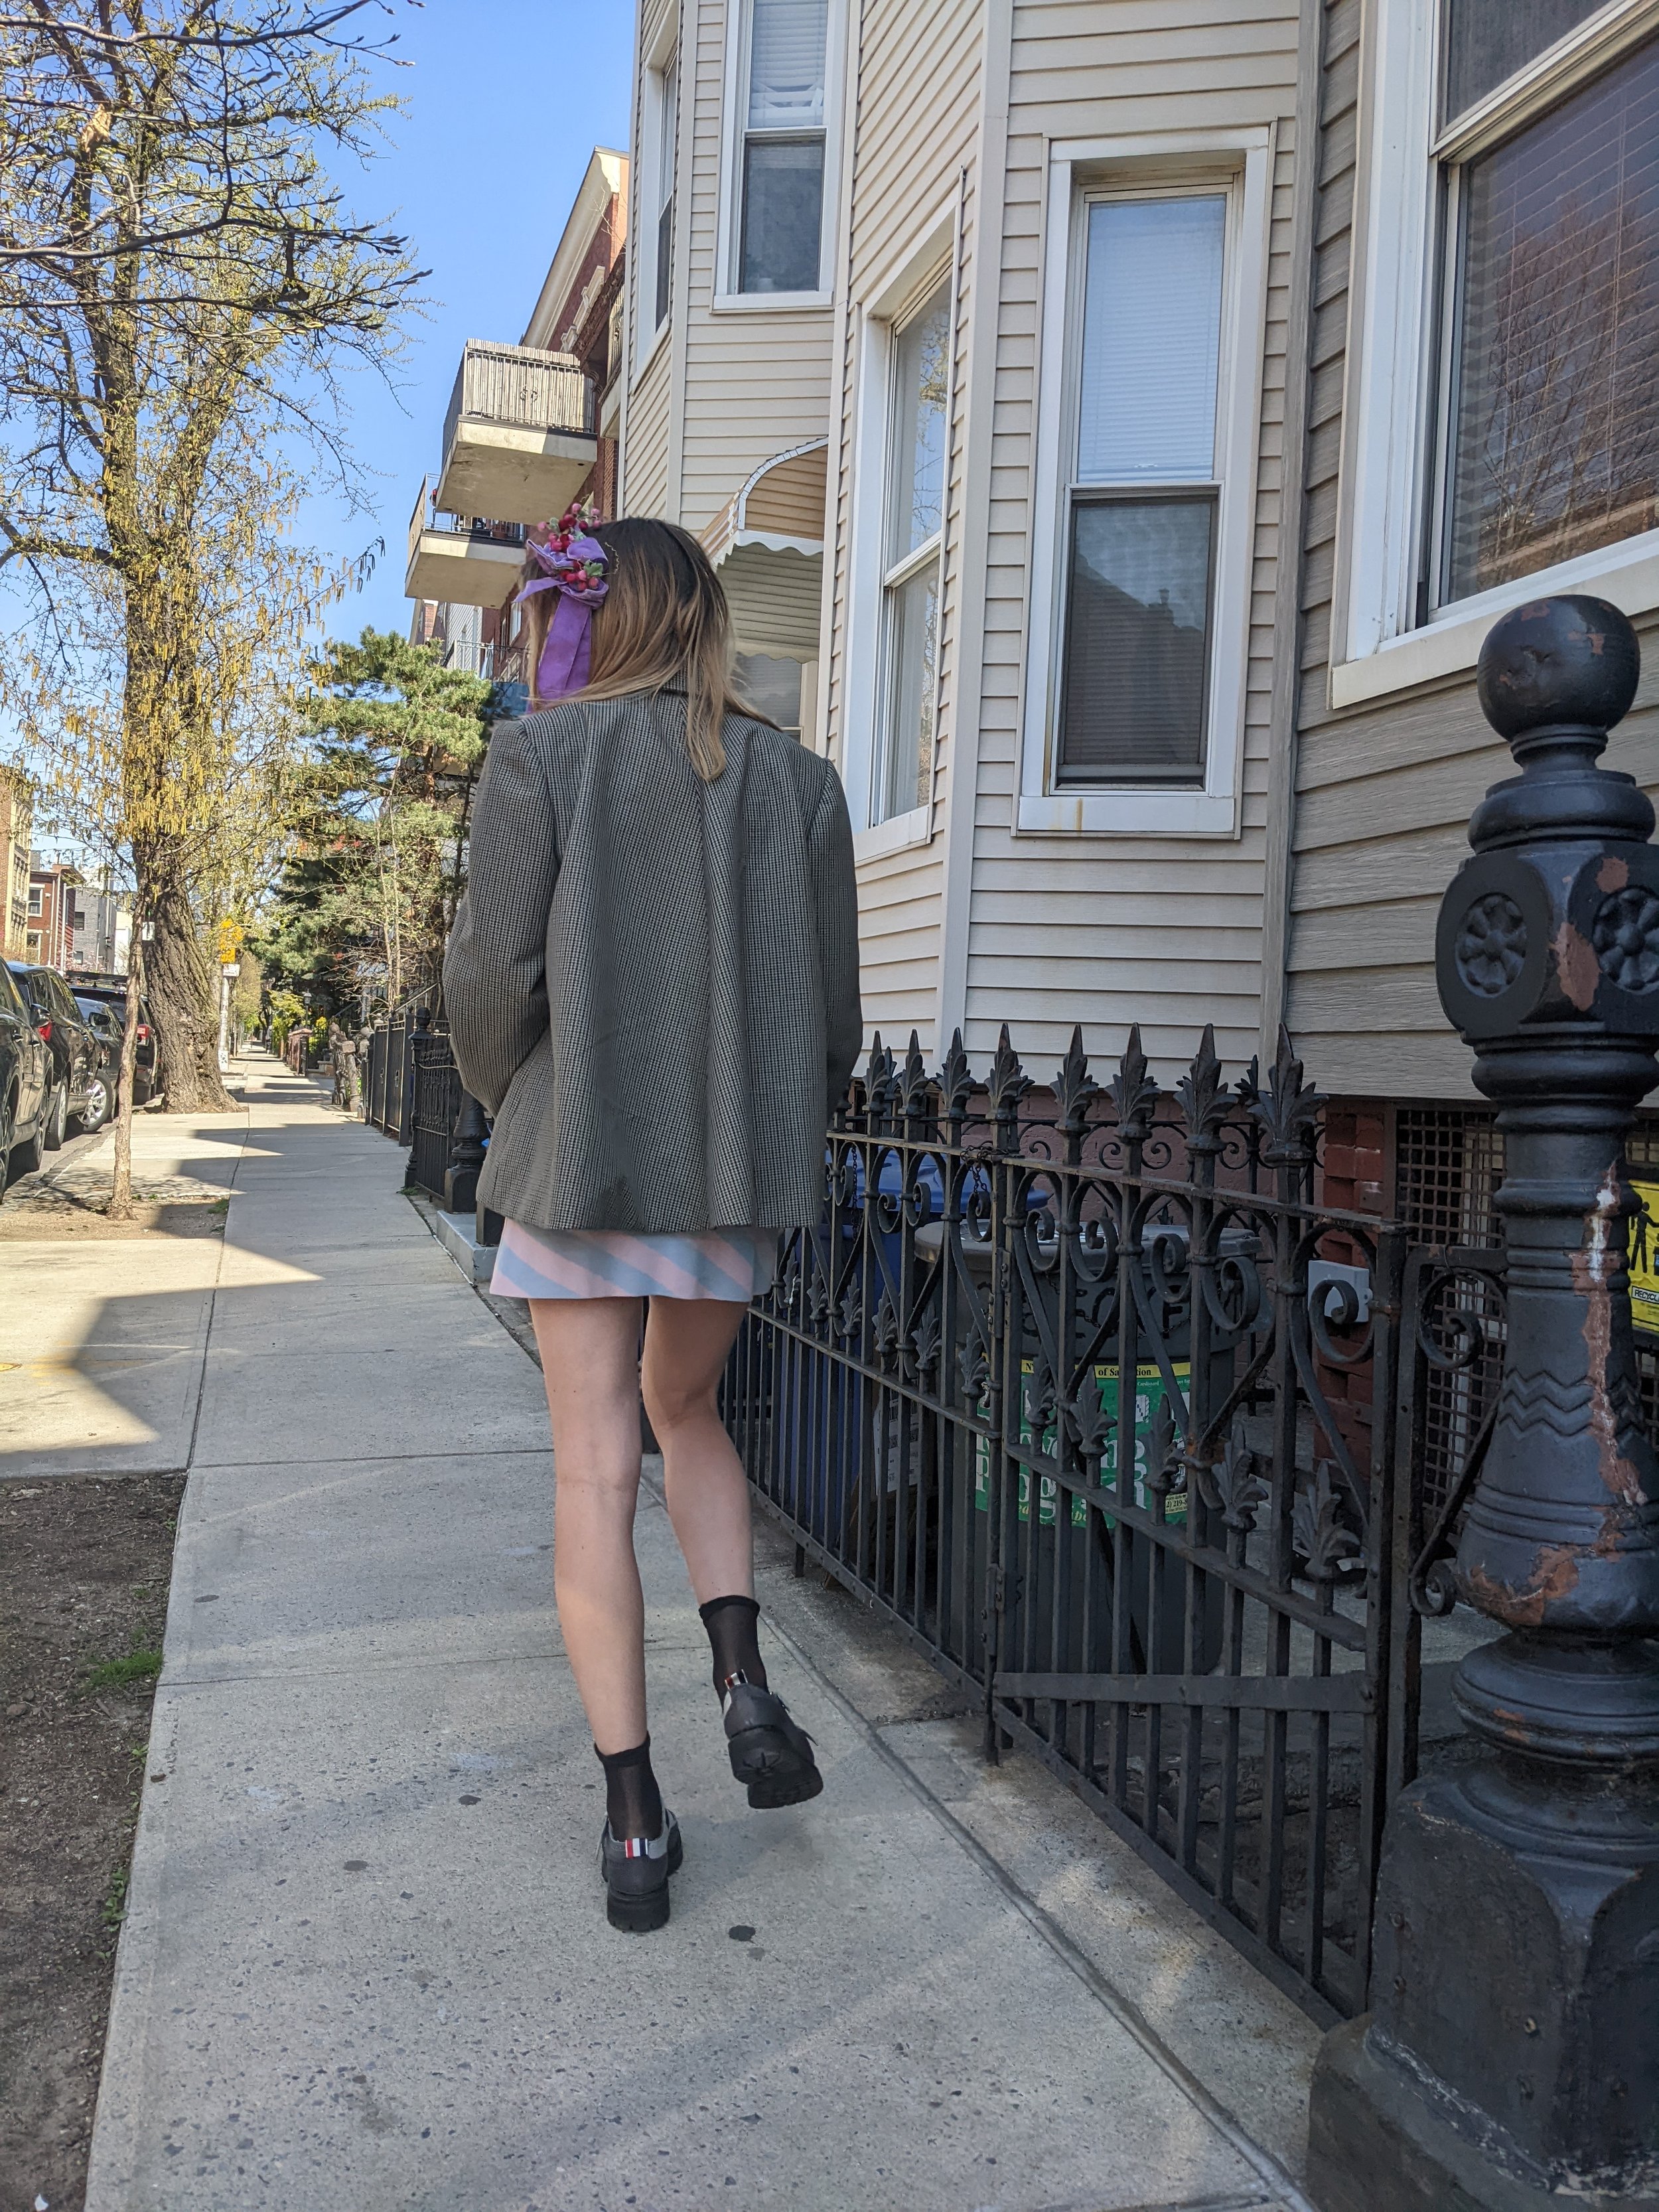
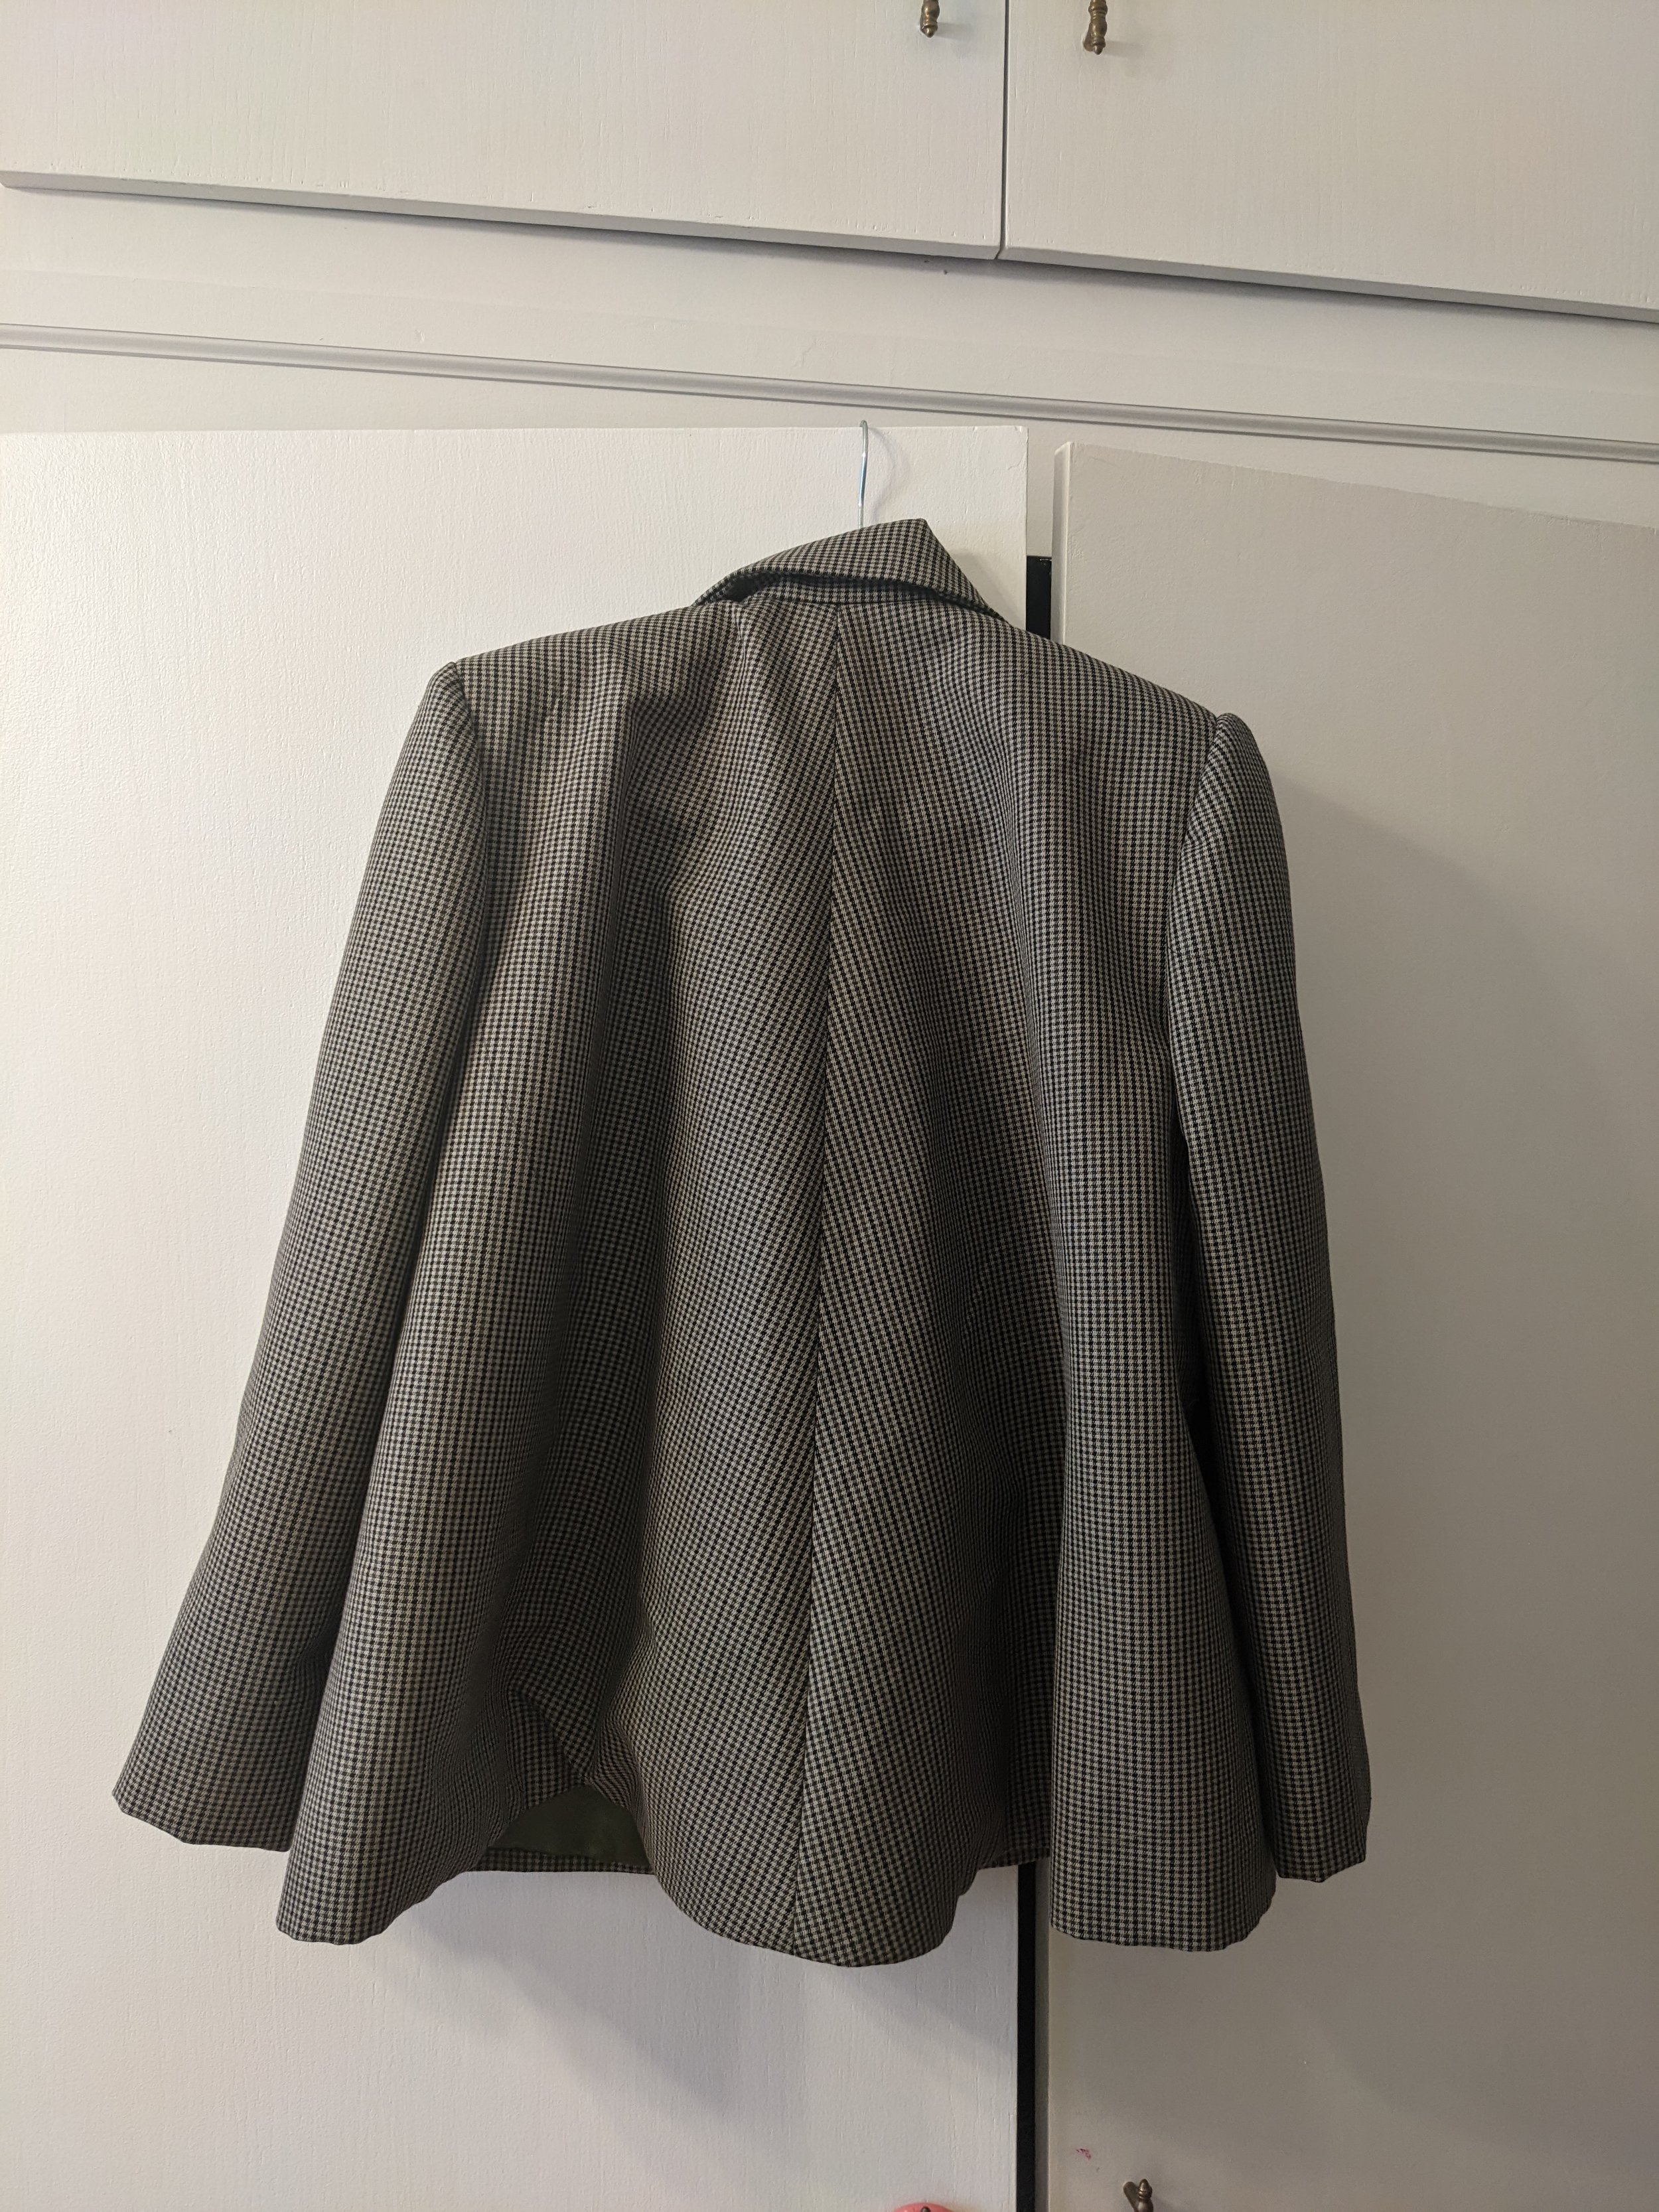
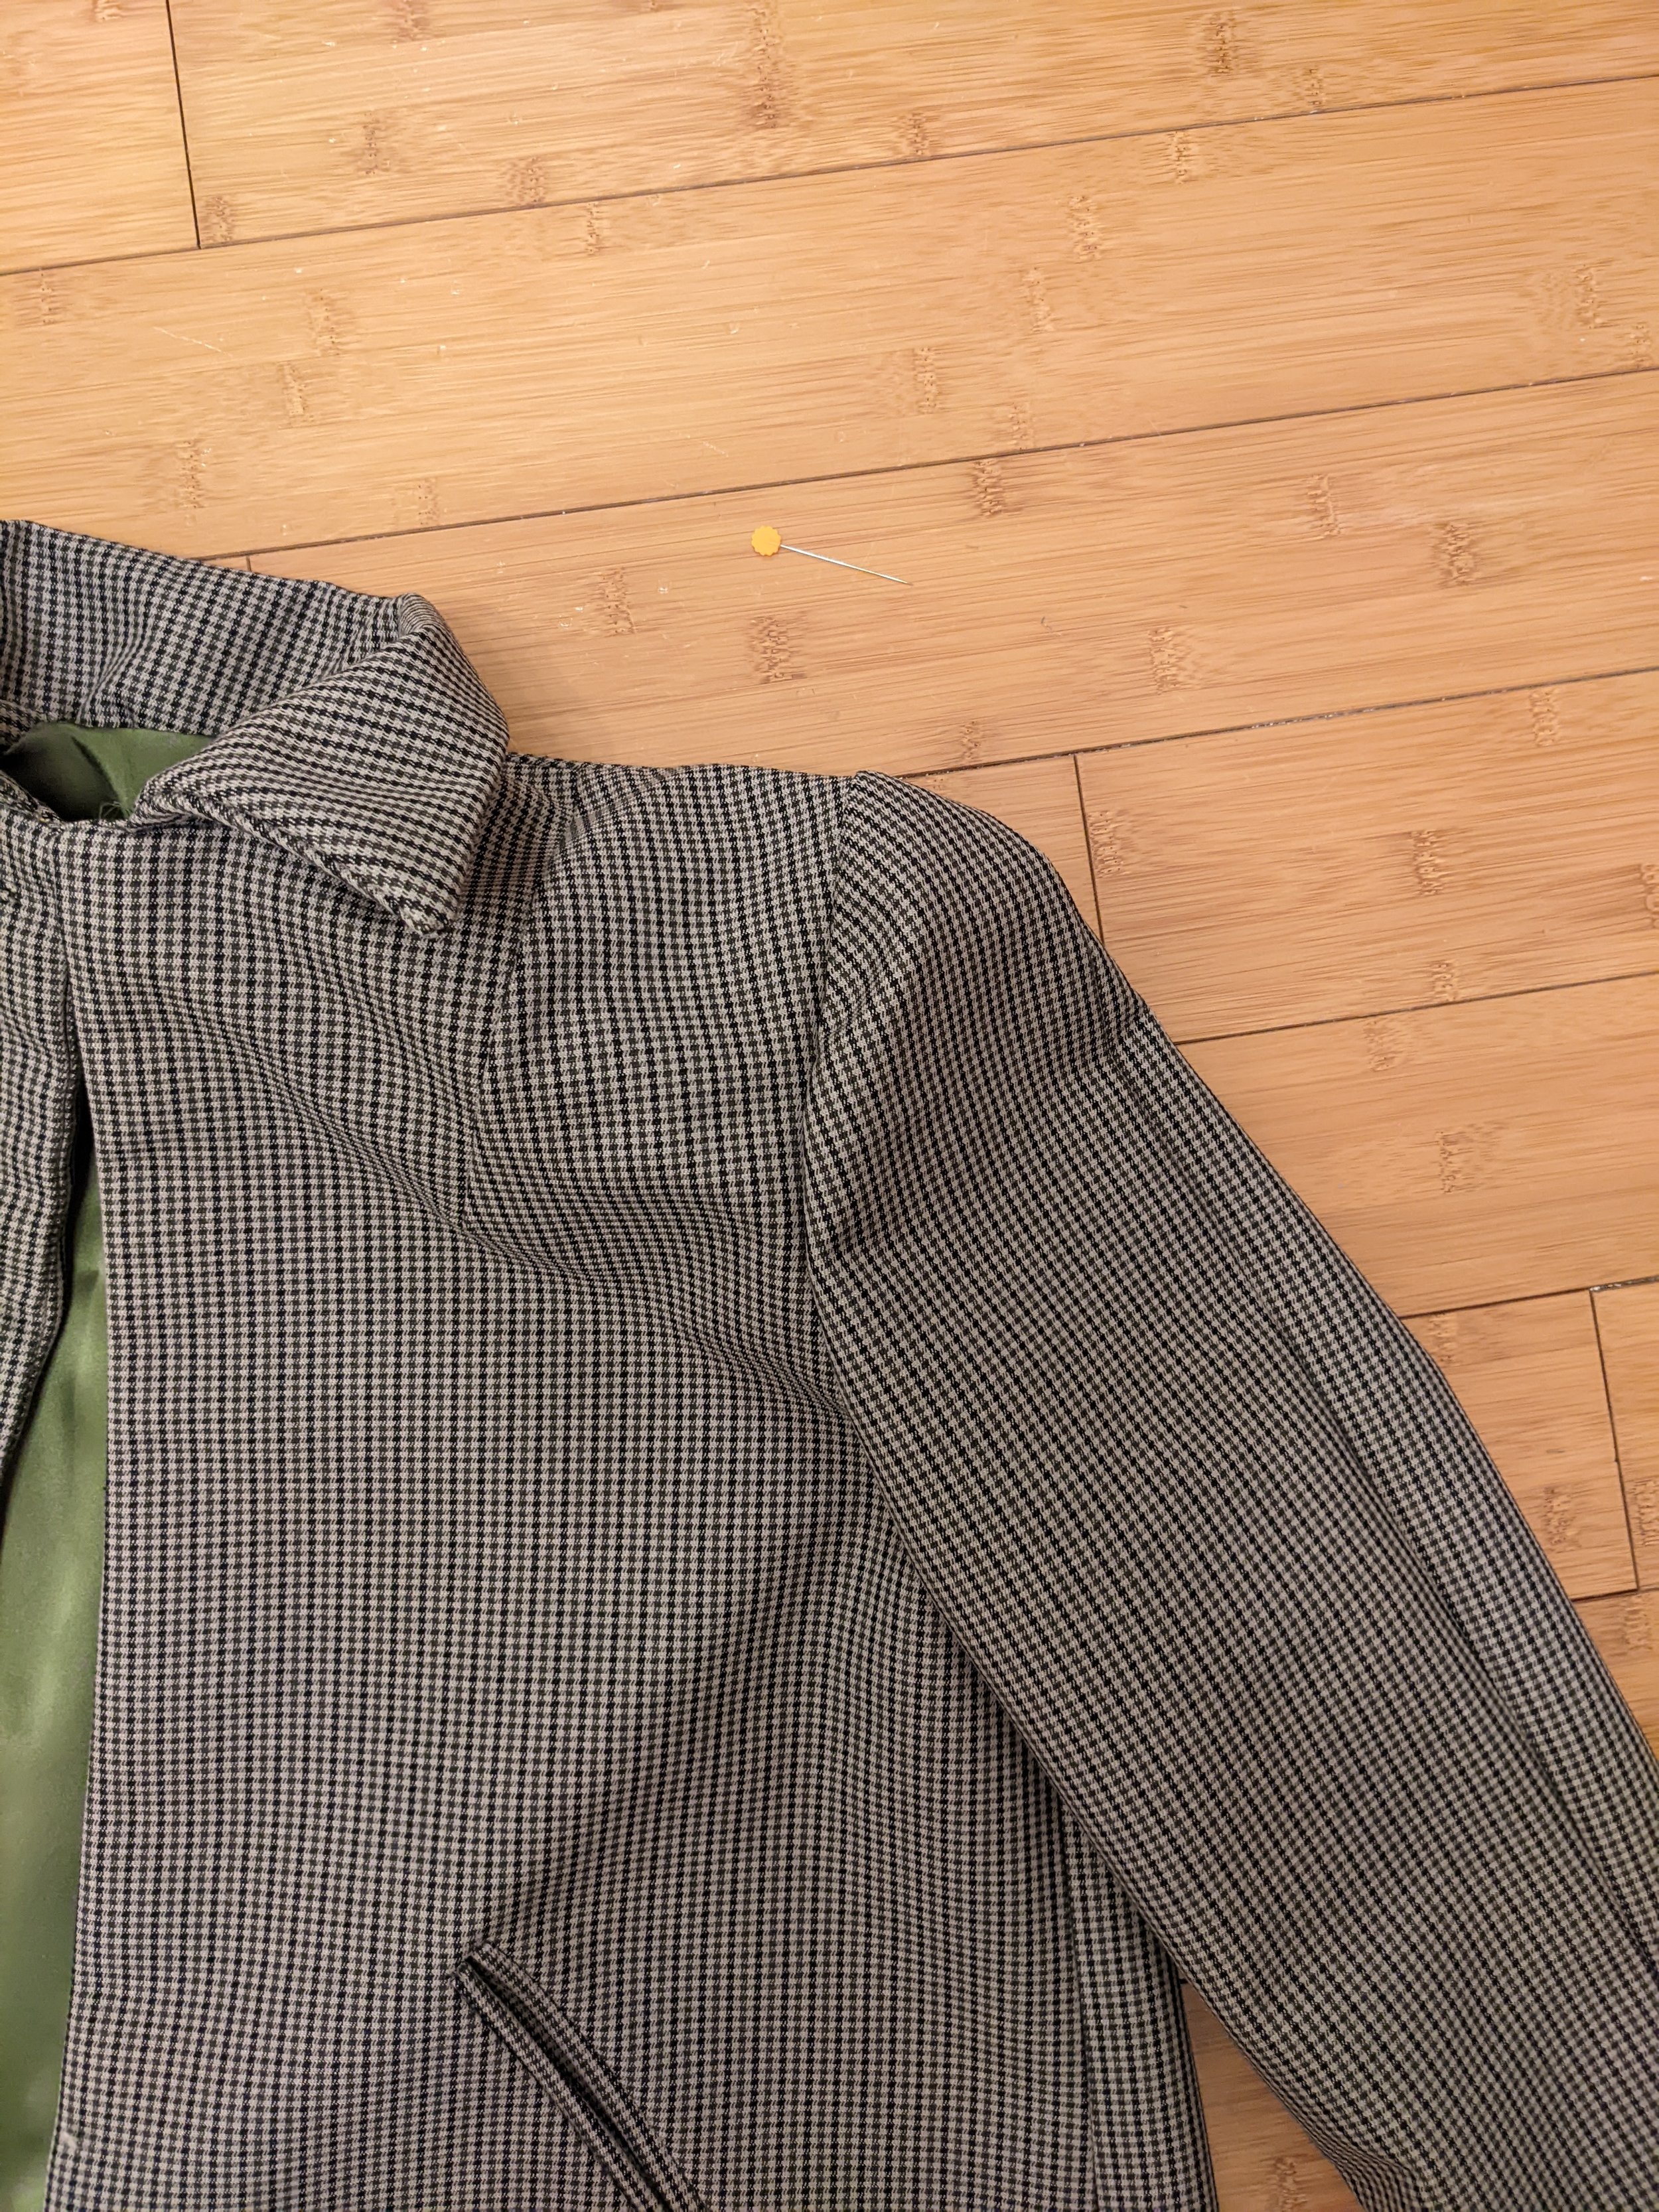
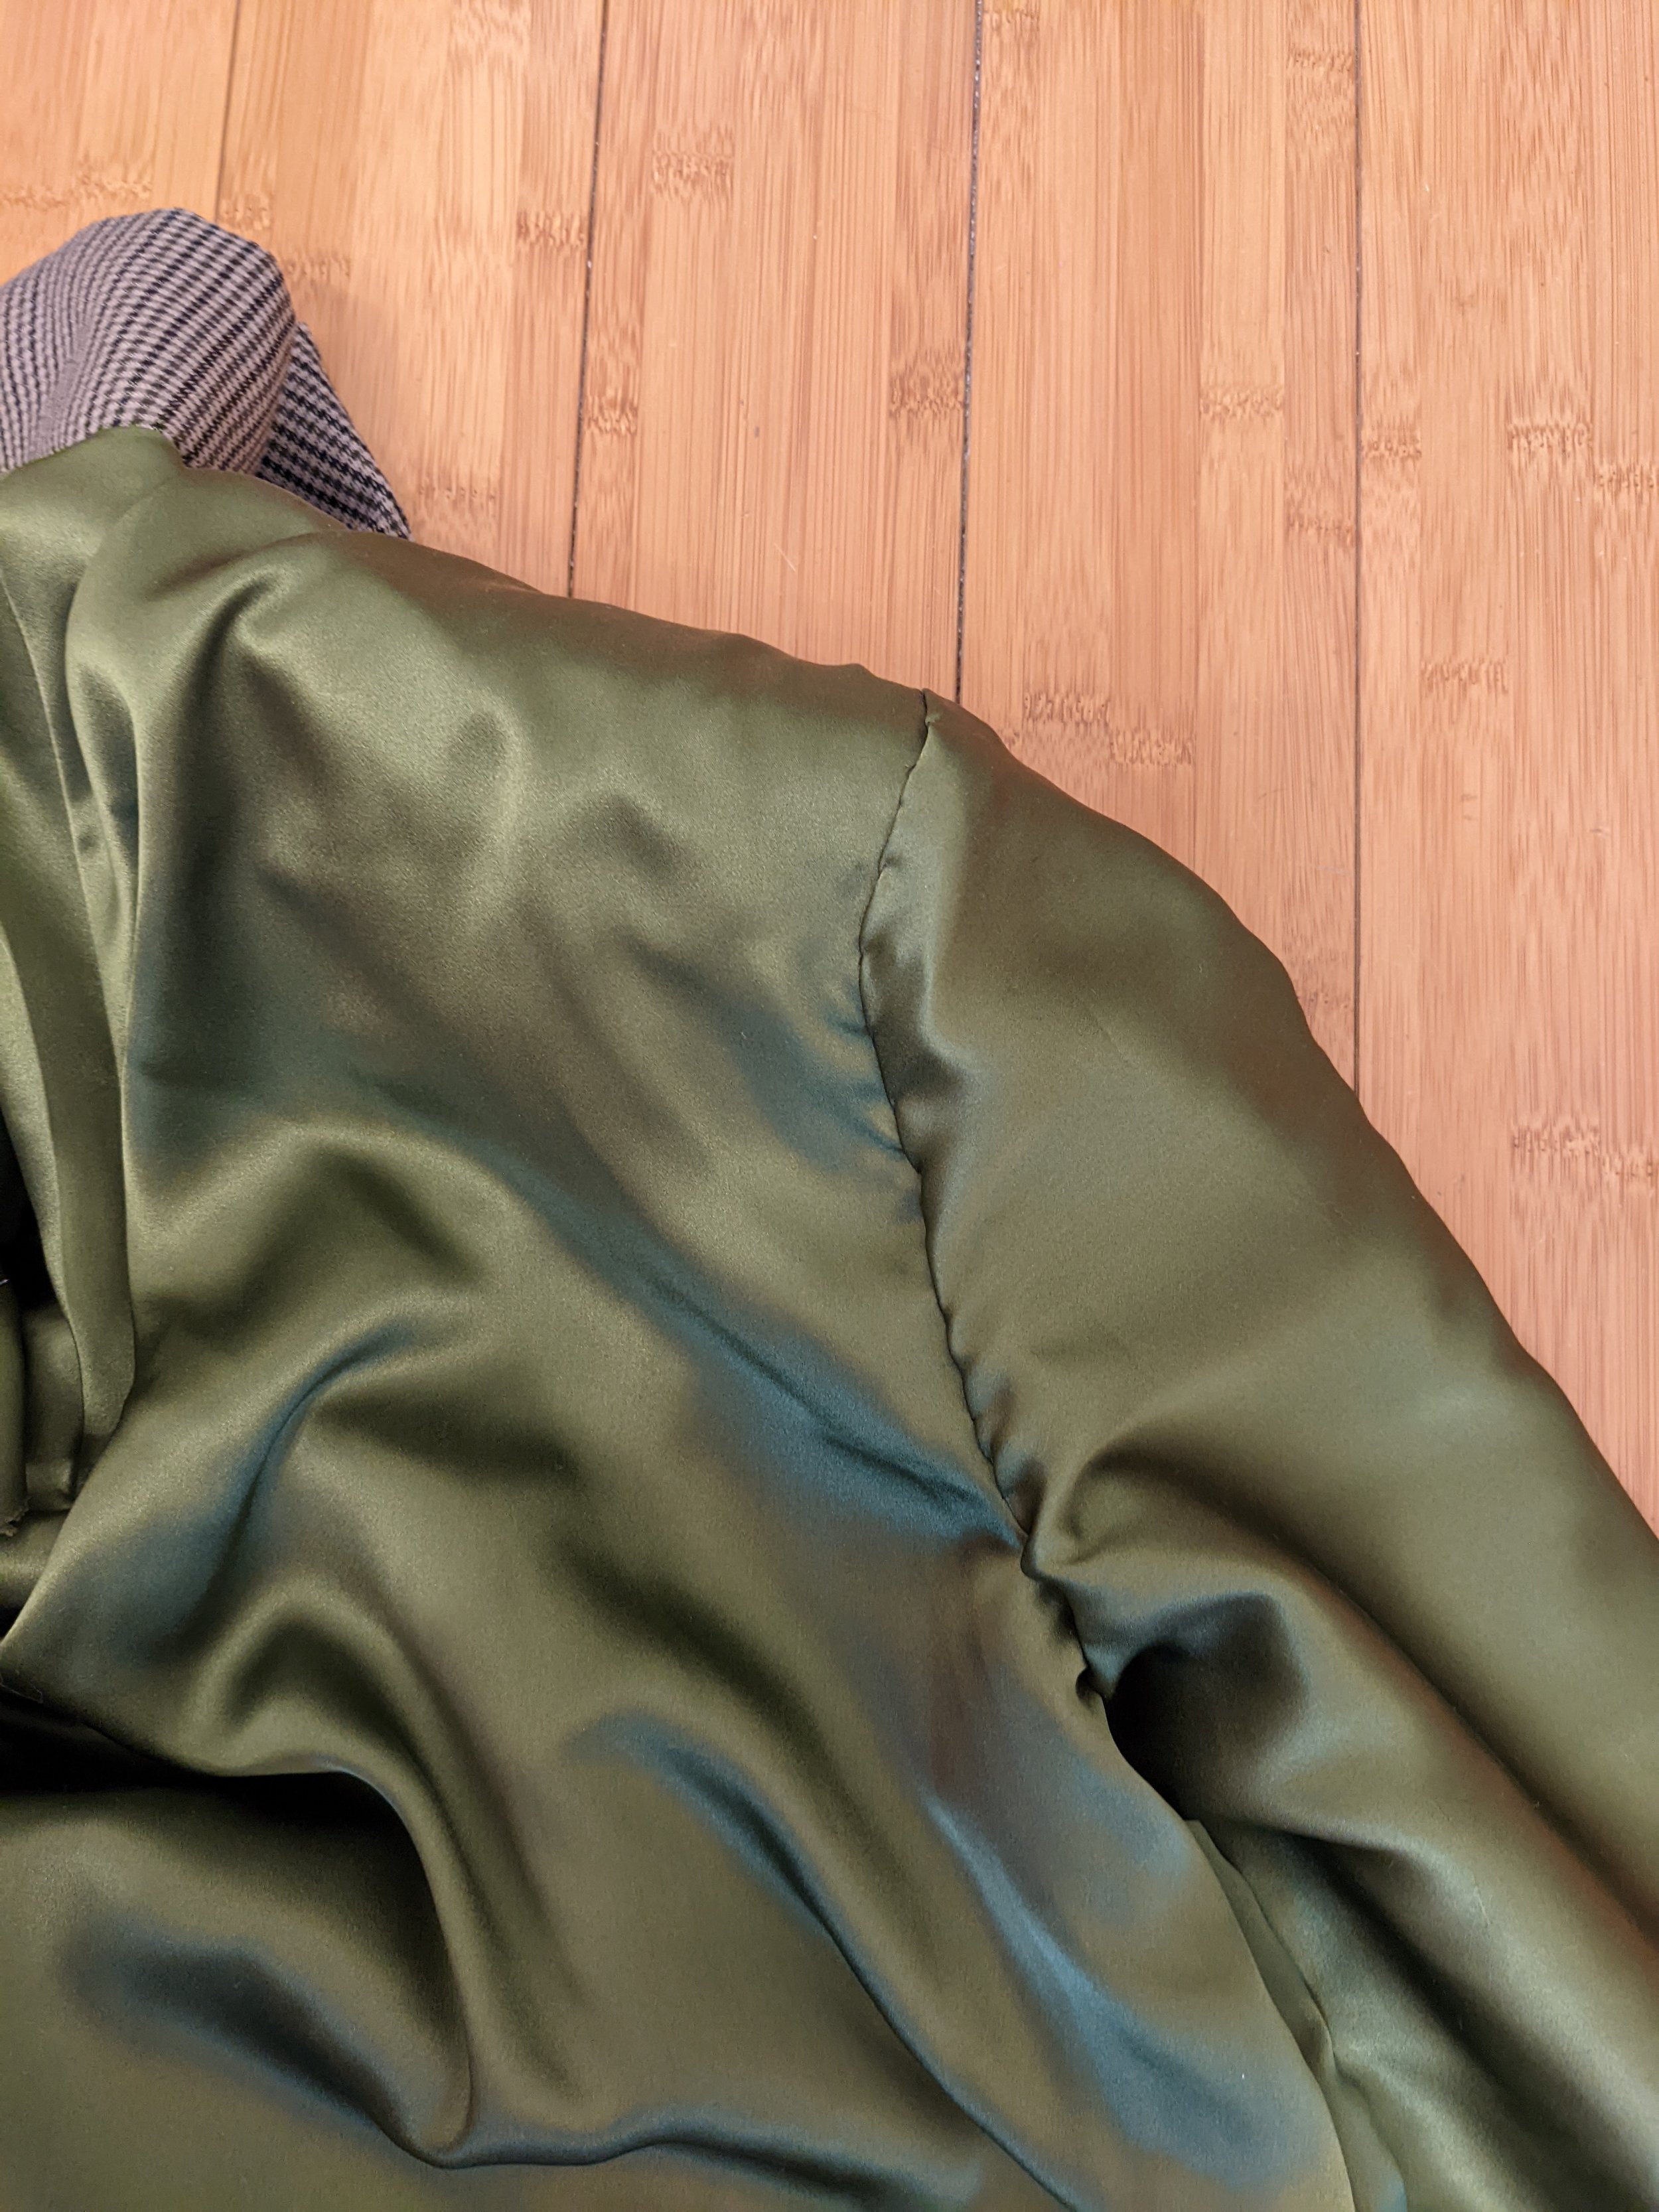
Thank you so much beautiful Sofiya for taking these photos of me. Shaeffer’s book is phenomenal and every page is full of valuable and measured insights on home sewing at a high standard, from preparation and fabric choice, to tools used, and of course construction. Thank you love you! (Also look at the beautiful swing back on this coat.)