Cecilie Bahnsen Dupe! Babydoll Sewalong + Free Pattern

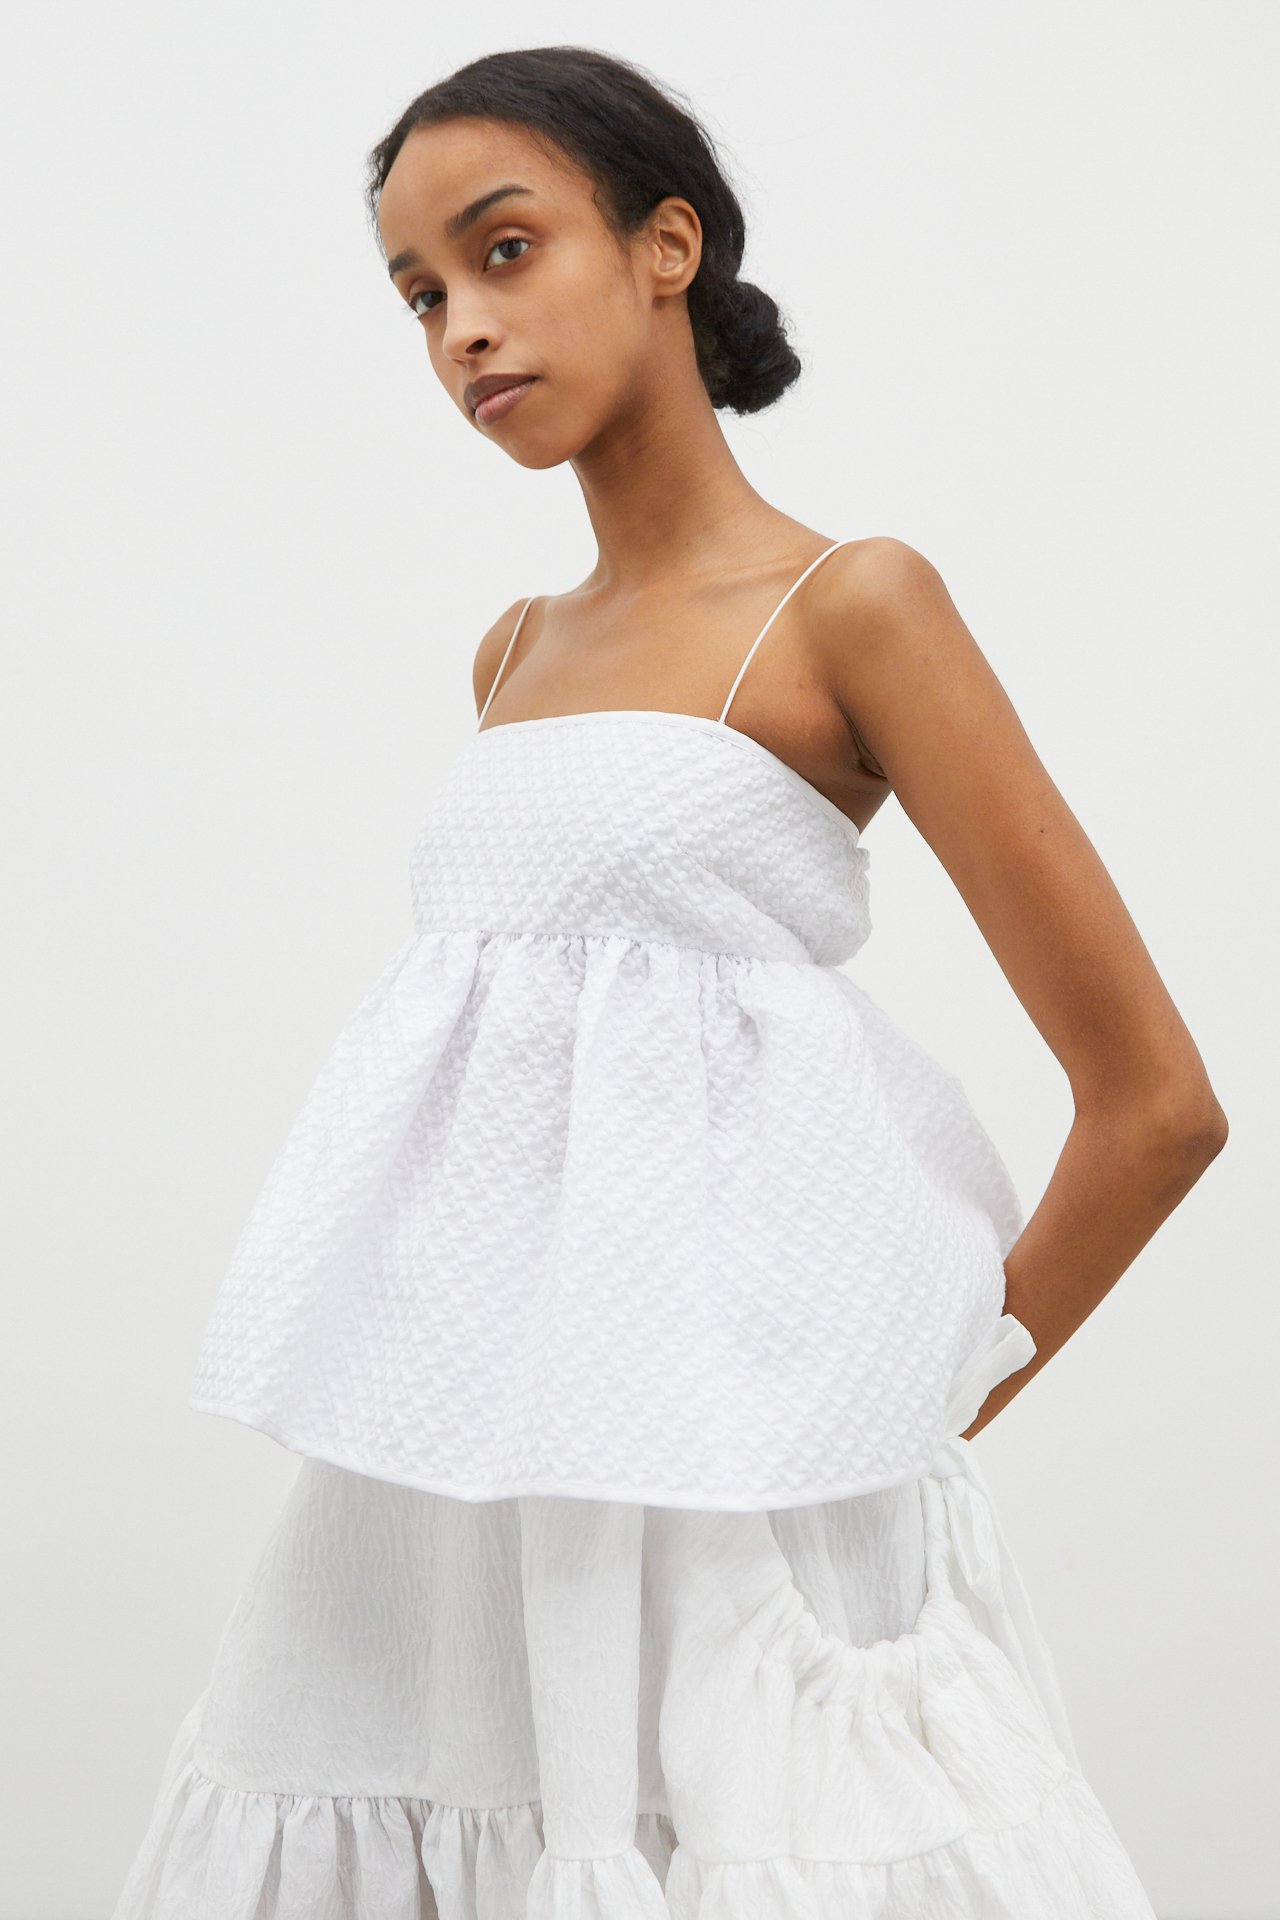
This week I sewed my version of the Cecilie Bahnsen "Selena" top, which is a $900 babydoll top that has an open back beloved by influencers around the world since like 2018. I first patterned this at the beginning of lockdown in May, but there were some issues to resolve with the pattern. When my friend Taylor asked me to please make her one in a soft pink satin several months ago, I agreed and then immediately did not do it and did other projects instead. But eventually I felt very guilty and decided it was time to do this project before moving on to new stuff. We'll do a sewalong and at the end of this post I'll link the 2 basic pattern pieces. This top is drafted for a 32C so you may need to make adjustments but it's also a somewhat generous fit overall due to the open back and free waist.
This top has 3 pieces: a darted bodice, two back pieces I call the "wings", and the peplum base under it which is a gathered rectangle. The bodice is attached to the wings and to the peplum. The peplum and wings are not attached to each other. Here, easy reference images from the brand's site. As you can see the peplum is gathered along the bottom of the bodice and then generously self-gathered in the back by means of a string tie. String ties hold the back wings together and the shoulder straps are just attached to the bodice front and wings. Looks easy enough.

Taylor wanted the top to be fully lined, very classy of her. I initially drafted facings for my own version which was very easy but it's true that lining it is much cleaner overall though it takes up more fabric. The first step is to cut out 2 of the bodice (lining, outer) and 4 of the wings (2 per side, each lined). Then sew the darts into the bodice lining and the outer fabric. I lined this in self goods so it's all the same fabric but you could do anything and even try making it reversible.

You should have 2 of these. Now sew the wings to both of them.
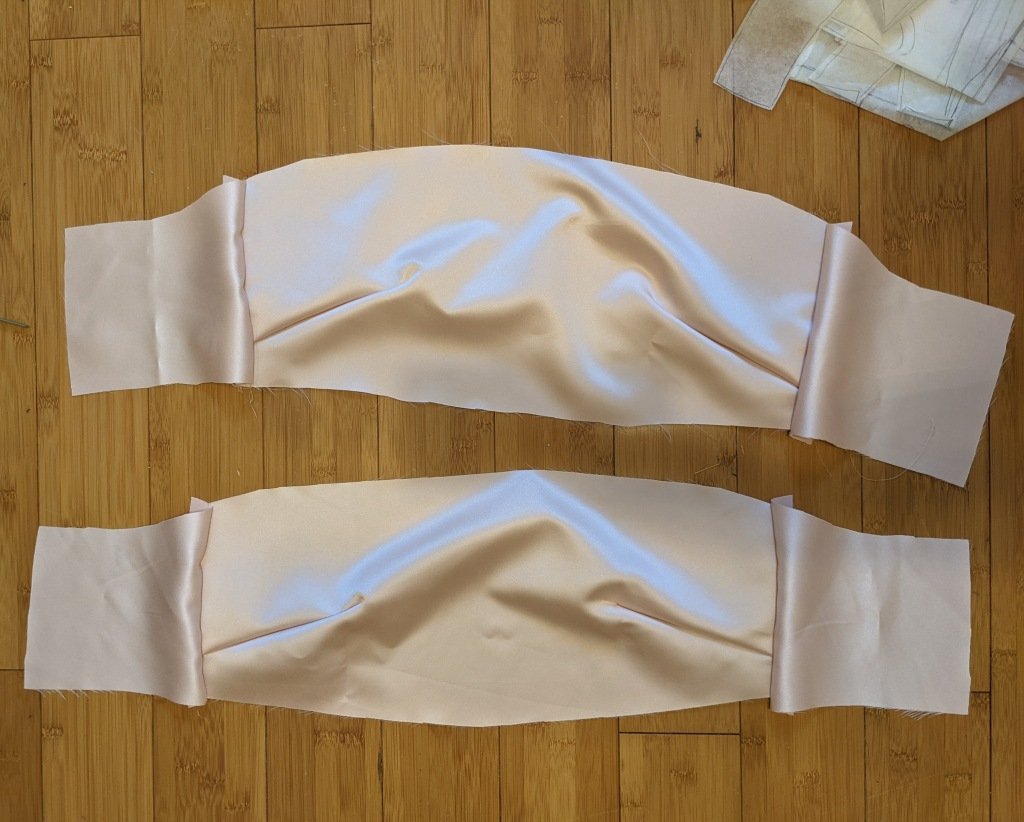
OK, easy. The next step is to sew these together, right sides together, leaving only the bottom of the bodice open (this means sewing the wings totally closed) and sewing on the straps as you go. Strap placement is up to you, I placed mine about an inch inwards from each point of the dart and probably 3 inches in from the outer edge of each wing. And then press everything neatly. When that's done it should look something like this:
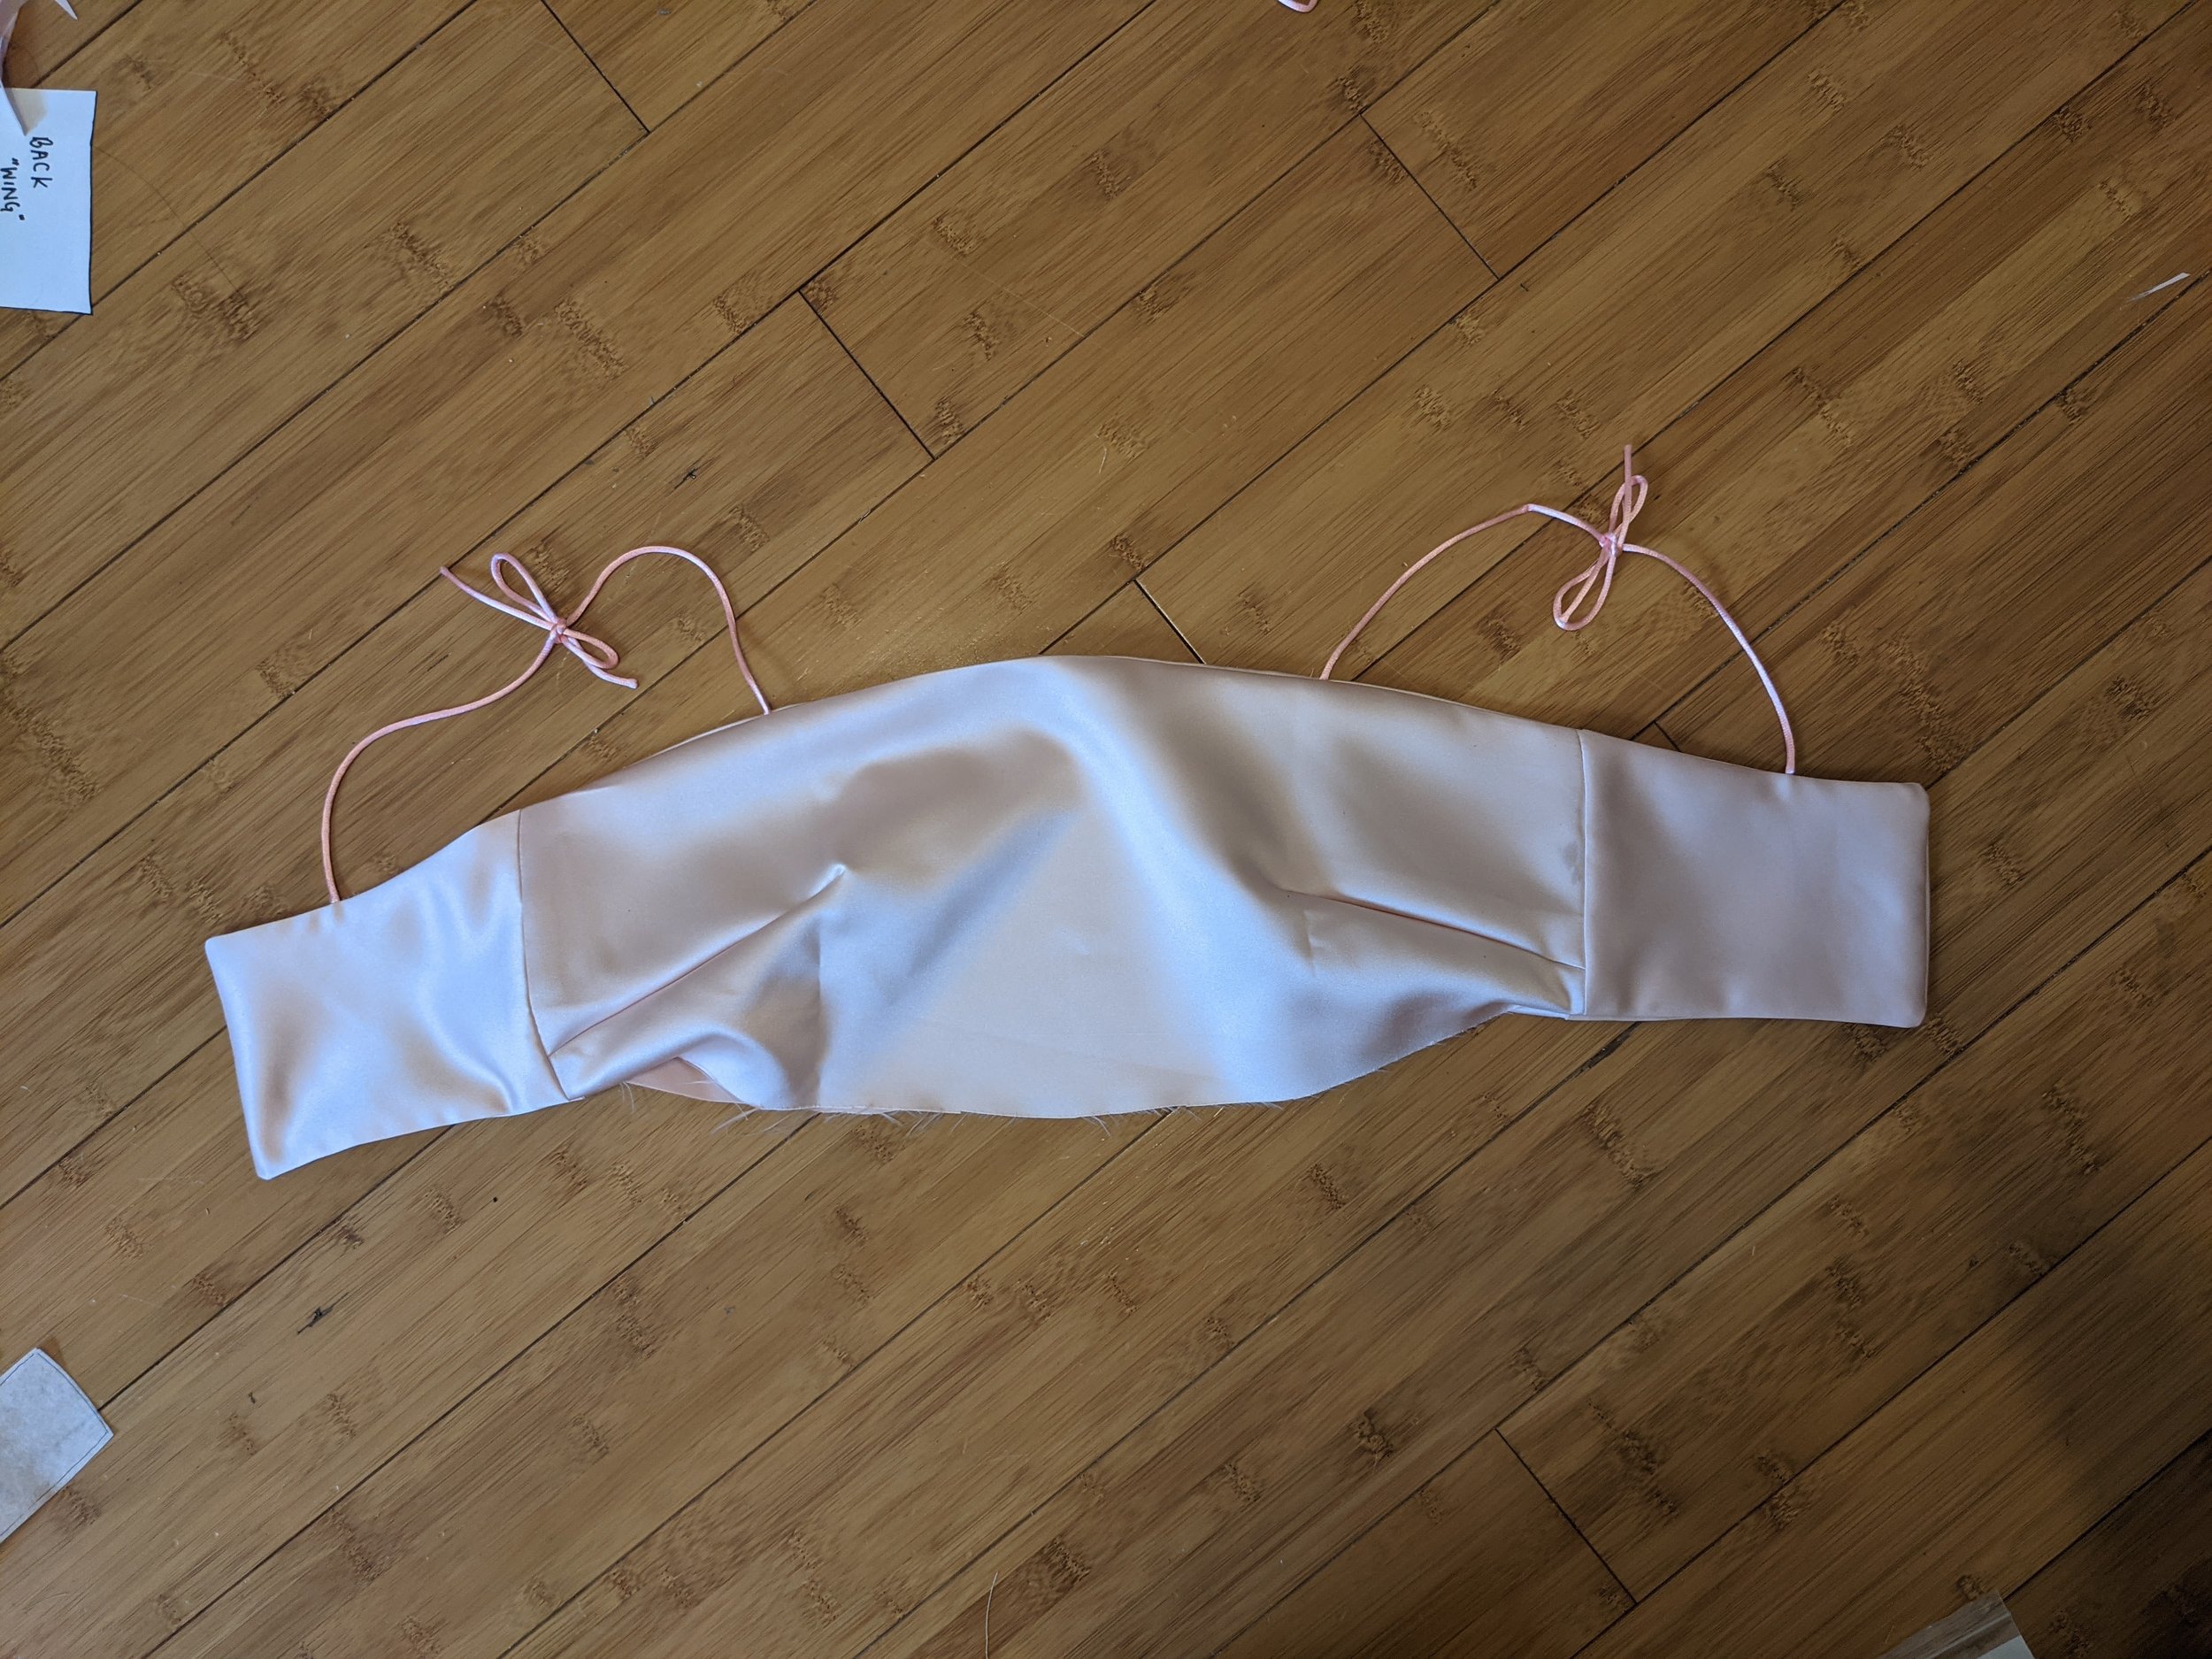

Then it's time to fold in the outer edge of the wing for the back loop/tie. Since it's lined I just folded it over once, you can also fold it twice for a more professional "roll". Use a loop turner or a safety pin to zhush the tie through.
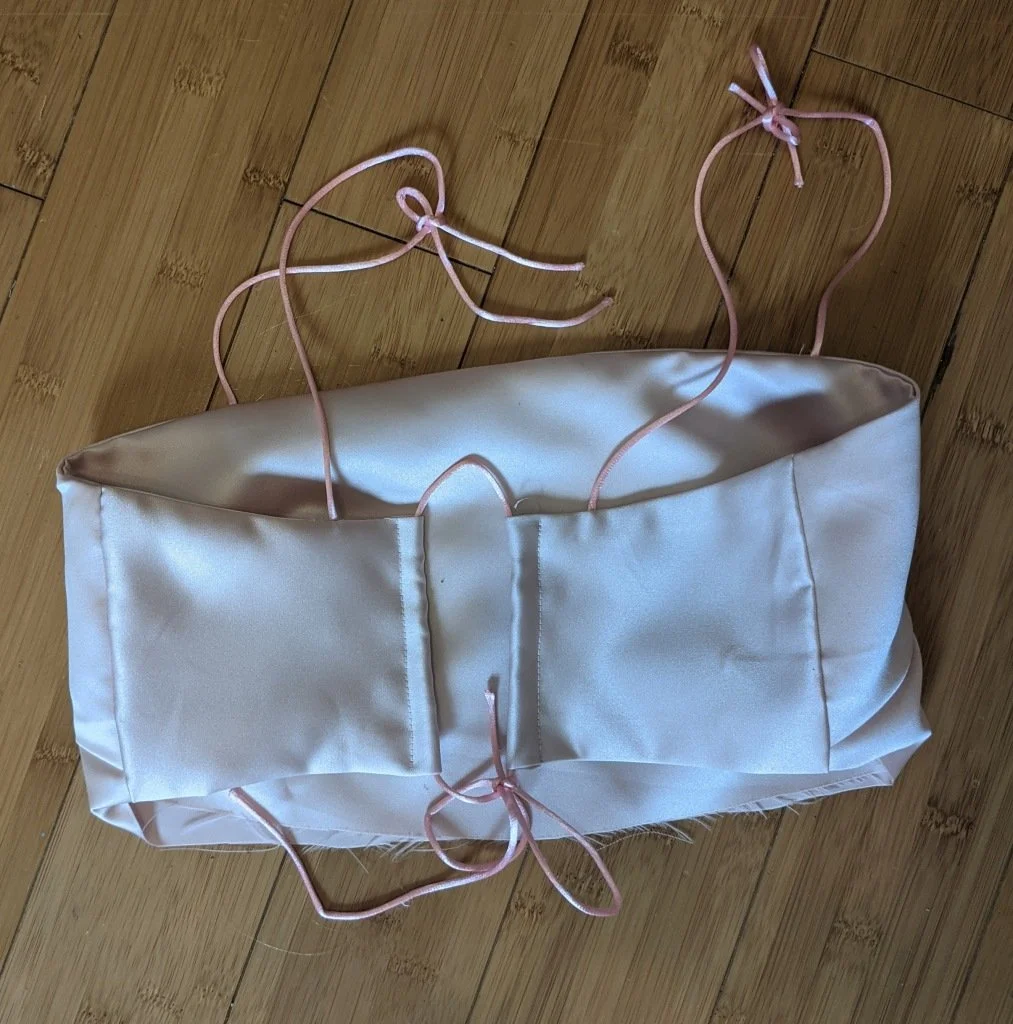
The next step was to cut out a 40" by 14" rectangle for the peplum, and gather it. It can be any length shorter or longer than 14" if you want to have it more cropped or if you want it as a dress. I felt like 40" gave some very nice gathers along the sides and back. I gathered the whole thing to my desired length (depends and can be manipulated even after it's sewn), matched the centers and sewed the shiny back of the top to the wrong side of the peplum, leaving the front/upper side of the bodice top free. Then I clipped into the peplum where it matched to the wing and topstitched the upper bodice to the peplum.


Finally, I sewed down the long remaining tops of the peplum to create a loop for the pink ties. I inserted those and sewed the ends by the bodice.


Then I hemmed the bottom and it was done.
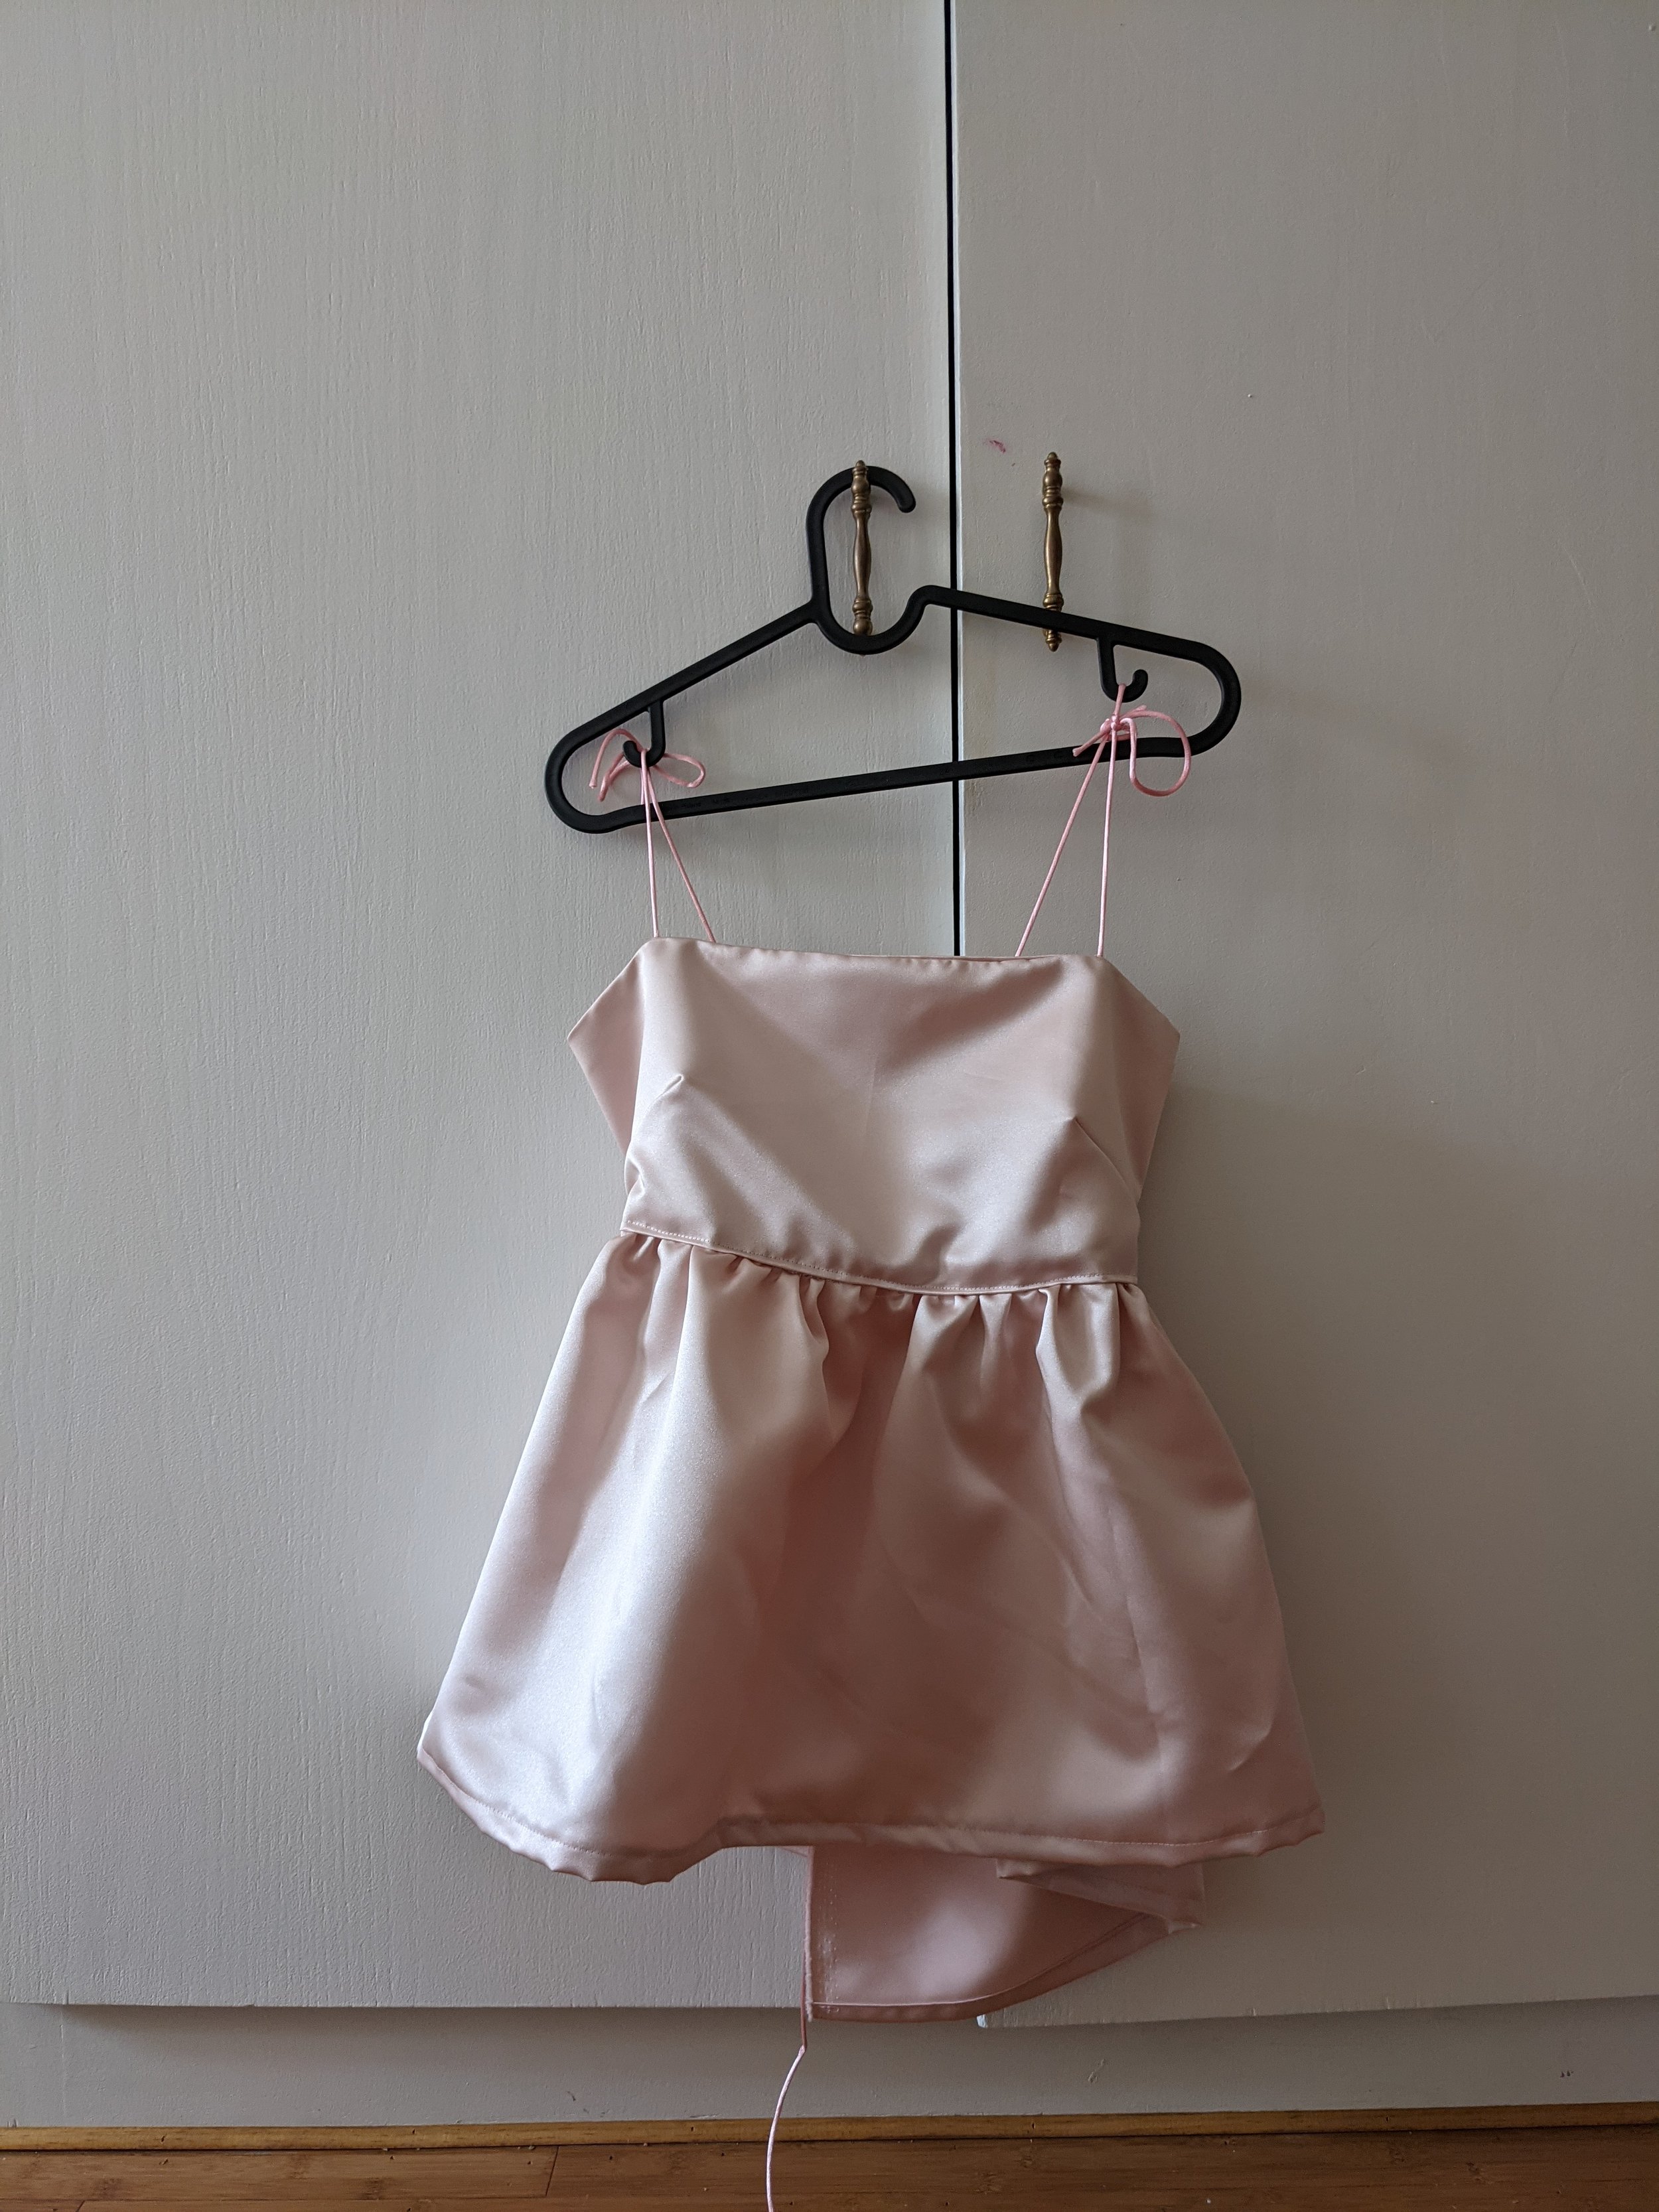

(it's hanging unevenly as I tied one of the bows on the shoulder longer than the other) I love the color Taylor chose, it's so pretty and very ballerina like :)
Here's the pattern. I didn't include the peplum since it's just a rectangle. Enjoy and let me know if you make it!! Or if you have any questions.

